
This post will serve as a how to guide for the removal and replacement of a wiper motor on a Gen 1 Mark VIII and I'm sure it would be very similar on a Gen2.
I'll use the text of the manual and ad lib with some pics and text in italics.
Wiper Motor
When installing the drive arm to a new motor, follow the instructions included in the new motor kit. (The wiper motor I installed was a new Motorcraft unit, P/N F7LZ -17508-AB, complete with park mechanism. There are purportedly a shortage of wiper motors and there have been accounts of the "drive arm" or "park mechanism" NOT being included with a new wiper motor. Also, early '93 and some '94 Mark VIIIs had wiper motors with 2 harness plugs versus the later models with one harness plug.)
CAUTION:
The internal permanent magnets used in the wiper motor are a ceramic (glass-like) material. Care must be exercised in handling the motor to avoid damaging the magnets. The motor must not be struck or tapped with a hammer or other object.
Removal and Installation
1. Turn ignition to the run position. Turn on the windshield wipers and cycle wipers to the mid-wipe position (straight up) and turn off the ignition. (NOTE: This only helps if the wiper motor functions - with a dead motor you cannot move the wipers.)
2. Disconnect battery cable.
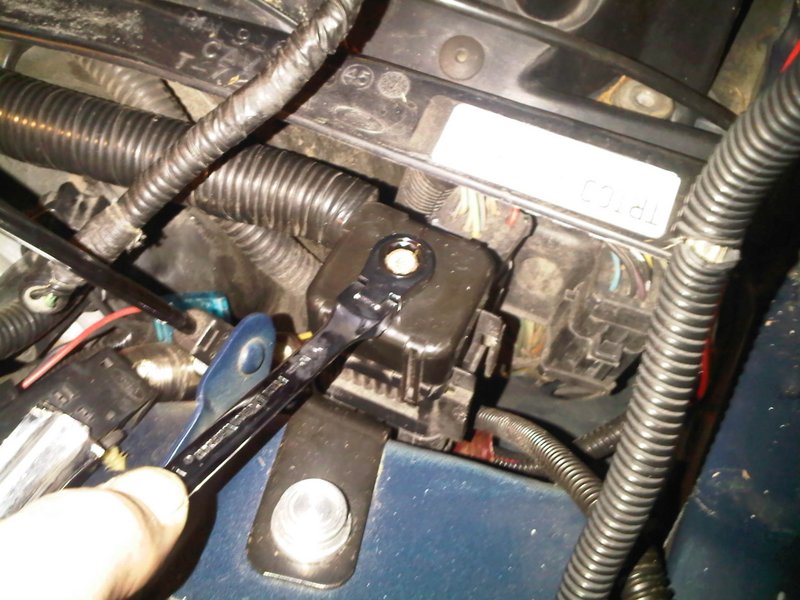
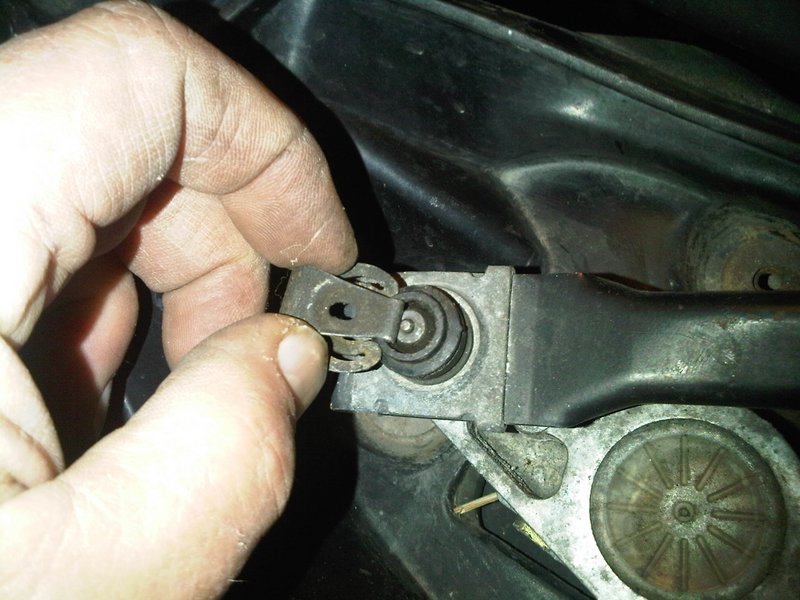
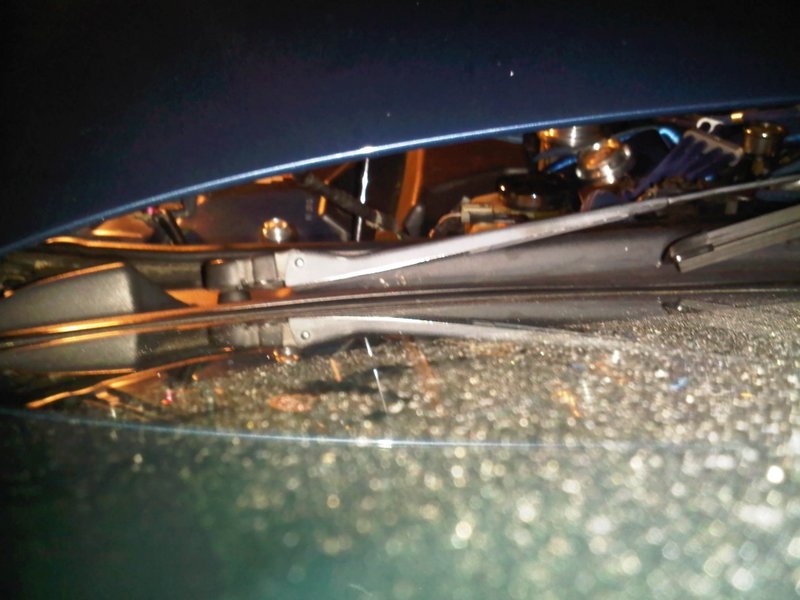
3. Remove LH and RH wiper arms. (This is done quite easily but is difficult to explain without pics. Note the pic below, the arm is down and you can see a small tab which is the lever to lock the arm up off the glass.)

(To remove the wiper arm, you lift the arm off the glass and pull out on the locking tab and release the arm. The locking tab will then be holding the arm tension with the wiper off the glass.)

(Then it is a simple matter of pulling the wiper arm off the pivot.)

4. Remove cowl top to hood seal.

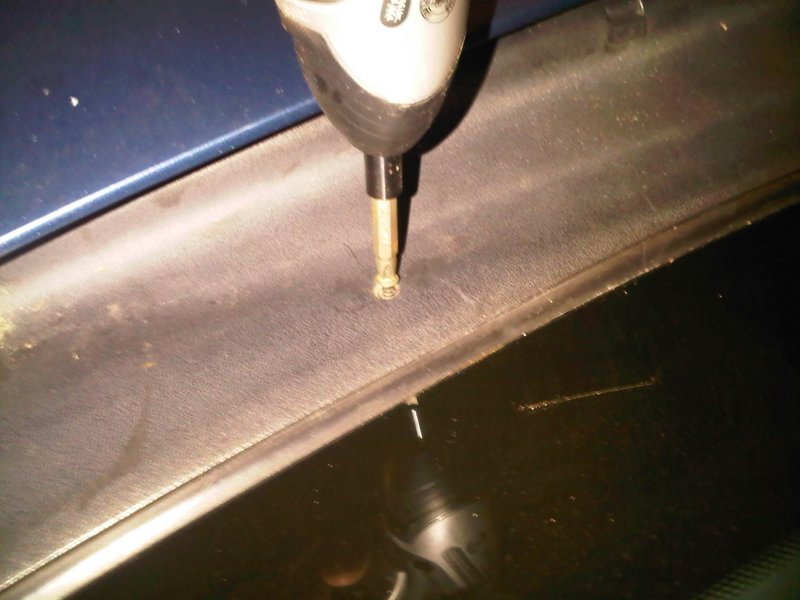
5. Remove LH and RH cowl vent screens. (It is best to lower the hood for this step. There are 7 philips head screws - 4 on the RH side and 3 on the LH side.)
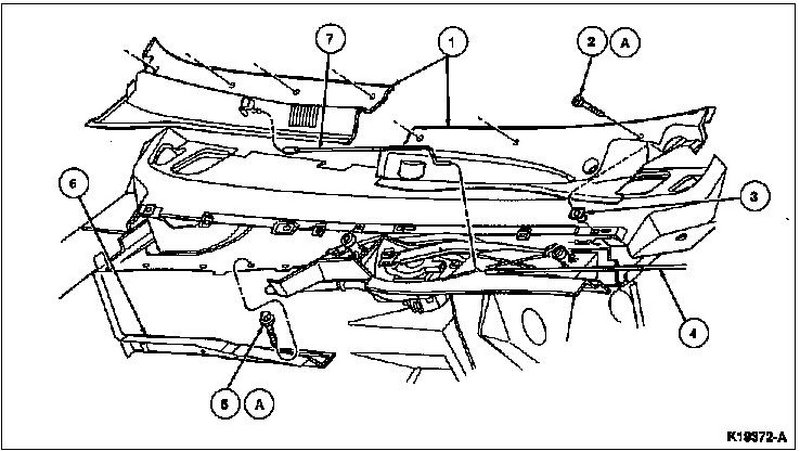

You will need to disconnect the washer tubing from the cowl vent screen covers.

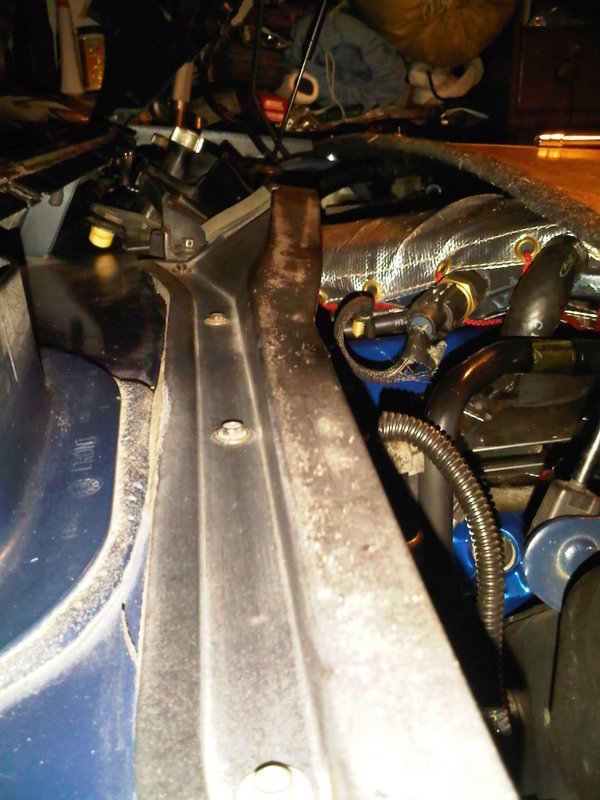
6. Remove four retaining screws and washers and the cowl top extension. (RH side)

7. Disconnect two wiring connectors from the motor. (Or one connector on later models. On mine we had already cut the harness when we were diagnosing the motor).
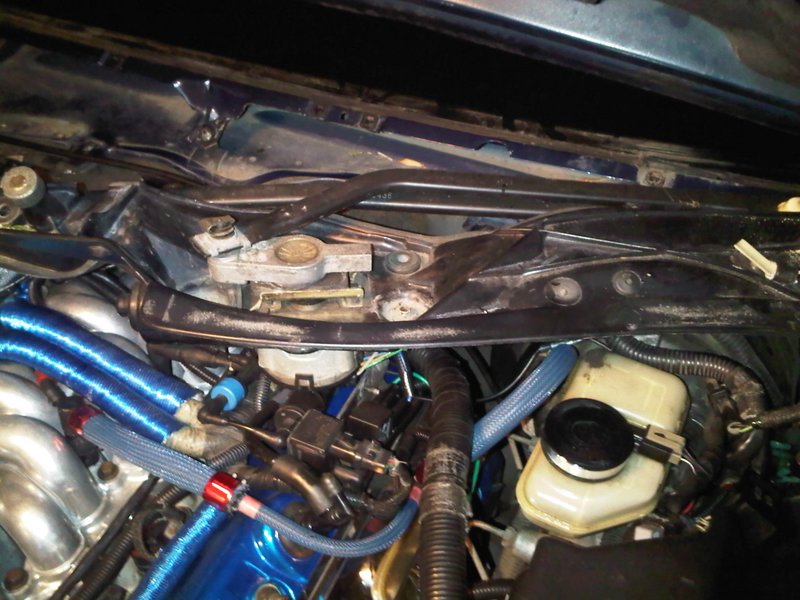
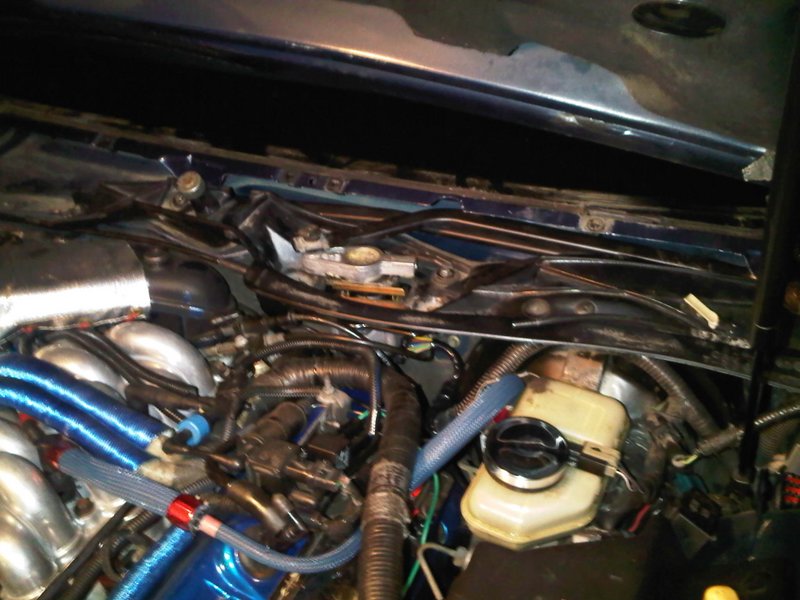
8. Remove five retaining bolt and washer assemblies and one nut from the wiper module. (Note to all - the one nut is below the wiper motor and attaches a bracket from the cowl to the firewall. It is a royal pain to access. So much of a pain, there was no good way to get a pic of it. It is item # 6 in the diagram below.)
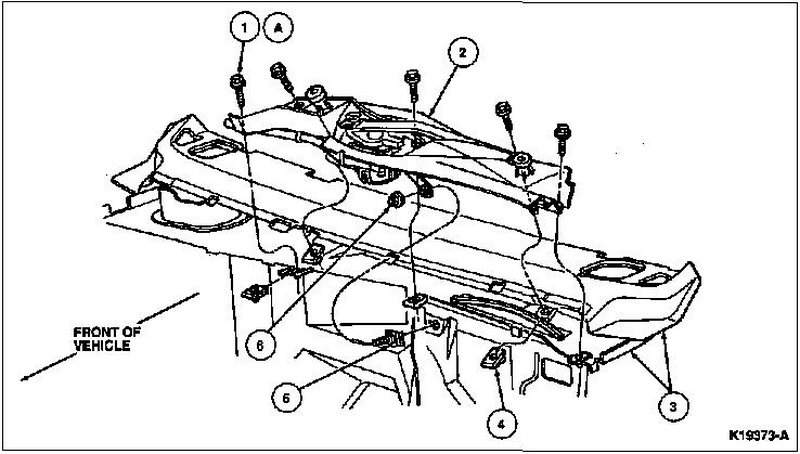
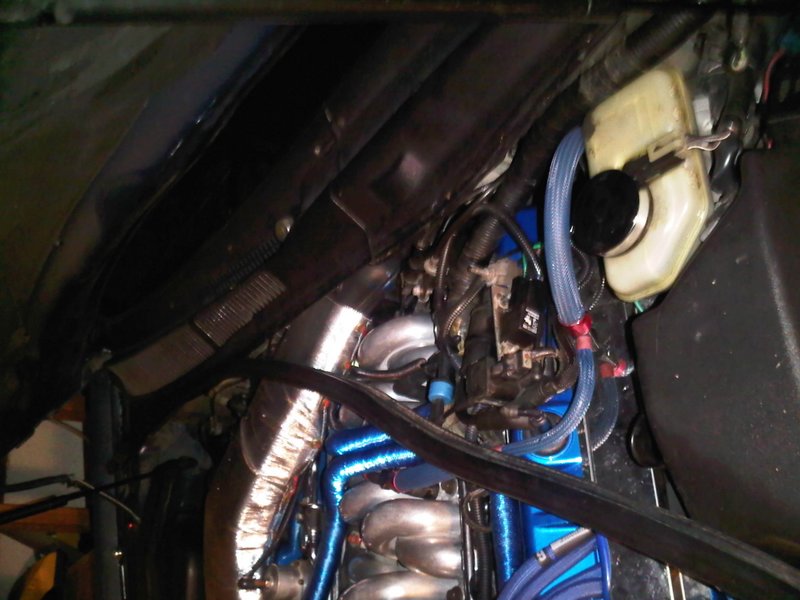
(I find it helps to disconnect the engine wiring harness and move it out of the way.)
9. Lift the module slightly to disengage the support bracket from the dash panel mounting stud, move the module sideways about 50.8mm (2 inches) toward the passenger side and remove the module from the vehicle. (Sounds simple but get ready to do battle.)
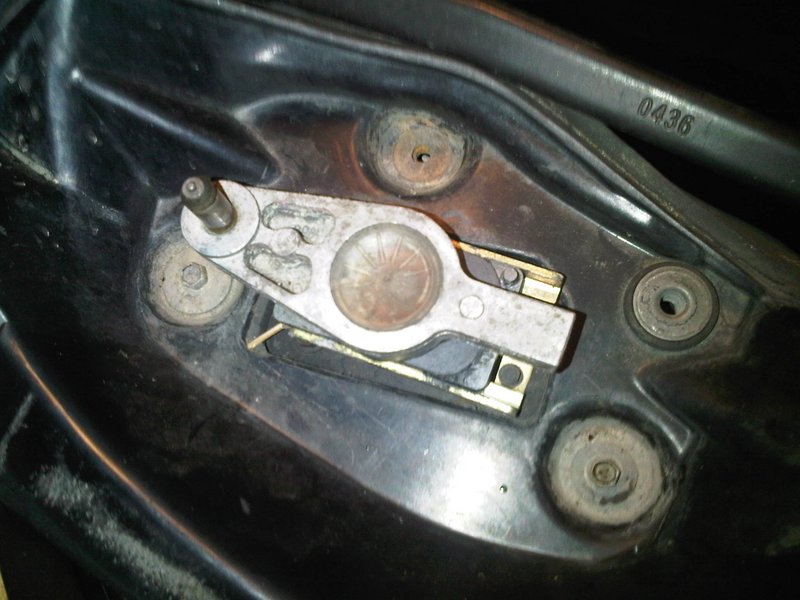
10. Disconnect linkage drive arm from the motor crankpin after removing the clip.
NOTE:
Check location of support bracket on module.
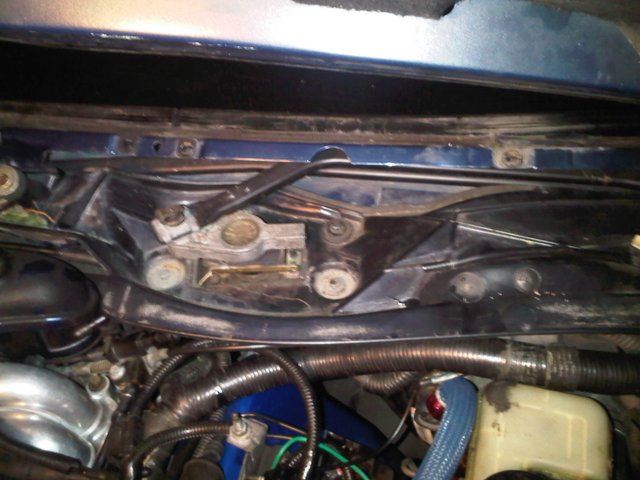
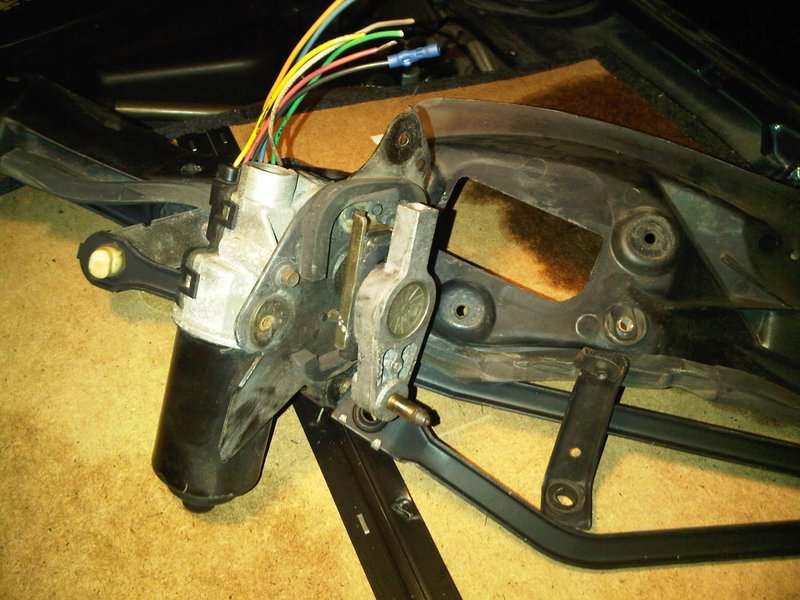
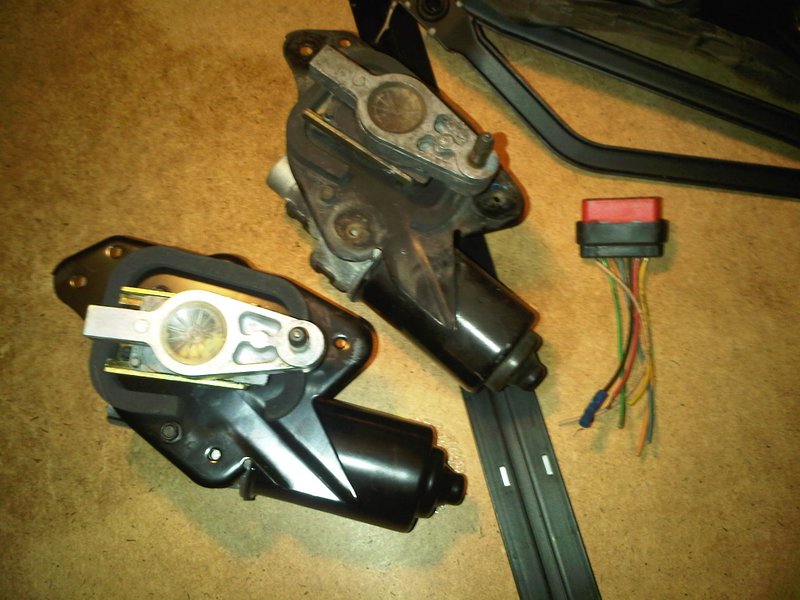
11. Remove the wiper motor's three retaining screws and remove motor from the module.(In the pic below, the top middle [already removed] and the bottom two bolts are the 3 retaining bolts for the motor. The top right is the bolt-hole for the bolt retaining the cowl assembly.)
CAUTION:
Before installing the arm and blade assemblies to the pivot shafts, cycle motor and turn off wiper switch to ensure that the wiper linkage is in the park position. Refer to «Arm Assembly» , Removal and Installation for installation procedure.
12. To install, reverse Removal procedure.


I'll use the text of the manual and ad lib with some pics and text in italics.
Wiper Motor
When installing the drive arm to a new motor, follow the instructions included in the new motor kit. (The wiper motor I installed was a new Motorcraft unit, P/N F7LZ -17508-AB, complete with park mechanism. There are purportedly a shortage of wiper motors and there have been accounts of the "drive arm" or "park mechanism" NOT being included with a new wiper motor. Also, early '93 and some '94 Mark VIIIs had wiper motors with 2 harness plugs versus the later models with one harness plug.)
CAUTION:
The internal permanent magnets used in the wiper motor are a ceramic (glass-like) material. Care must be exercised in handling the motor to avoid damaging the magnets. The motor must not be struck or tapped with a hammer or other object.
Removal and Installation
1. Turn ignition to the run position. Turn on the windshield wipers and cycle wipers to the mid-wipe position (straight up) and turn off the ignition. (NOTE: This only helps if the wiper motor functions - with a dead motor you cannot move the wipers.)
2. Disconnect battery cable.
3. Remove LH and RH wiper arms. (This is done quite easily but is difficult to explain without pics. Note the pic below, the arm is down and you can see a small tab which is the lever to lock the arm up off the glass.)
(To remove the wiper arm, you lift the arm off the glass and pull out on the locking tab and release the arm. The locking tab will then be holding the arm tension with the wiper off the glass.)
(Then it is a simple matter of pulling the wiper arm off the pivot.)
4. Remove cowl top to hood seal.
5. Remove LH and RH cowl vent screens. (It is best to lower the hood for this step. There are 7 philips head screws - 4 on the RH side and 3 on the LH side.)
You will need to disconnect the washer tubing from the cowl vent screen covers.
6. Remove four retaining screws and washers and the cowl top extension. (RH side)
7. Disconnect two wiring connectors from the motor. (Or one connector on later models. On mine we had already cut the harness when we were diagnosing the motor).
8. Remove five retaining bolt and washer assemblies and one nut from the wiper module. (Note to all - the one nut is below the wiper motor and attaches a bracket from the cowl to the firewall. It is a royal pain to access. So much of a pain, there was no good way to get a pic of it. It is item # 6 in the diagram below.)
(I find it helps to disconnect the engine wiring harness and move it out of the way.)
9. Lift the module slightly to disengage the support bracket from the dash panel mounting stud, move the module sideways about 50.8mm (2 inches) toward the passenger side and remove the module from the vehicle. (Sounds simple but get ready to do battle.)
10. Disconnect linkage drive arm from the motor crankpin after removing the clip.
NOTE:
Check location of support bracket on module.
11. Remove the wiper motor's three retaining screws and remove motor from the module.(In the pic below, the top middle [already removed] and the bottom two bolts are the 3 retaining bolts for the motor. The top right is the bolt-hole for the bolt retaining the cowl assembly.)
CAUTION:
Before installing the arm and blade assemblies to the pivot shafts, cycle motor and turn off wiper switch to ensure that the wiper linkage is in the park position. Refer to «Arm Assembly» , Removal and Installation for installation procedure.
12. To install, reverse Removal procedure.
