
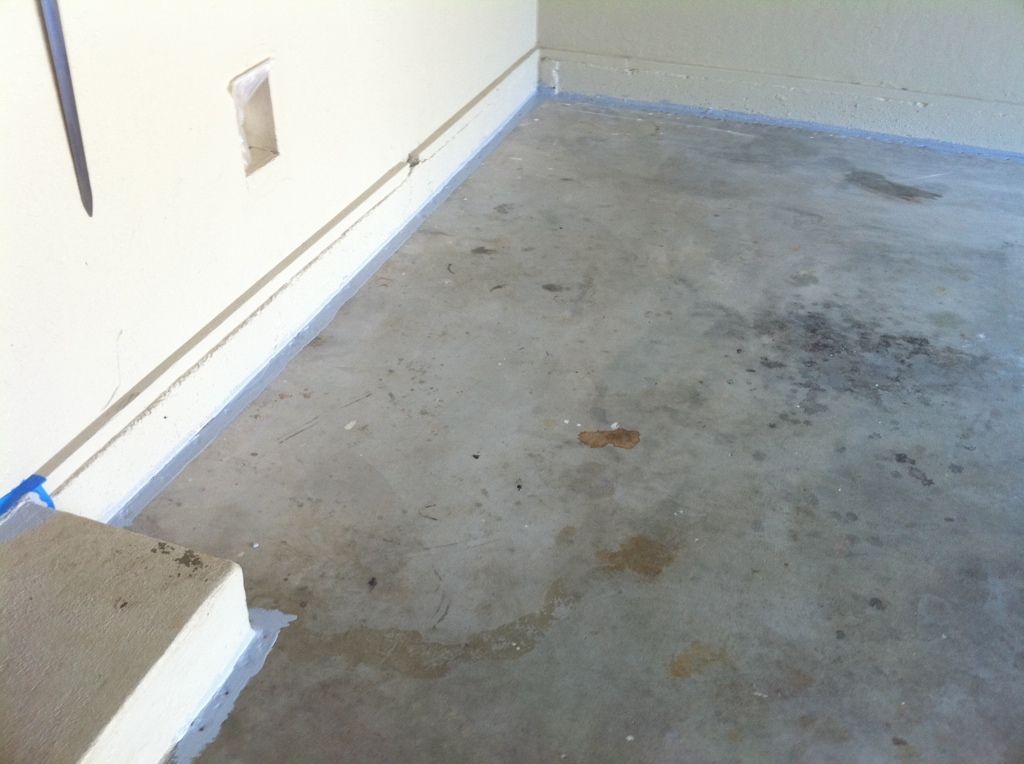
I finally got around to coating my garage floor in anticipation for the new vehicle. My garage was previously converted so the entire area surrounding the walls and all along the garage door had nails in the concrete from the carpet tacking strips. I opted NOT to go all around and putty in everything because I'll actually be working on this floor and know I'll mess it up anyways.
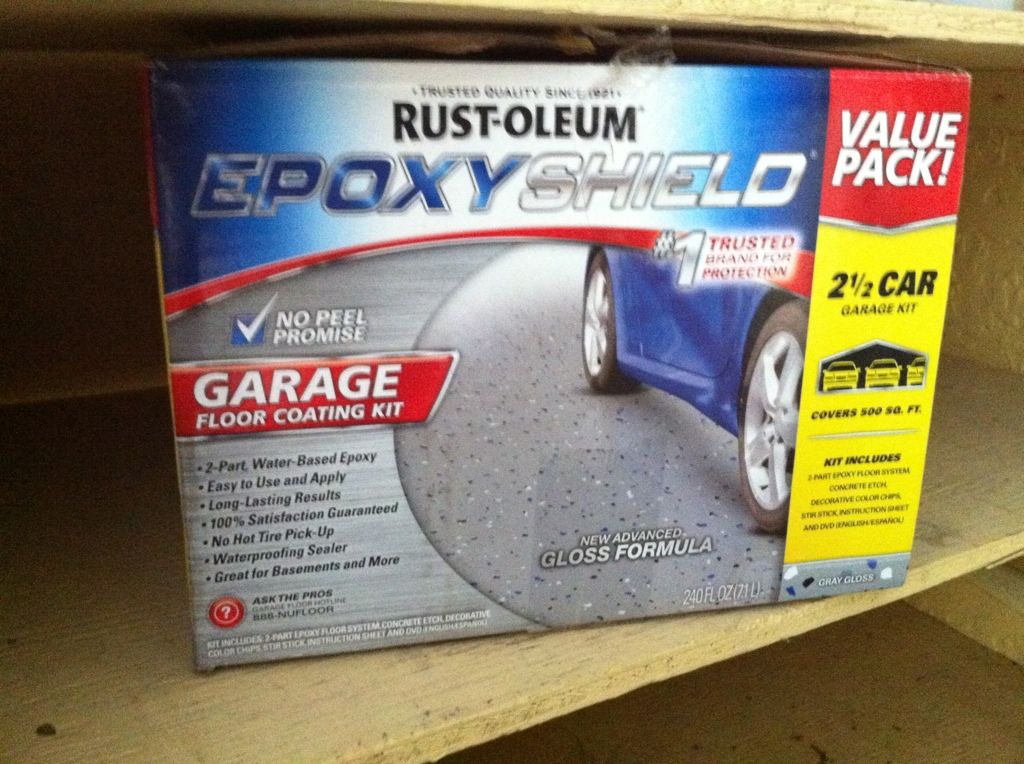
So here is the stuff. I have an oversized 2 car garage and this kit cost somewhere around $140 I think.
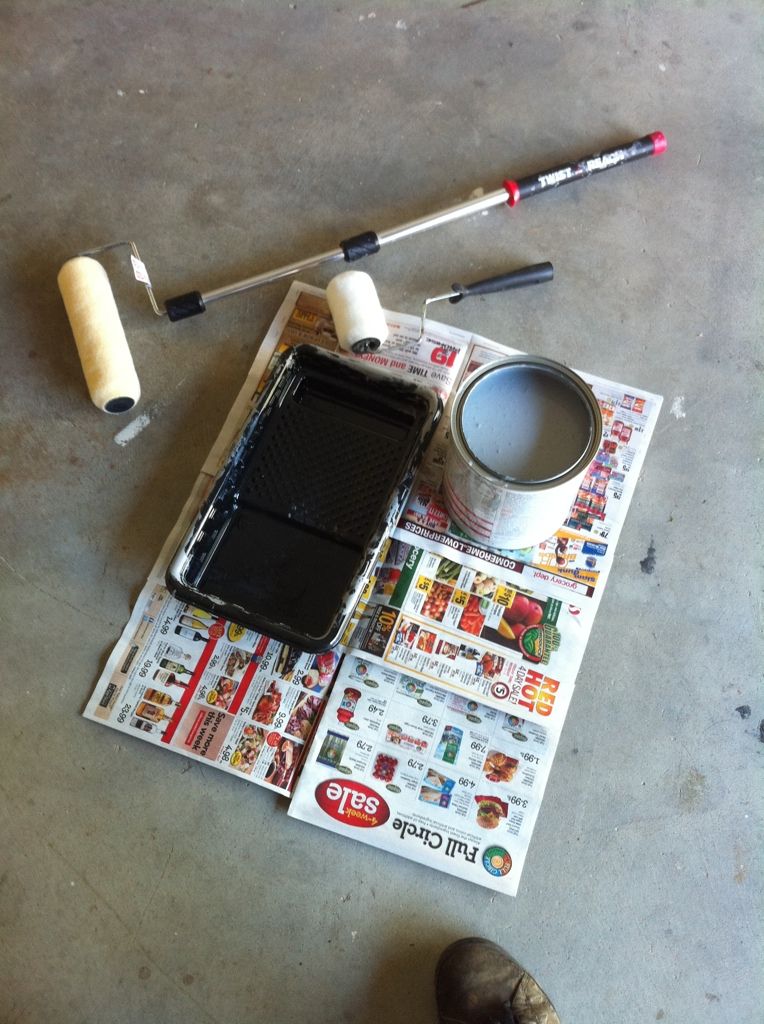
Tools I used.
***Will add pictures in this section when I get home...I'm at my Dad's place.***
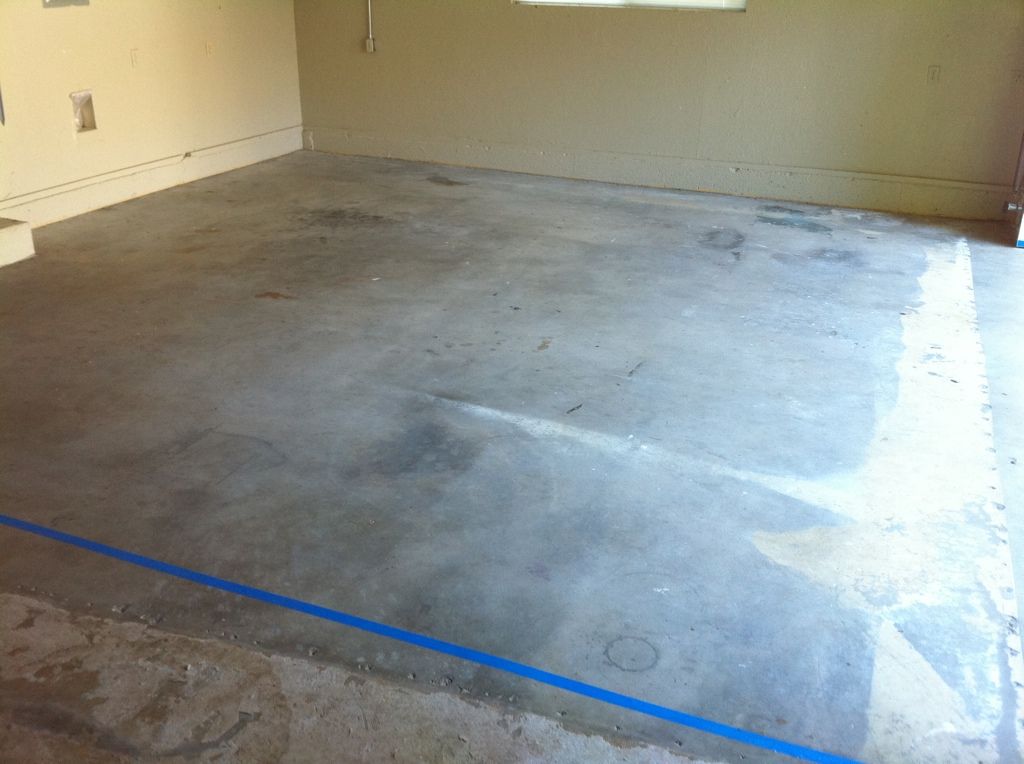
First you must go around and clean up any oil spots or grease with a spot treatment of any cleaner. I opted for Simple Green concentrate. Next I soaked the entire floor and brushed in the Simple Green/warm water solution to clean the floor.
Once you've cleaned and rinsed the ground thoroughly, you'll need to mix in the special concrete etching mix and again scrub it in with a push broom. It recommends rinsing atleast twice per section and then one final time on the entire area.
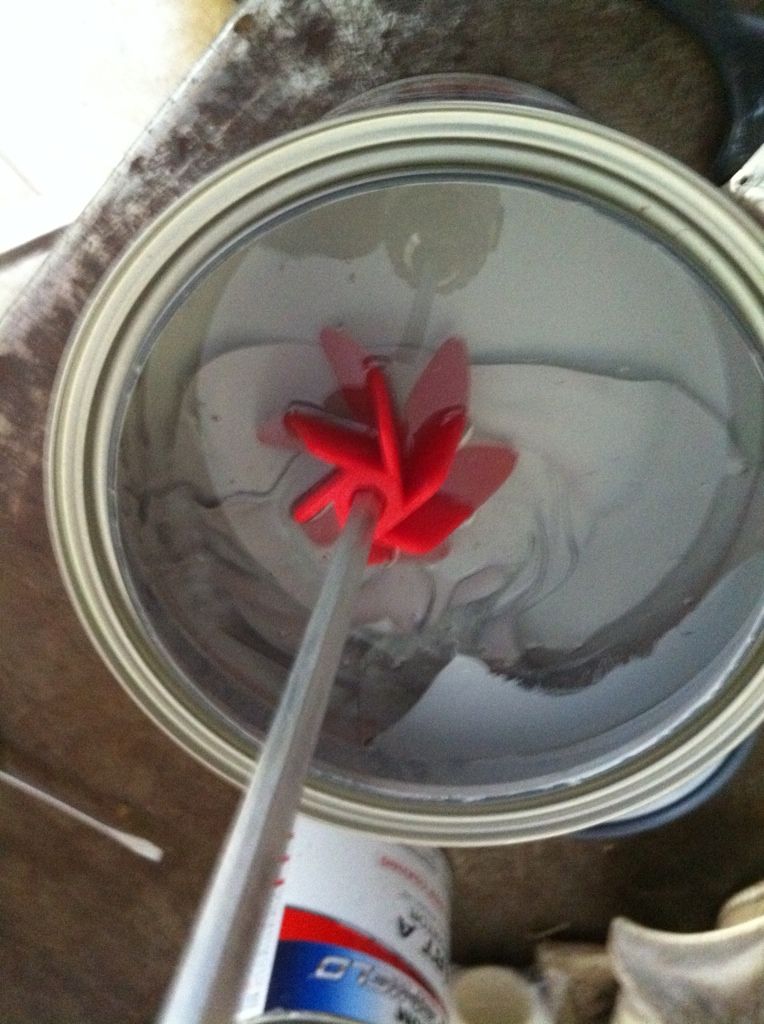
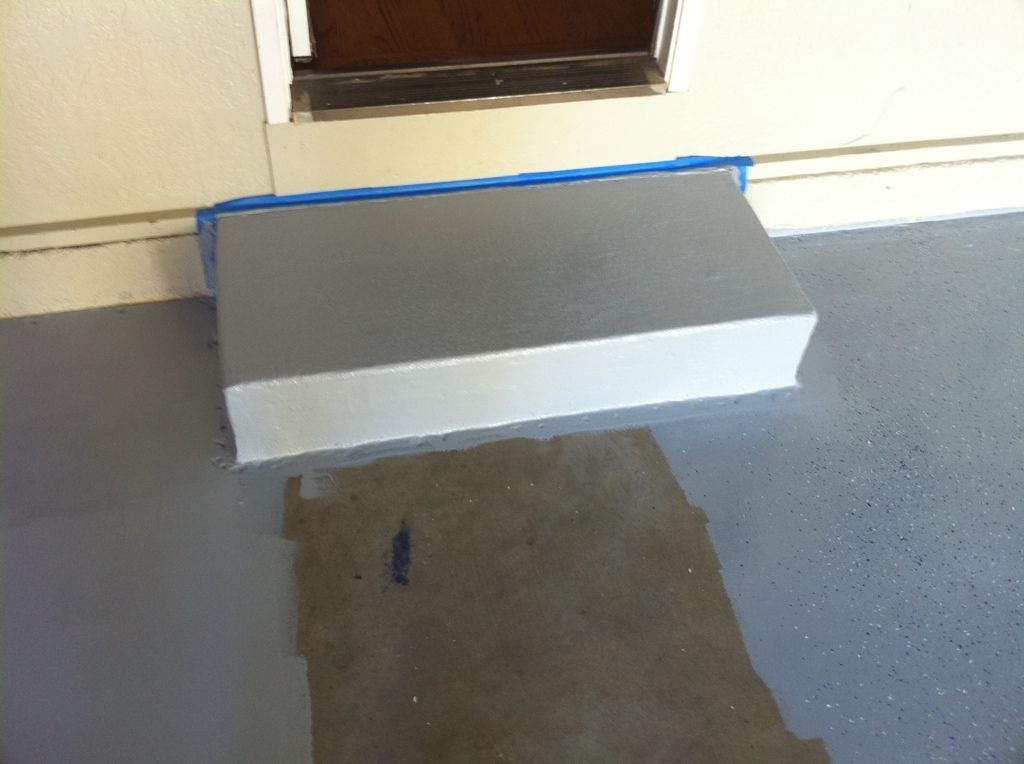
I let my floor dry over night and had to wait until it got warm enough to start the mixing process. It was forecasted to be about 65 degrees out that day, which meant I would have to wait 30 minutes AFTER mixing to start brushing the edges. And have to wait 45 minutes AFTER mixing to start rolling. Prior to mixing, I taped off anything I didn't want to get paint on.
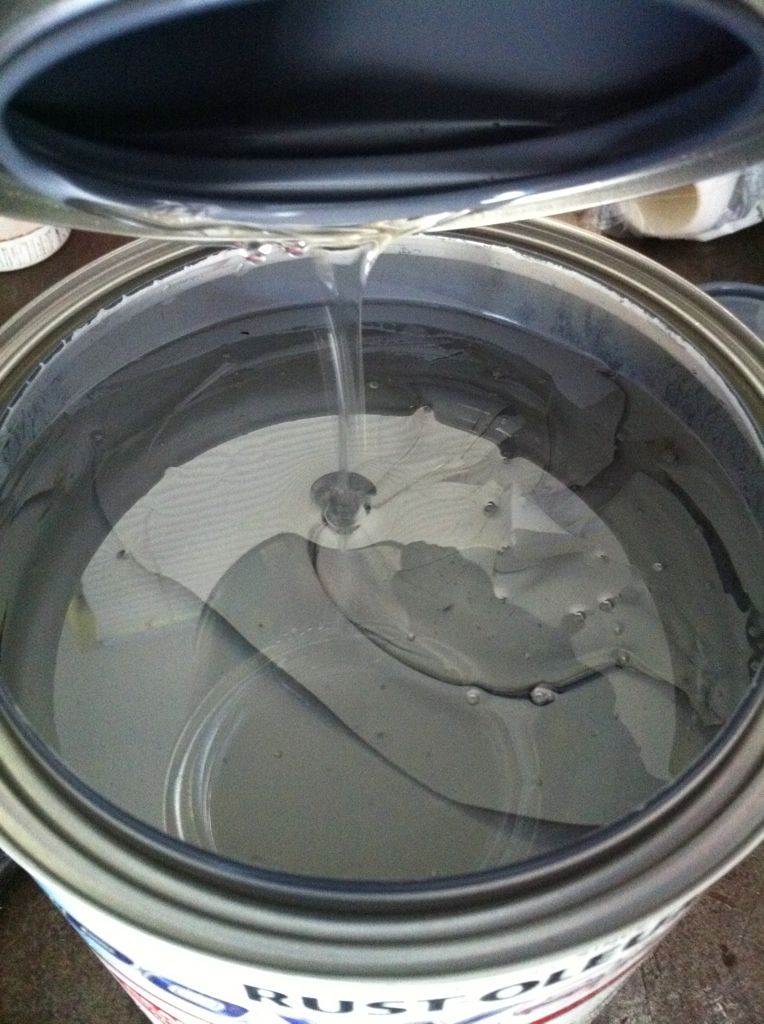
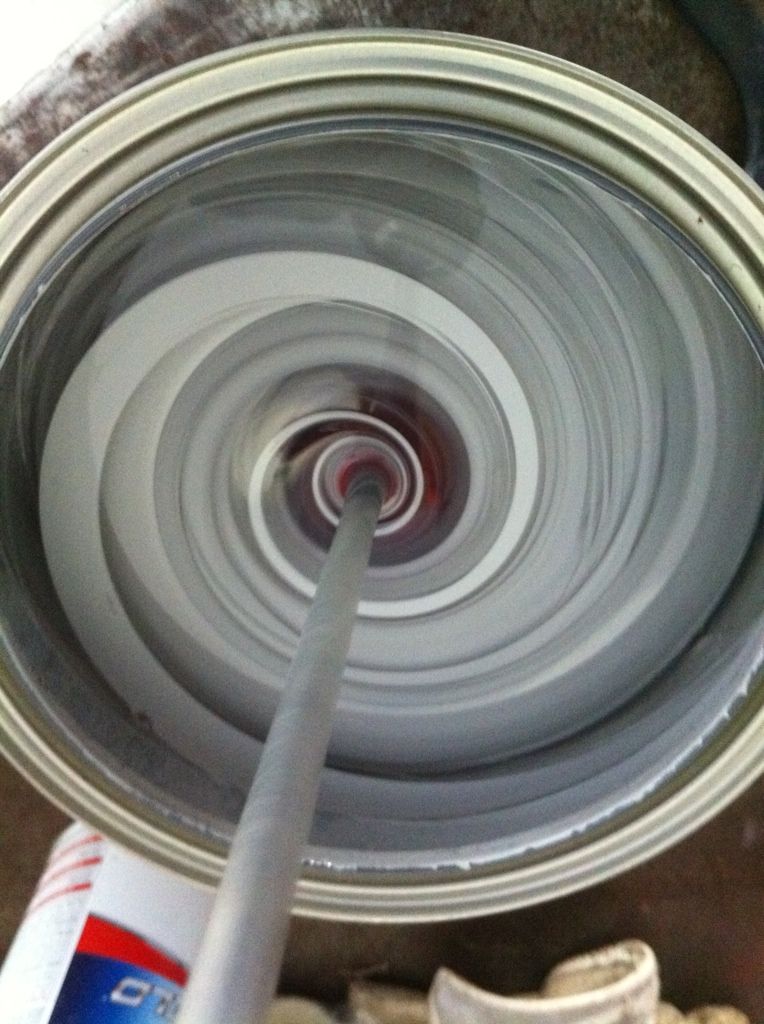
Mixing process. Put entire A into entire B.") Stir for ATLEAST 2-3 minutes.
Stir for ATLEAST 2-3 minutes.
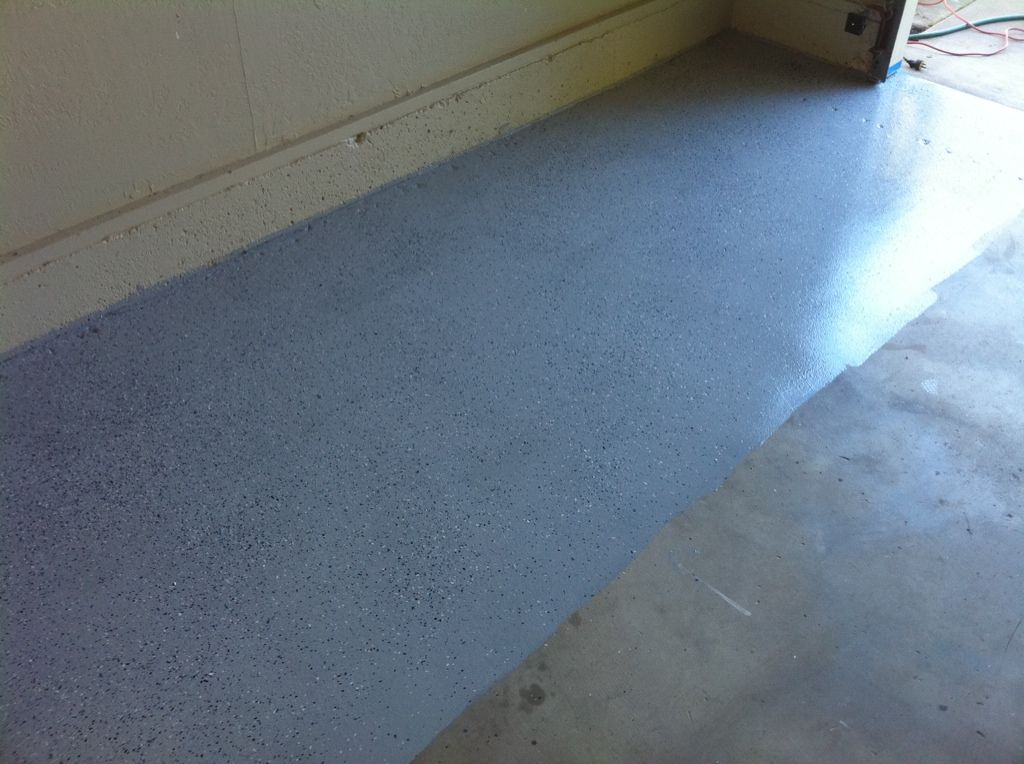
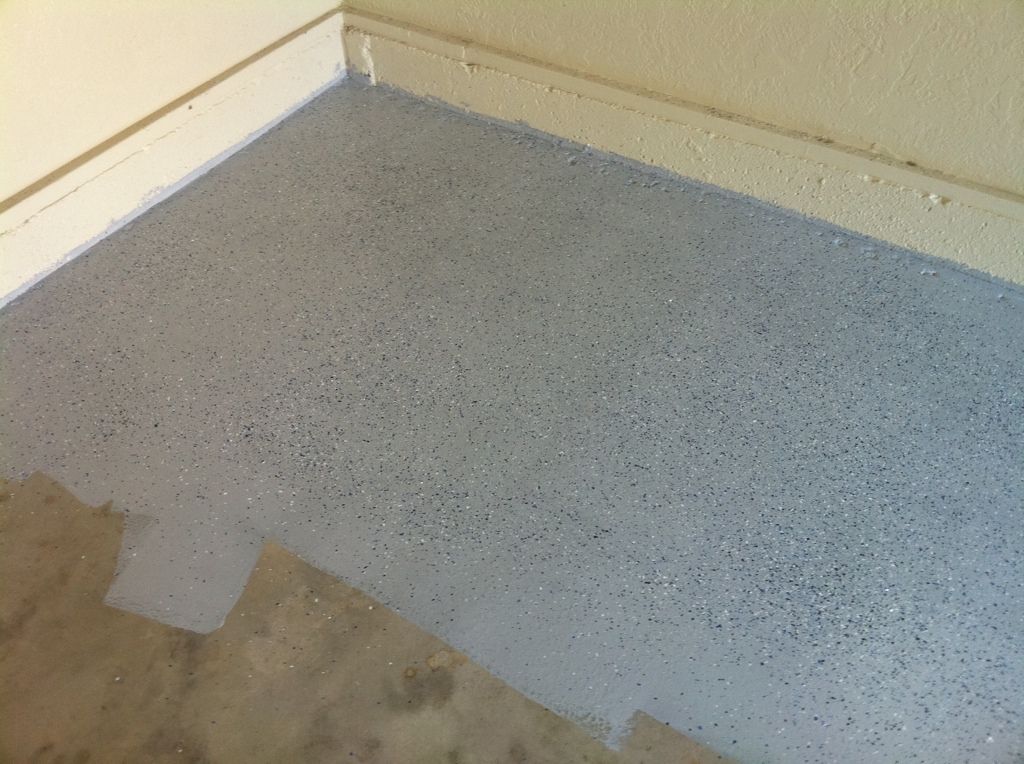
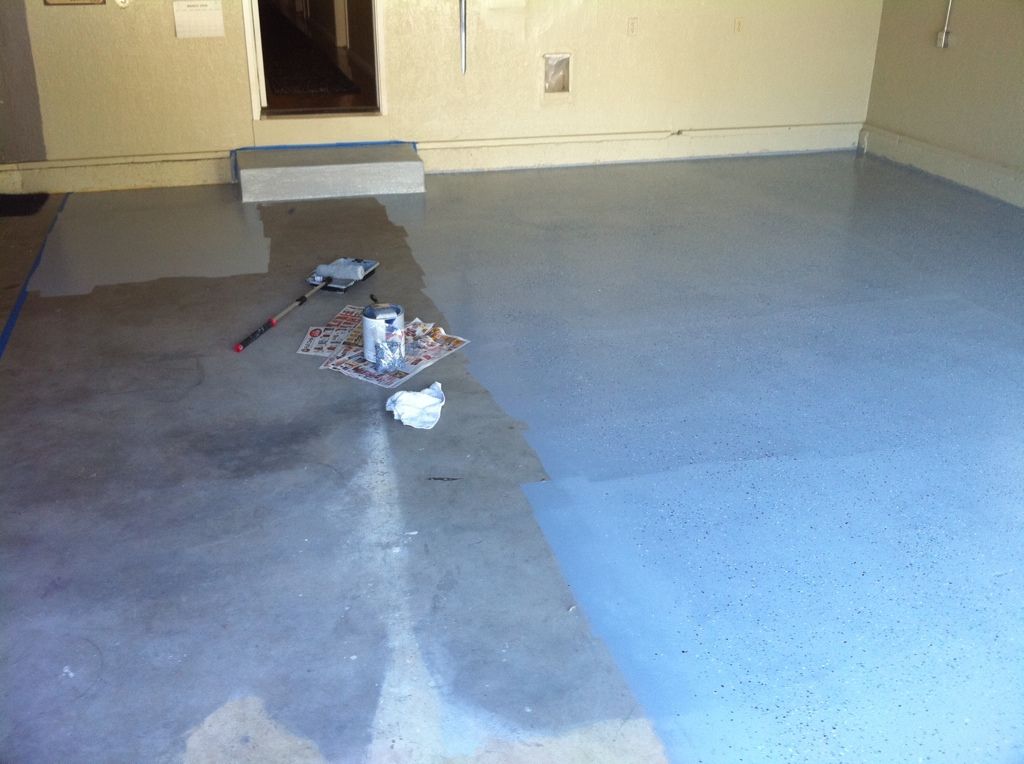
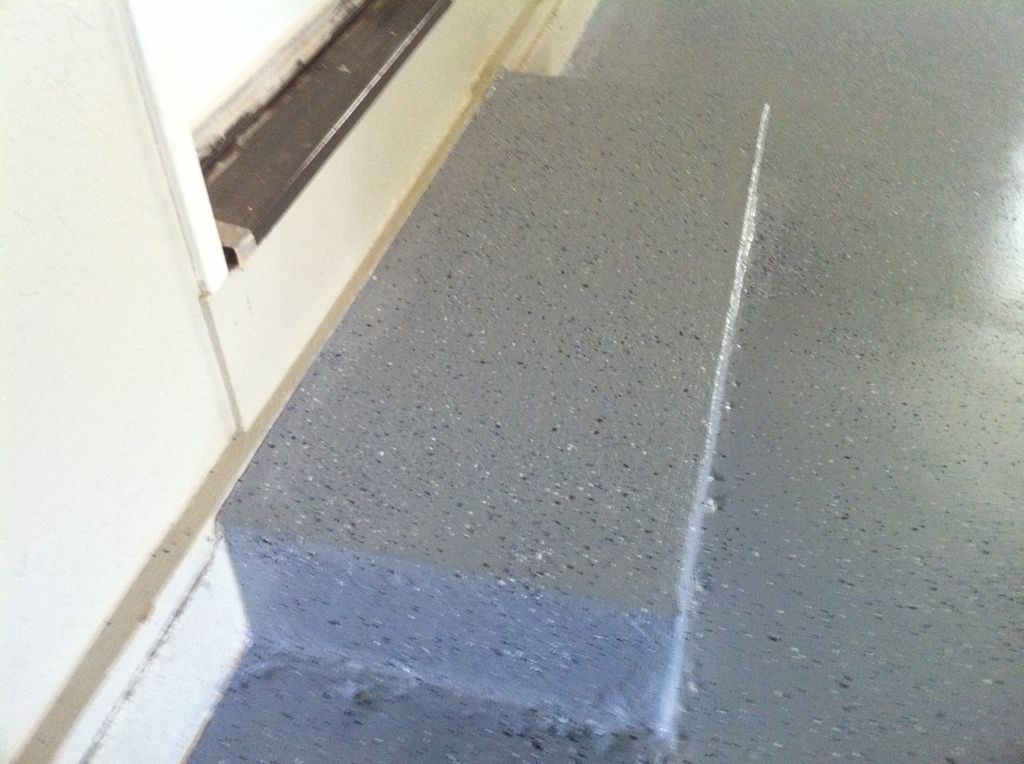
Next I started the trimming.
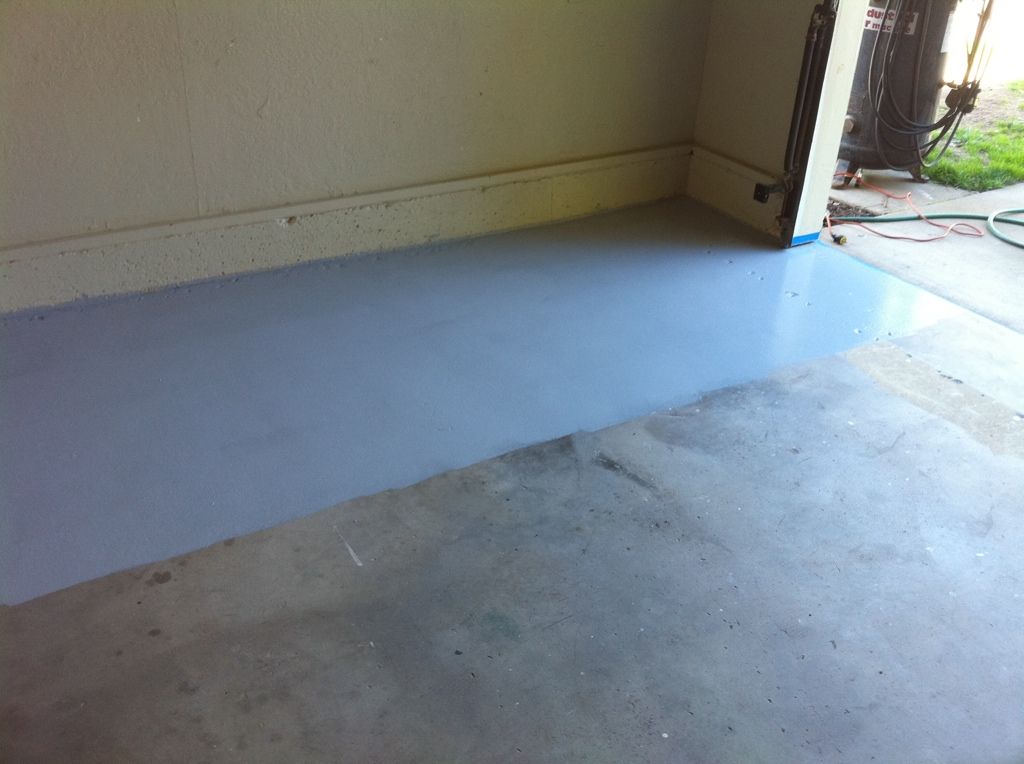
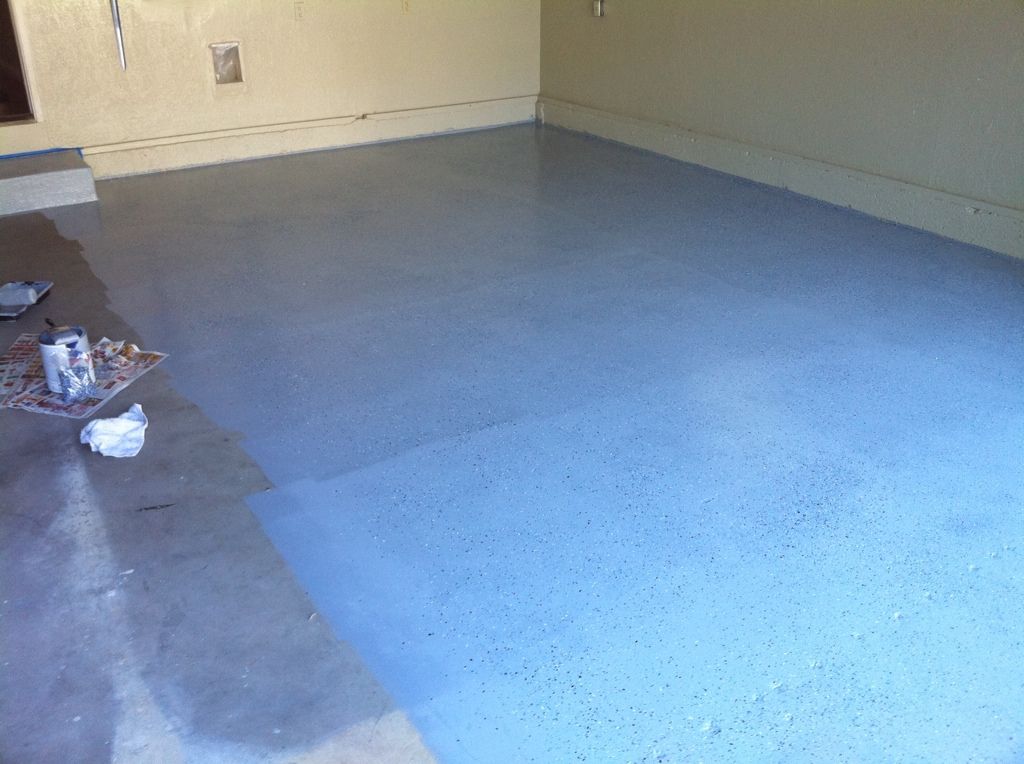
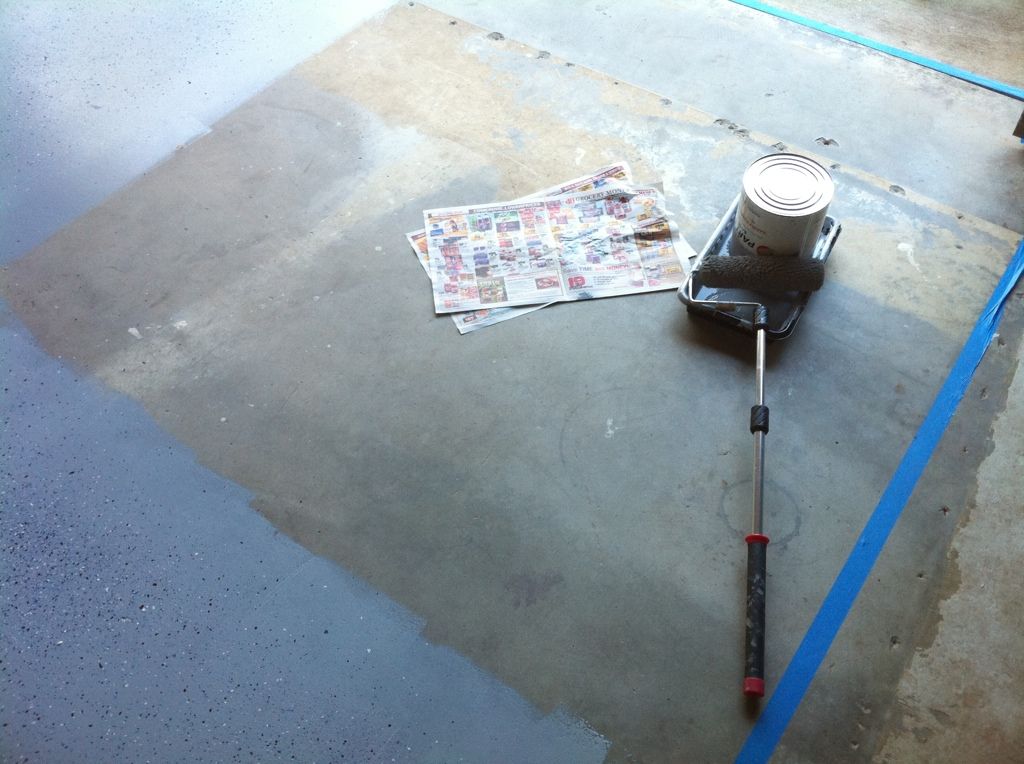
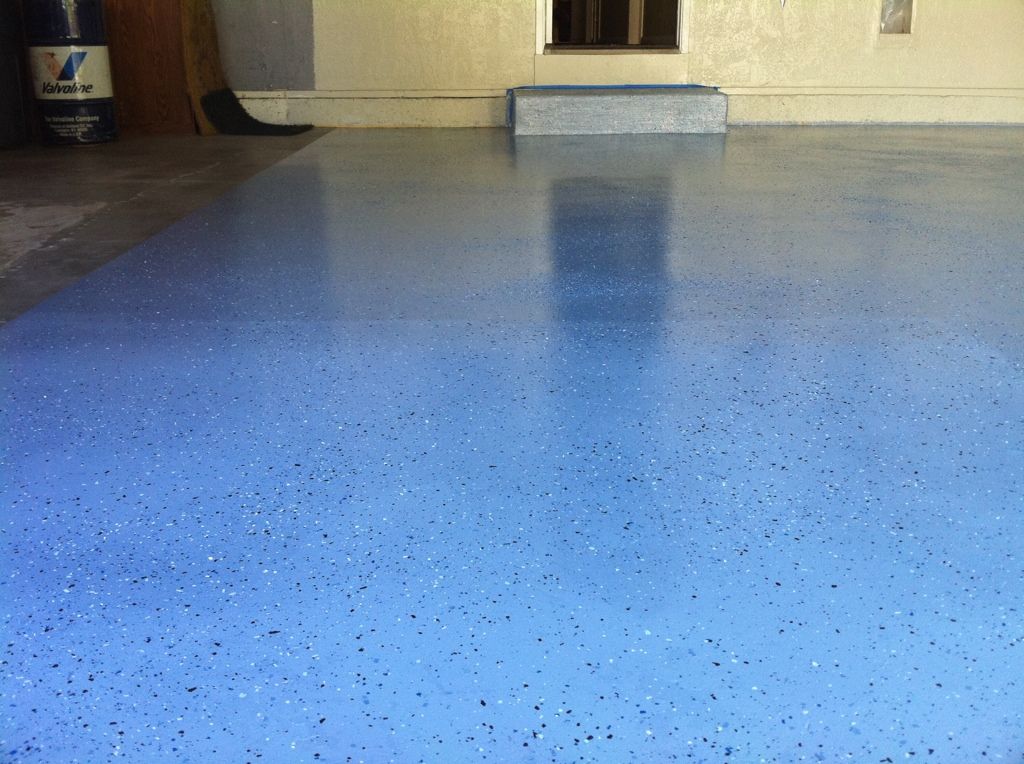
Next I started rolling. Man, this stuff is THICK. It says to do 4x4 foot sections...I didn't follow the rules. Rolling was fine but spreading the damn sprinkles was a pain because I went too wide and couldn't reach, haha. Just imagine me throwing super light pieces of shredded plastic as hard as I could.


Sprinkles!
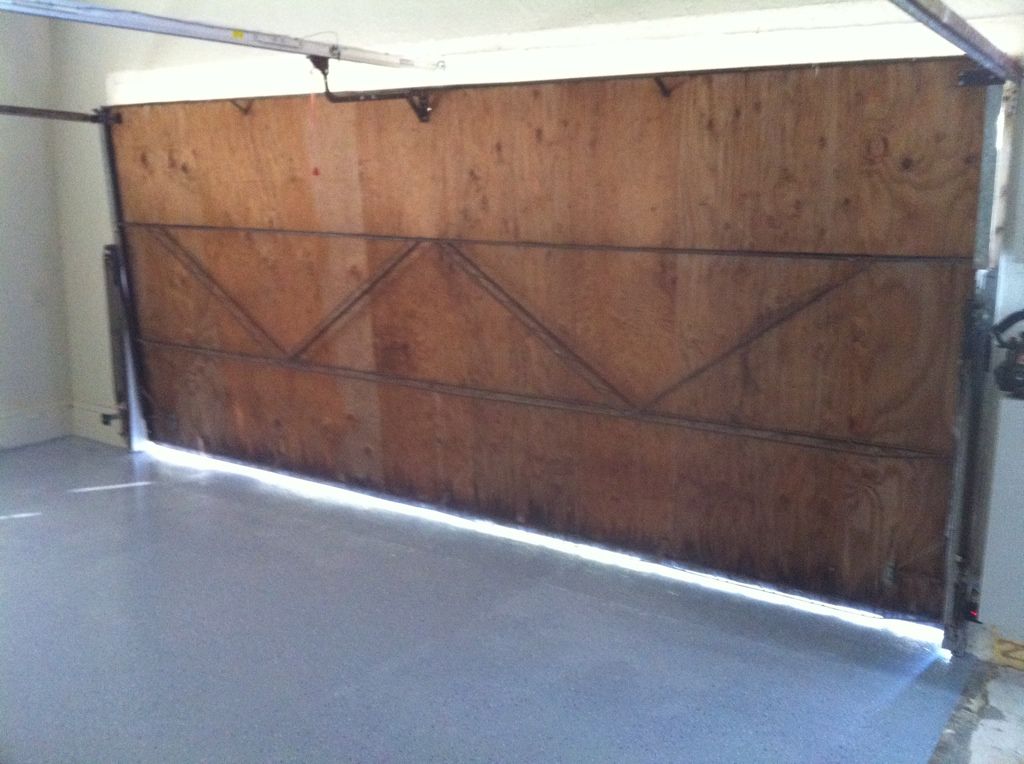
My super old door.
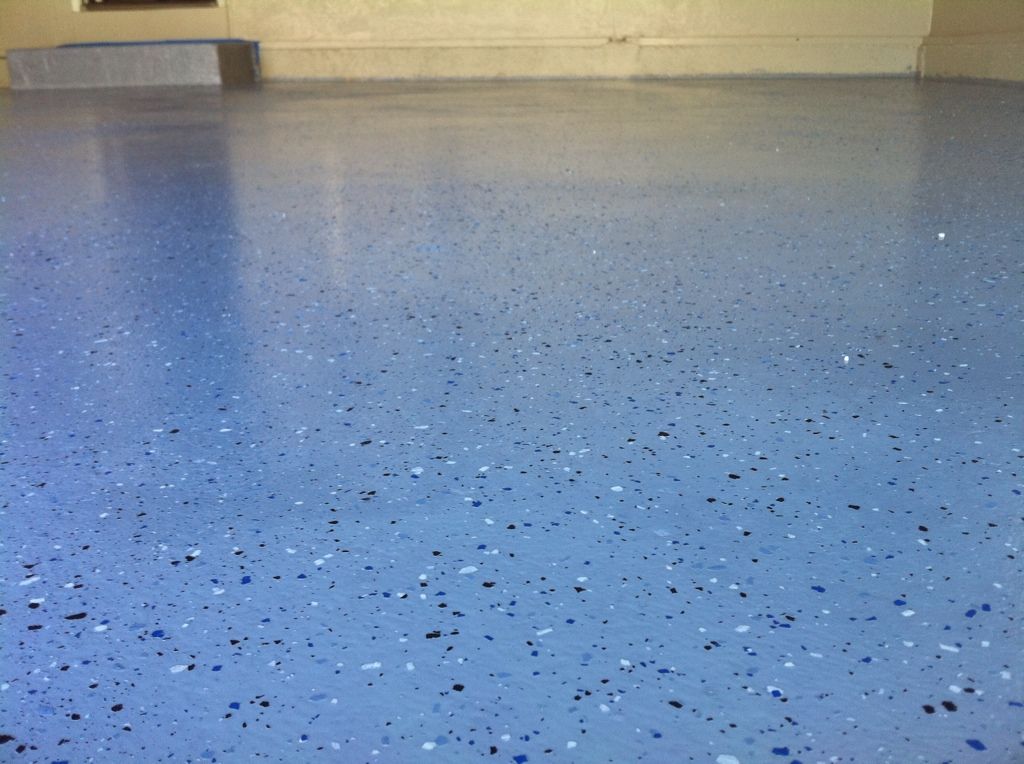
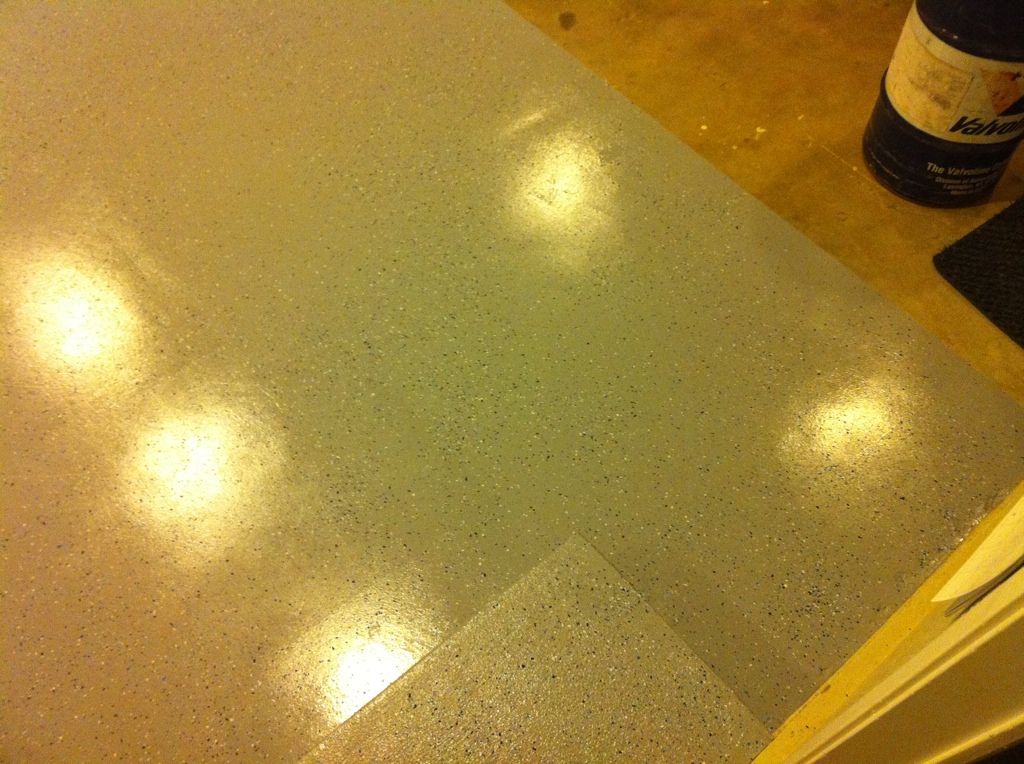
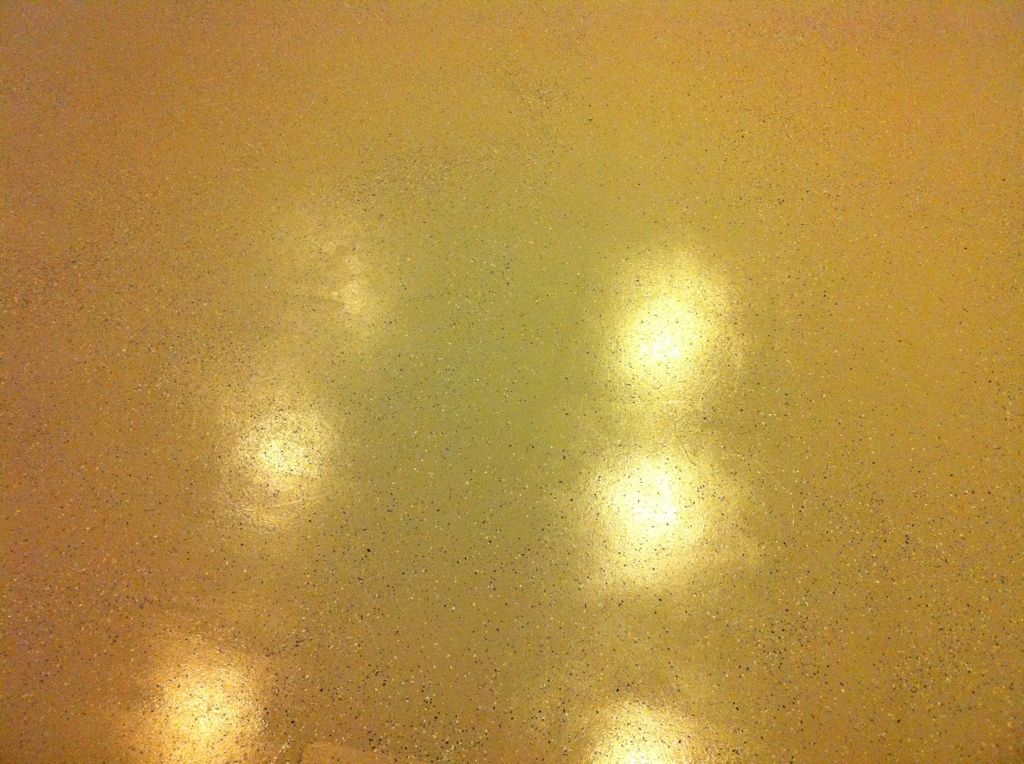
Here are some night shots with the lights on. I have 9 bucket lights in the ceiling, left over from the torn out illegal conversion.
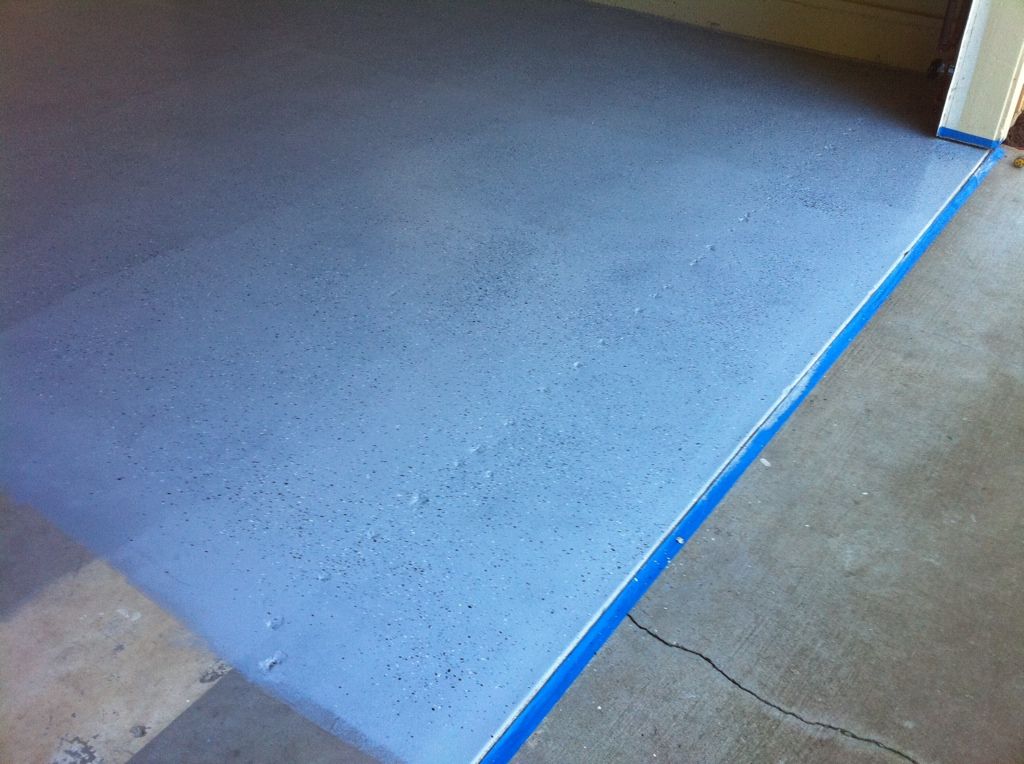
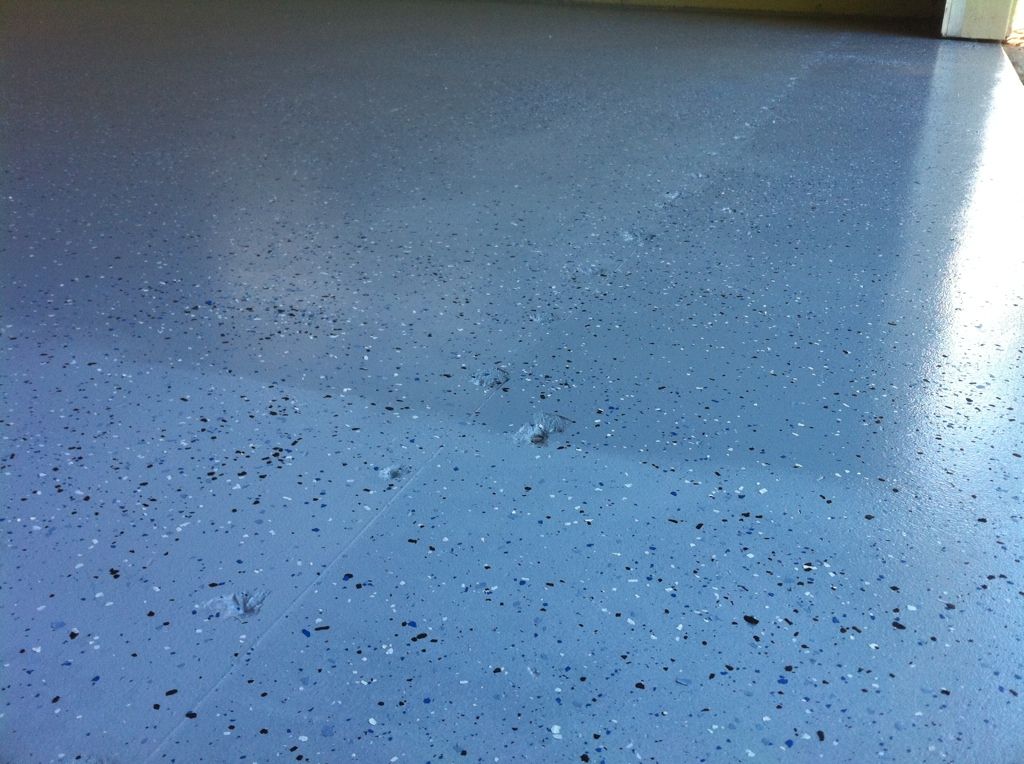
As you can see in this first photo...there is some narly linoleum adhesive on the floor. As soon as I get back in town on Sunday, I'll be renting a scraper and finishing this side of the garage. Wanna let the other side cure so I can swap sides.

So here is the stuff. I have an oversized 2 car garage and this kit cost somewhere around $140 I think.
Tools I used.
***Will add pictures in this section when I get home...I'm at my Dad's place.***
First you must go around and clean up any oil spots or grease with a spot treatment of any cleaner. I opted for Simple Green concentrate. Next I soaked the entire floor and brushed in the Simple Green/warm water solution to clean the floor.
Once you've cleaned and rinsed the ground thoroughly, you'll need to mix in the special concrete etching mix and again scrub it in with a push broom. It recommends rinsing atleast twice per section and then one final time on the entire area.
I let my floor dry over night and had to wait until it got warm enough to start the mixing process. It was forecasted to be about 65 degrees out that day, which meant I would have to wait 30 minutes AFTER mixing to start brushing the edges. And have to wait 45 minutes AFTER mixing to start rolling. Prior to mixing, I taped off anything I didn't want to get paint on.
Mixing process. Put entire A into entire B.
Stir for ATLEAST 2-3 minutes.
Next I started the trimming.
Next I started rolling. Man, this stuff is THICK. It says to do 4x4 foot sections...I didn't follow the rules. Rolling was fine but spreading the damn sprinkles was a pain because I went too wide and couldn't reach, haha. Just imagine me throwing super light pieces of shredded plastic as hard as I could.
Sprinkles!
My super old door.
Here are some night shots with the lights on. I have 9 bucket lights in the ceiling, left over from the torn out illegal conversion.
As you can see in this first photo...there is some narly linoleum adhesive on the floor. As soon as I get back in town on Sunday, I'll be renting a scraper and finishing this side of the garage. Wanna let the other side cure so I can swap sides.