J
OCCUPY LoD :)
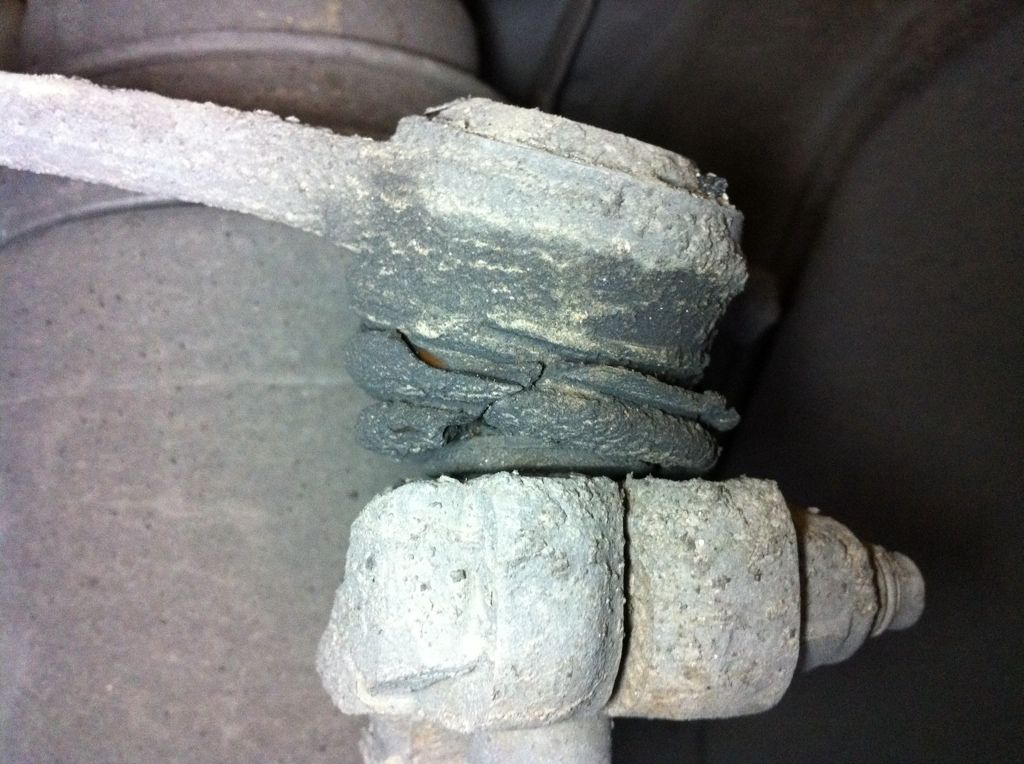
Barry came over the other day because he needed me to help him replace his driver's side upper control arm. He took his car in for an alignment and they said they would NOT align it with a bad ball joint.
So here we go......
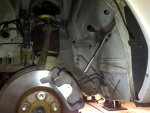
First jack up the front (or in my case, just the driver side) of the car. Barry's is a Gen 2 but the Gen 1's are the same. Next remove the wheel and remove the air shock using this link.... Removing Driver Side Strut
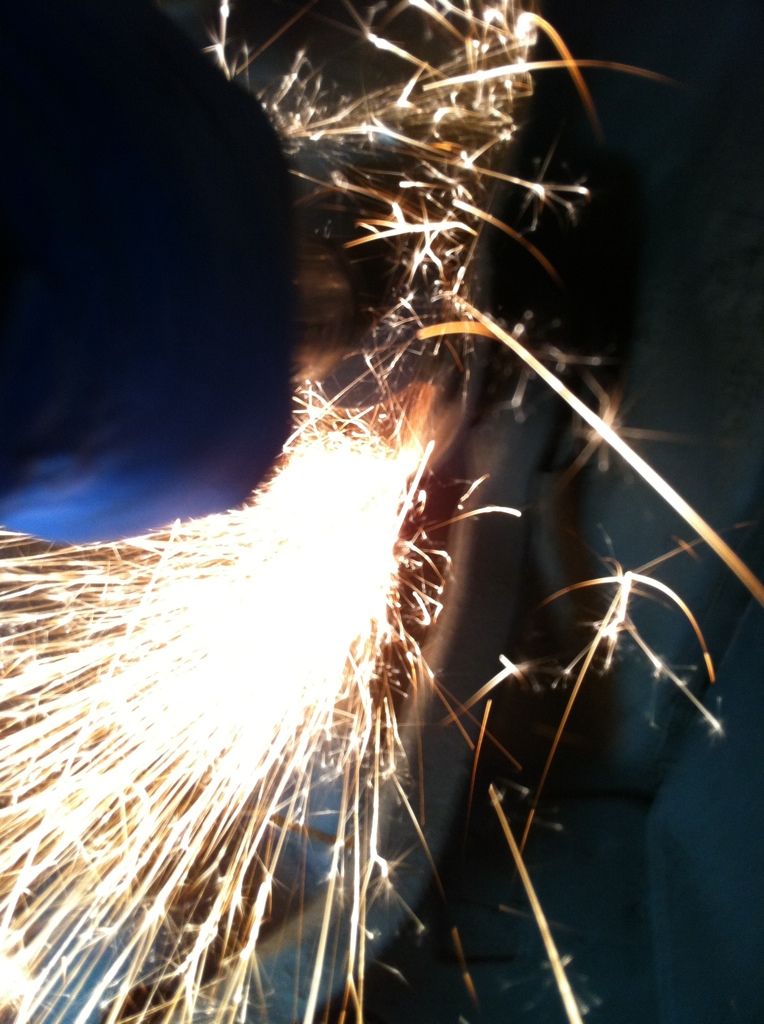
Once the shock is removed, you'll have access to the two bolts securing the control arm to the strut tower. Notice the "flags" that are protruding off the heads of the bolts. Removing these will make your life much easier. I used a long prybar to pop off the flags. One side came off SUPER easy, the other...not so much.
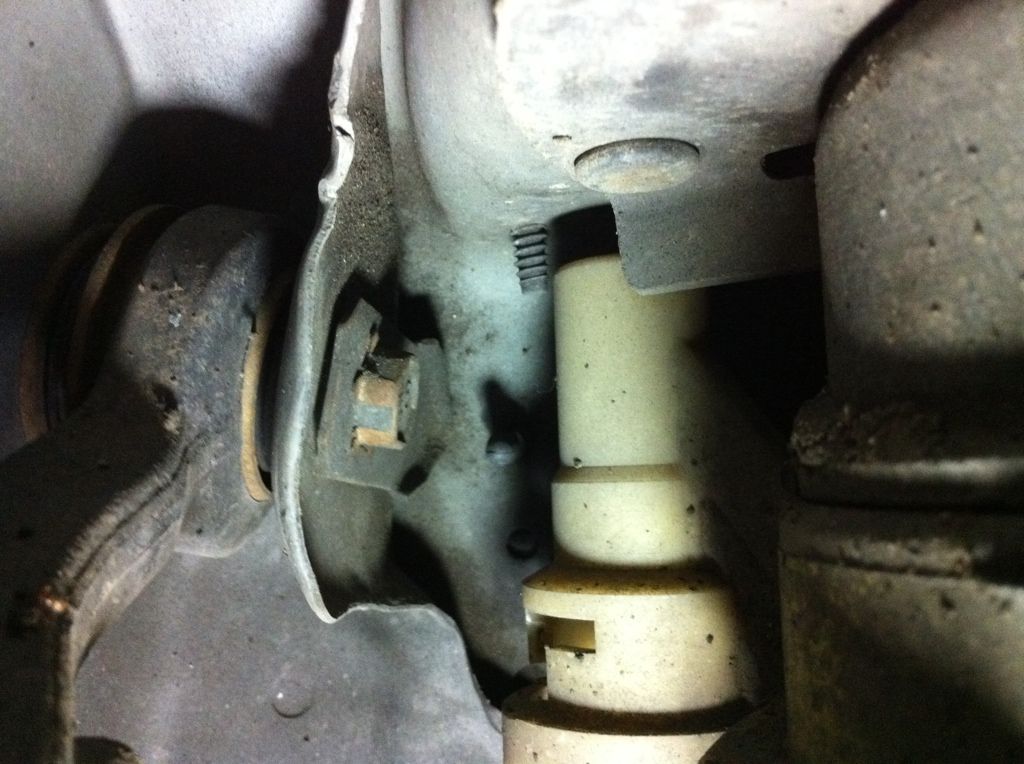

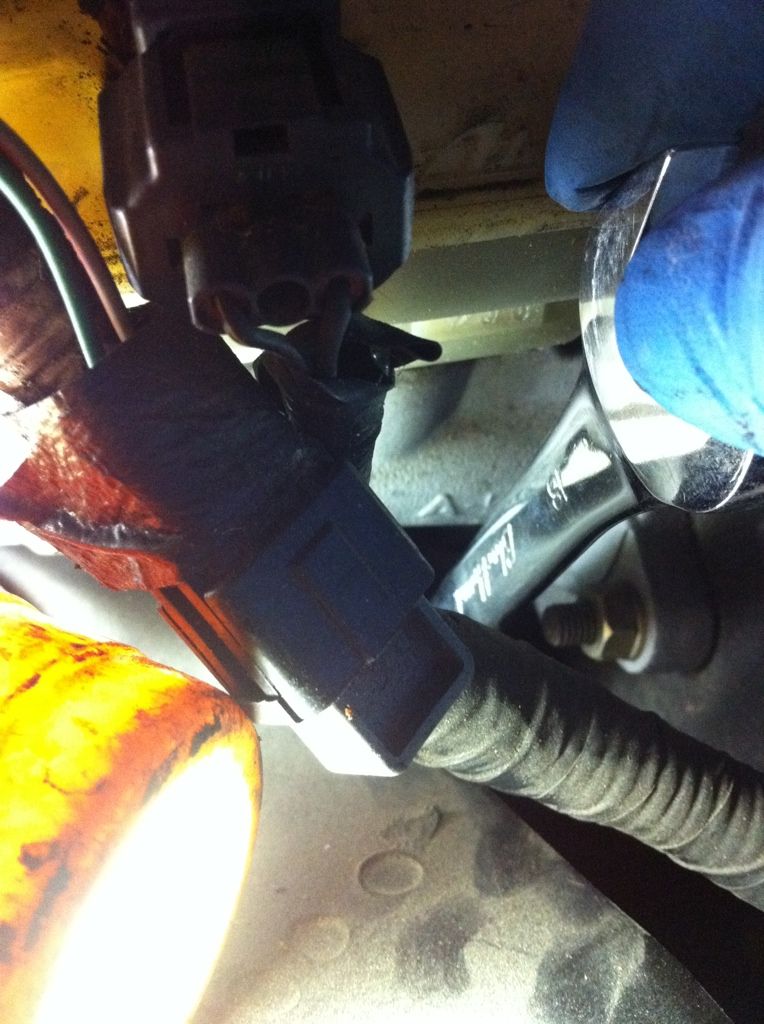
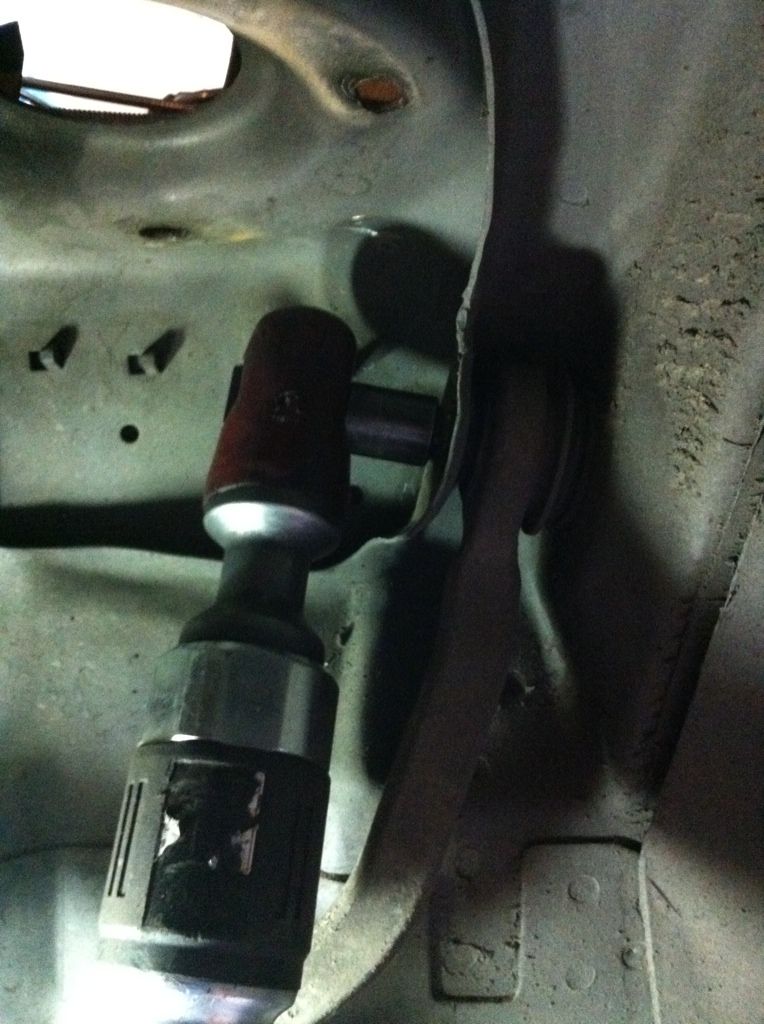
Next, you're going to use a 18MM ratchet wrench and a 19MM box end to "double wrench" the nut loose. Stick the 18MM down next to the master cylinder and then stick the 19MM on the end of the 18MM wrench for extra leverage. You'll get maybe two clicks at a time. Once you've loosened it enough, grab your impact ratchet and go to town!
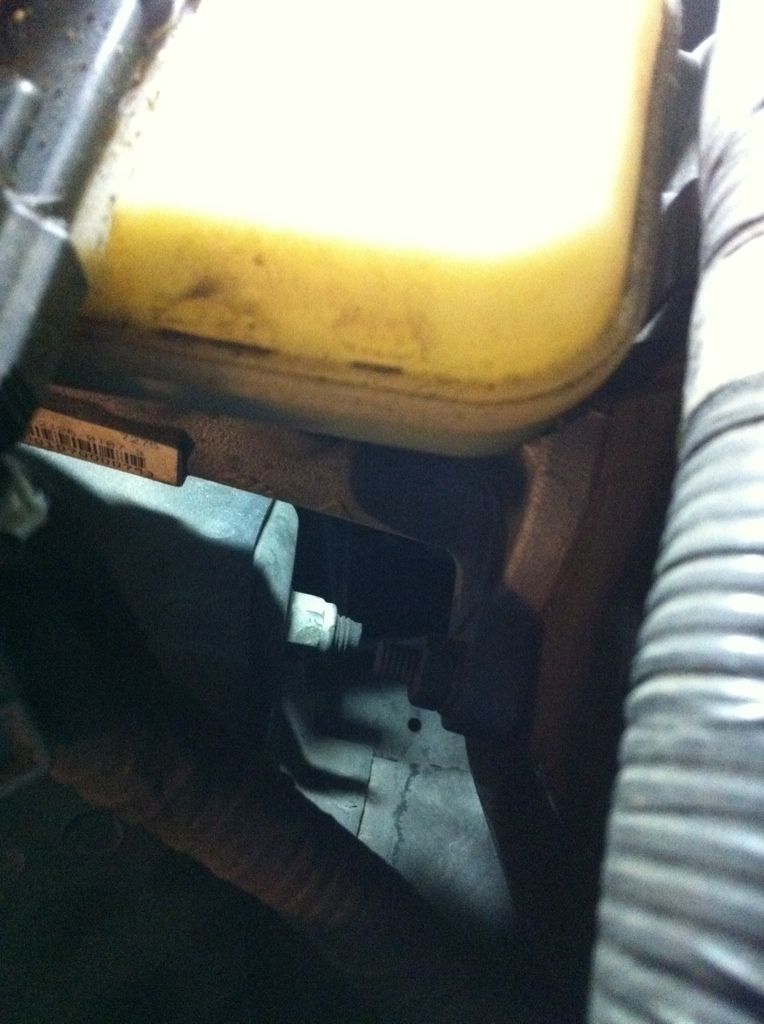
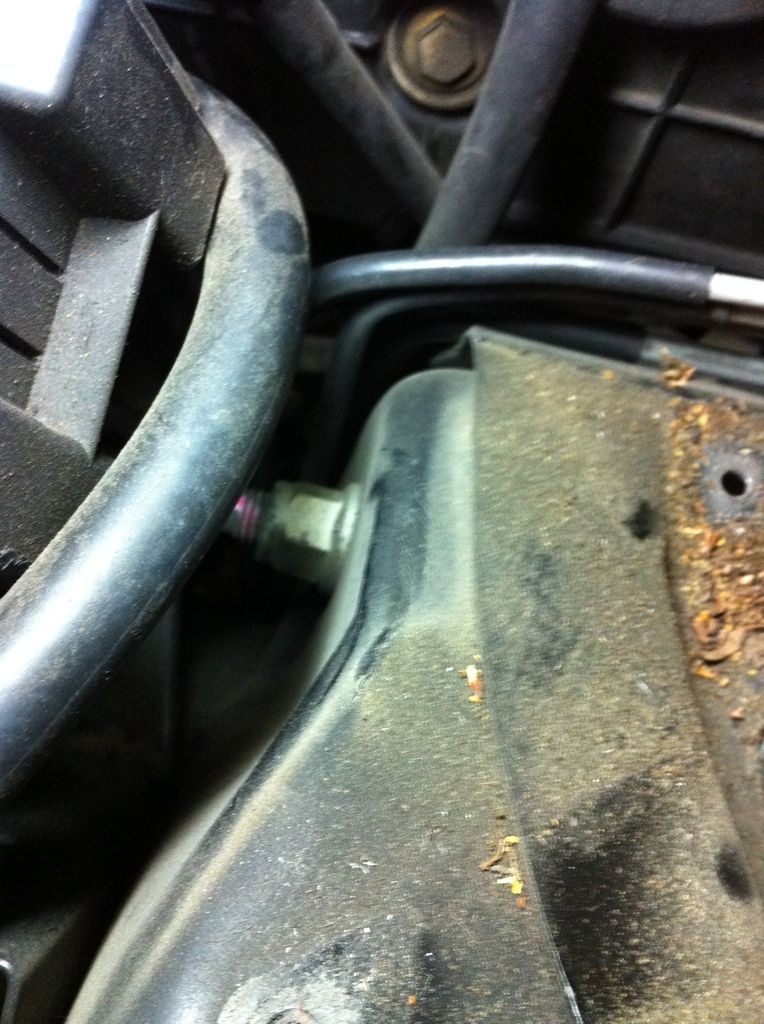
The other side is easy to get to.
Once you have the nuts completely loose, just carefully pull your 18MM ratchet wrench up, making sure the nut stays inside the end of the wrench (so you don't LOSE it). Leaving the bolts in place, loosen and remove the upper control arm to spindle bolt.
Remove the spindle and then remove the two bolts that are now hanging up the control arm.
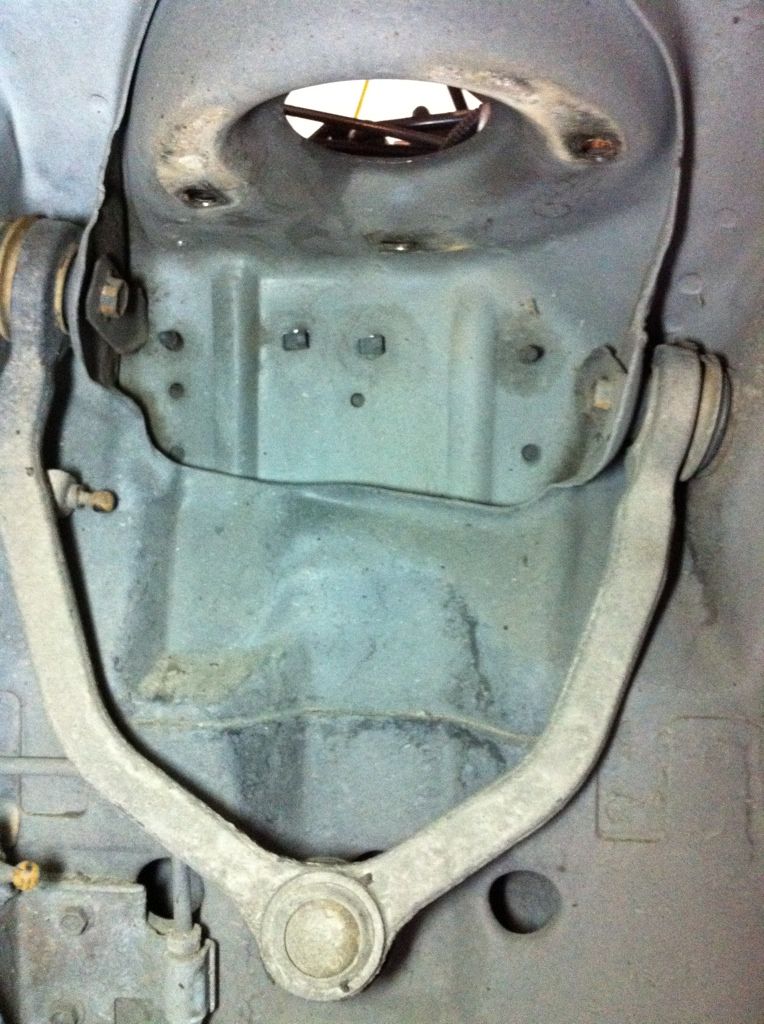
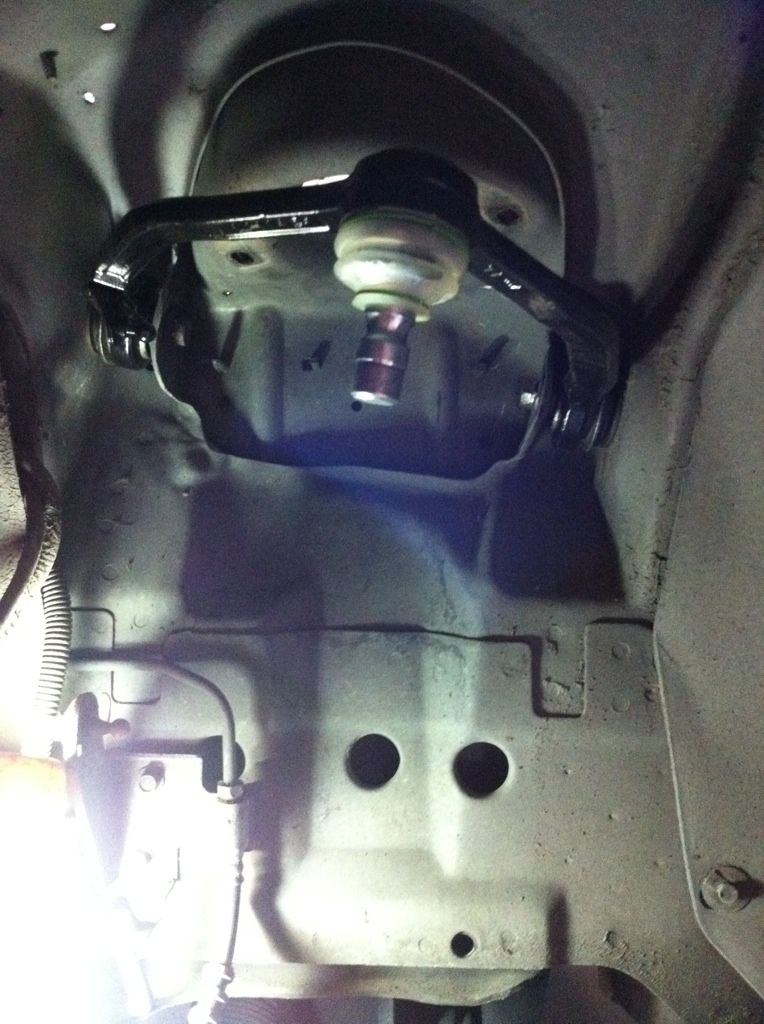
Upon installing the new arm, MAKE SURE you don't tighten the arm-to-strut tower bolts until the suspension is loaded. This will prevent the bushings from "spinning" inside the control arm. Kinda what/where the control should look like/be positioned.
So here we go......
First jack up the front (or in my case, just the driver side) of the car. Barry's is a Gen 2 but the Gen 1's are the same. Next remove the wheel and remove the air shock using this link.... Removing Driver Side Strut
Once the shock is removed, you'll have access to the two bolts securing the control arm to the strut tower. Notice the "flags" that are protruding off the heads of the bolts. Removing these will make your life much easier. I used a long prybar to pop off the flags. One side came off SUPER easy, the other...not so much.
Next, you're going to use a 18MM ratchet wrench and a 19MM box end to "double wrench" the nut loose. Stick the 18MM down next to the master cylinder and then stick the 19MM on the end of the 18MM wrench for extra leverage. You'll get maybe two clicks at a time. Once you've loosened it enough, grab your impact ratchet and go to town!
The other side is easy to get to.
Once you have the nuts completely loose, just carefully pull your 18MM ratchet wrench up, making sure the nut stays inside the end of the wrench (so you don't LOSE it). Leaving the bolts in place, loosen and remove the upper control arm to spindle bolt.
Remove the spindle and then remove the two bolts that are now hanging up the control arm.
Upon installing the new arm, MAKE SURE you don't tighten the arm-to-strut tower bolts until the suspension is loaded. This will prevent the bushings from "spinning" inside the control arm. Kinda what/where the control should look like/be positioned.
") lol
lol