98mark8lsc
I make stuff
So, after finding out that I'd have to drill holes in my A-pillar trim in order to install a gauge pod, I decided to try what I had seen on one of Jeremi's old cars. He installed 3 gauges in the defroster switch panel. I don't know how on earth me managed to get 3 of them to fit....
Here's what I did...
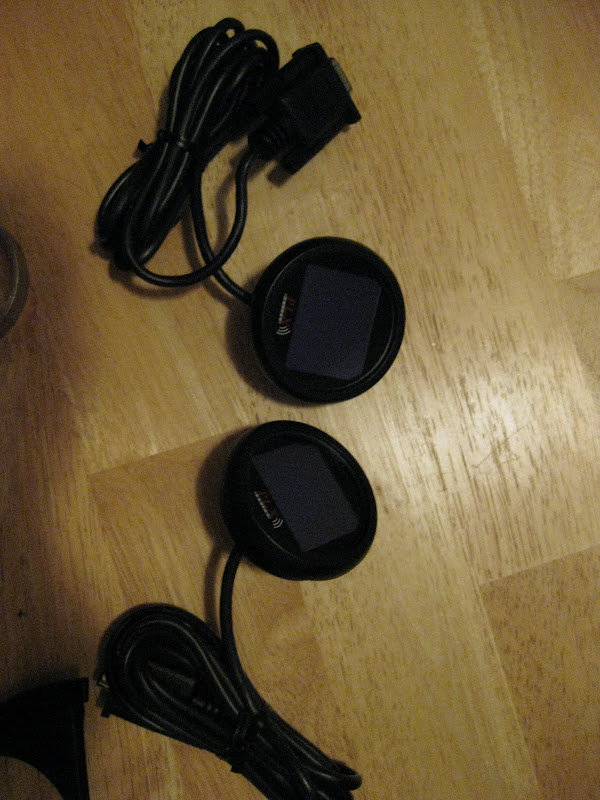
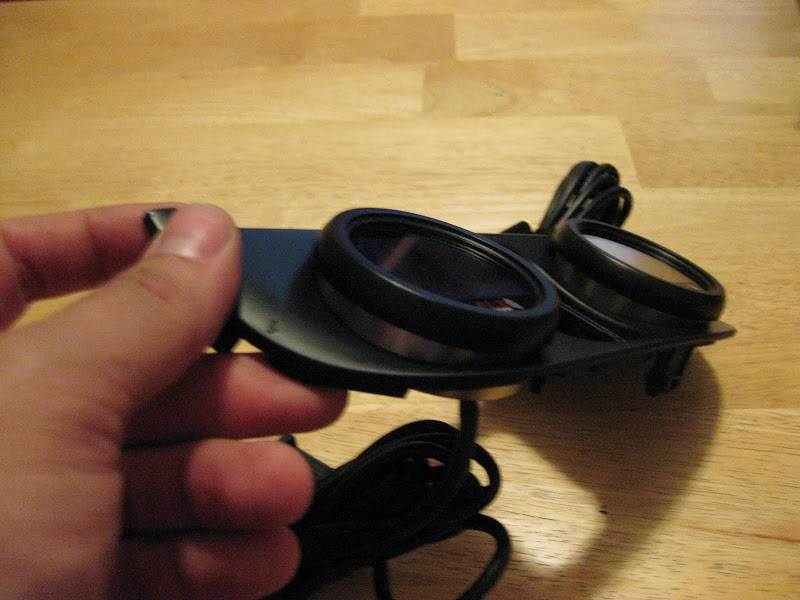
First, I measured the gauges. Here they are. They're PLX multi-gauges and are pretty bad-ass. They measured a little larger than 2 inches. (They're 2 1/16" gauges)
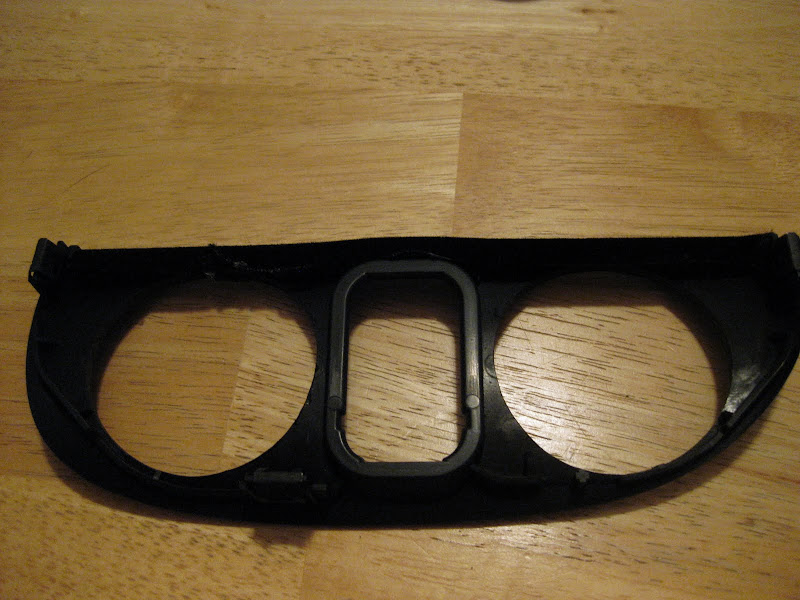
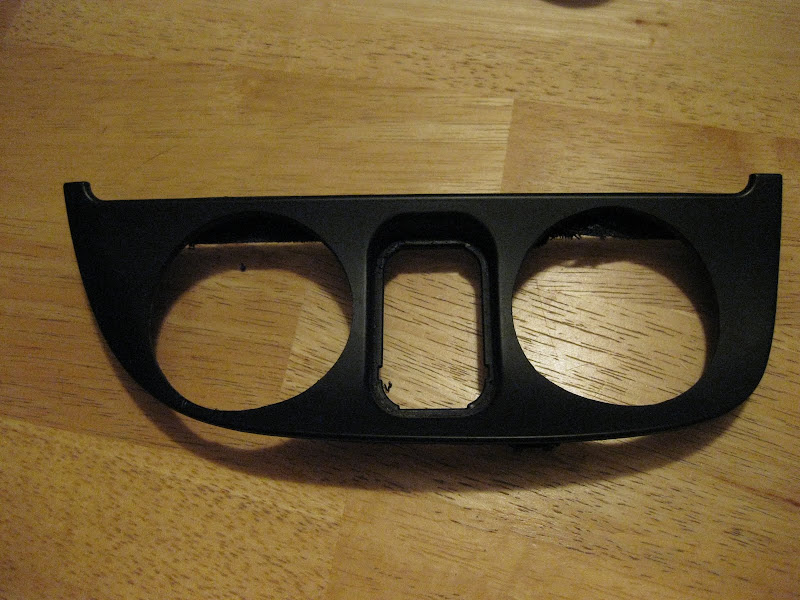
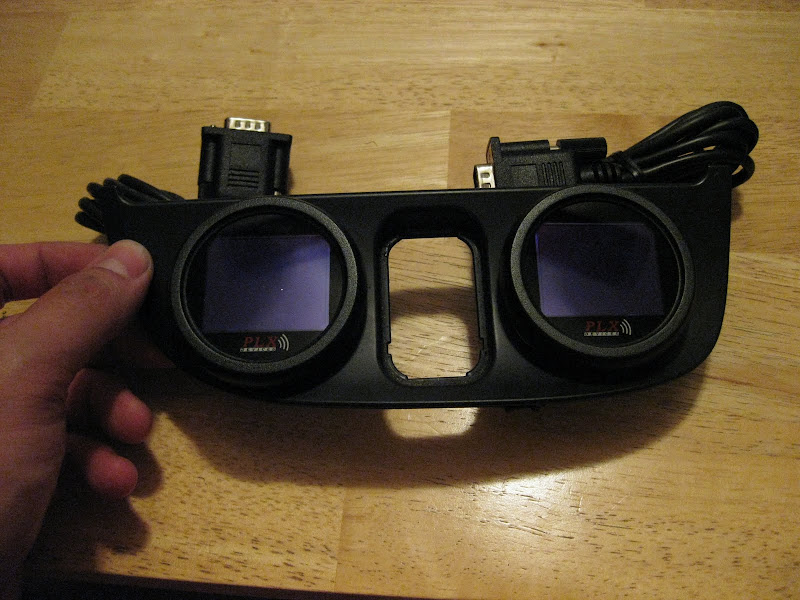
Once I got the measurement, I grabbed the next size larger hole saw that I had, which happened to be 2 1/8". I scribed some lines on the defroster switch panel based on some measurements I took, and made sure the centers of the gauges were equidistant from the defrost switch opening, and the same distance from the top. With such an odd shape, that's about the best I could do. I then drilled a small pilot hole where my scribe lines intersected, and used that to center my hole saw. It was pretty scary since it's so close to the edge, I thought for sure I was going to break it. Luckily, I didn't. Here's what how it turned out....
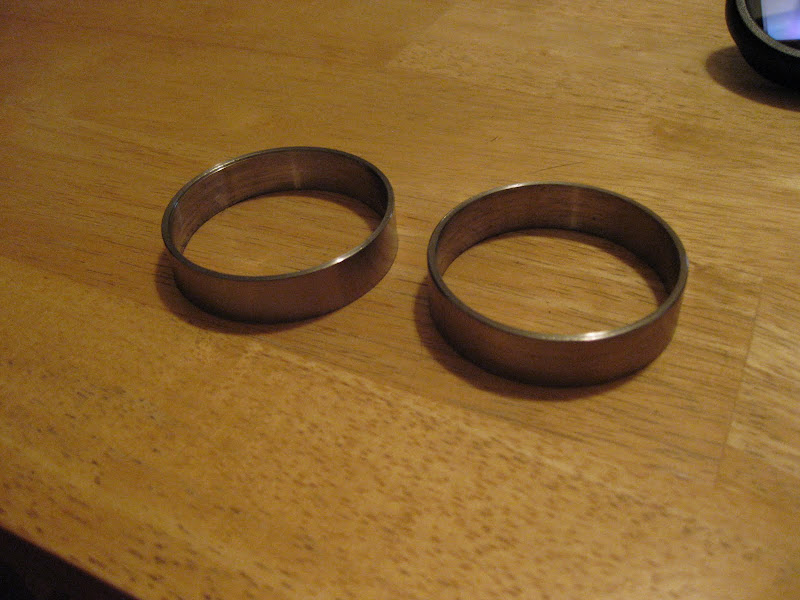
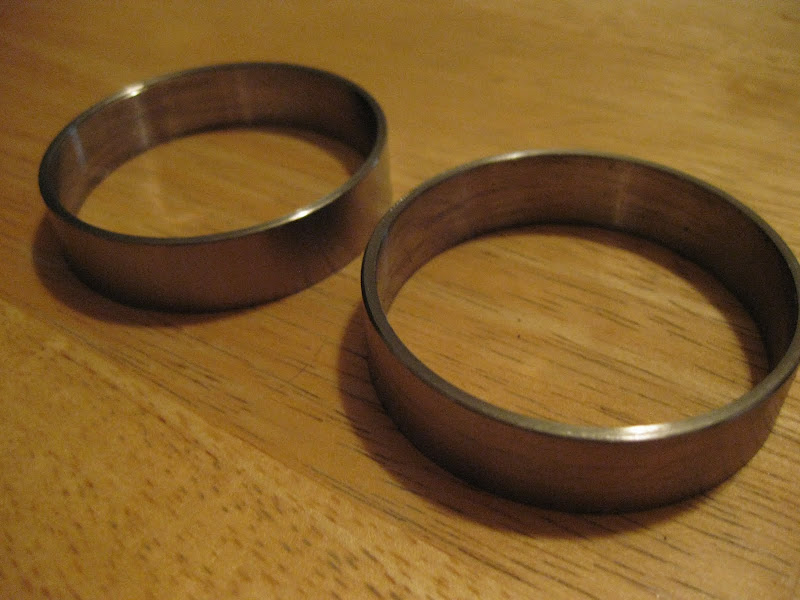
I had planned on using some aluminum bar stock to make trim rings to fill the openings, but ended up finding a perfect-sized piece of stainless steel pipe instead. The outside diameter was a little bit larger than my hole saw hole, and the inside diameter was a little smaller than my gauges. Perfect. I chucked a small length of it into the lathe and proceeded to turn down the O.D. and bore out the I.D. until it was just right IAW my measurements. I chamfered the edges real nice and parted them off. They fit perfect. Here's some pics of the rings...
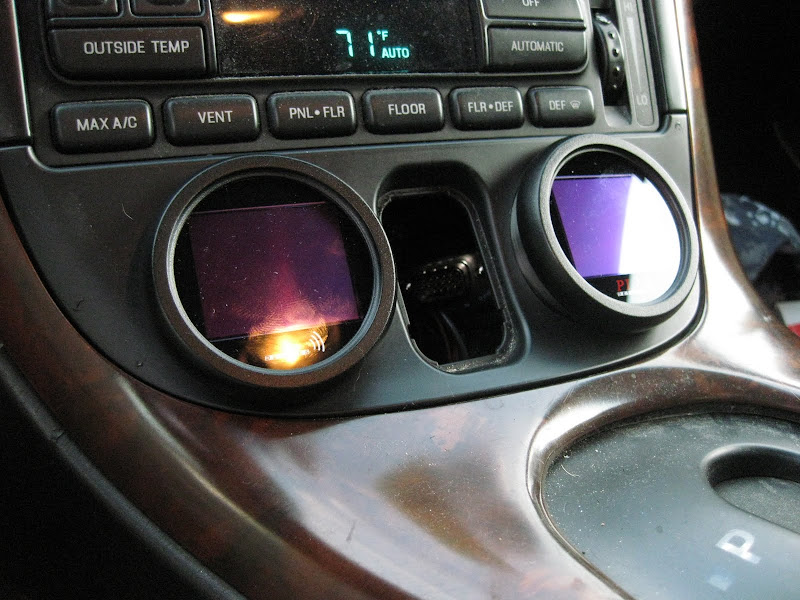
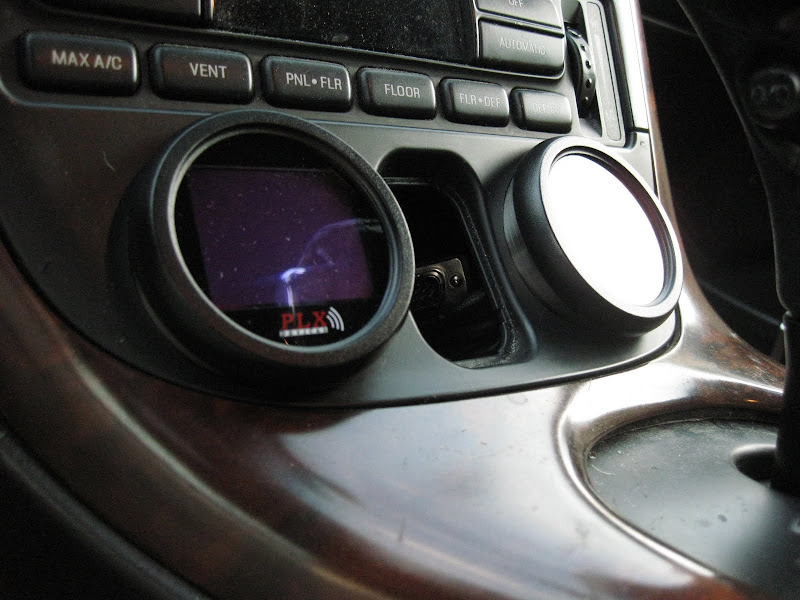
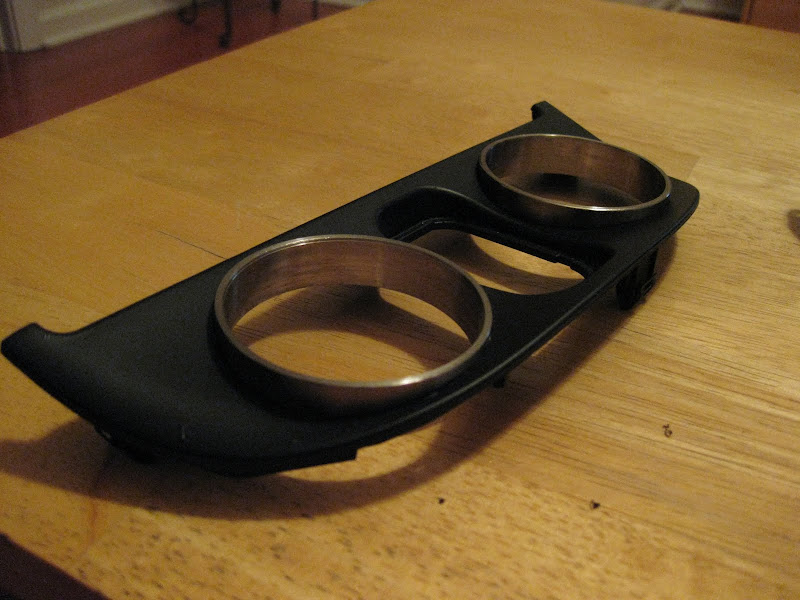
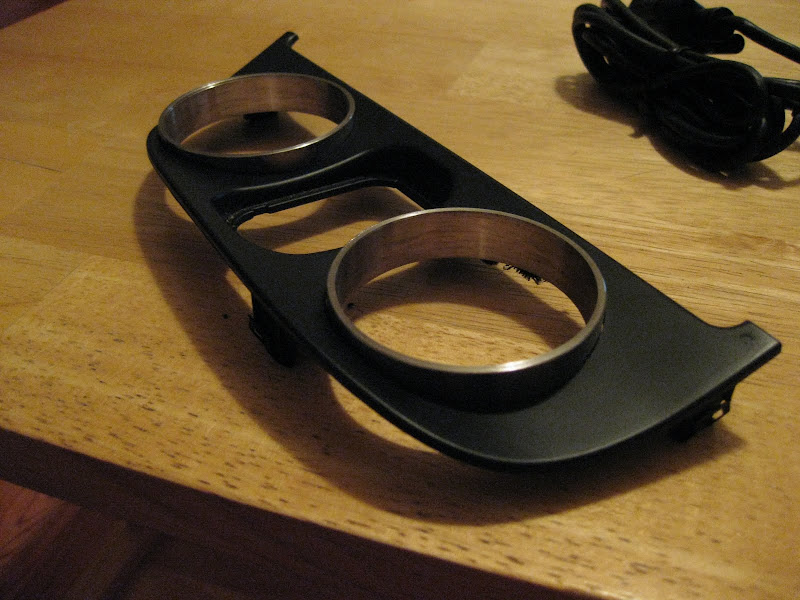
Some pics of the rings installed in the defroster panel, I'll be gluing them to make sure they stay put...
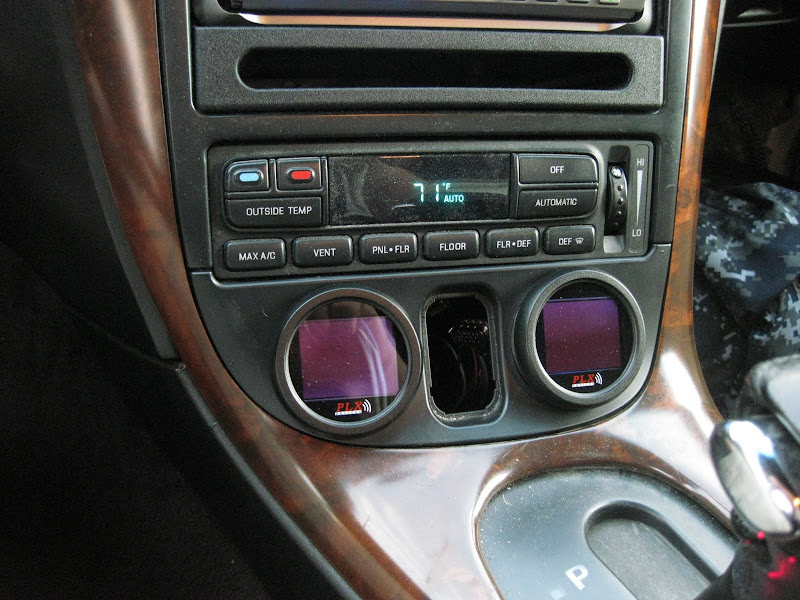
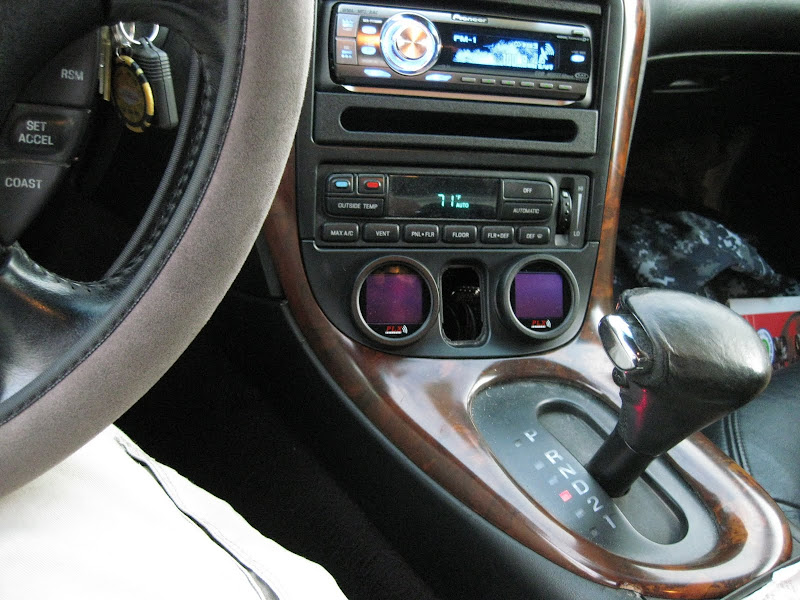
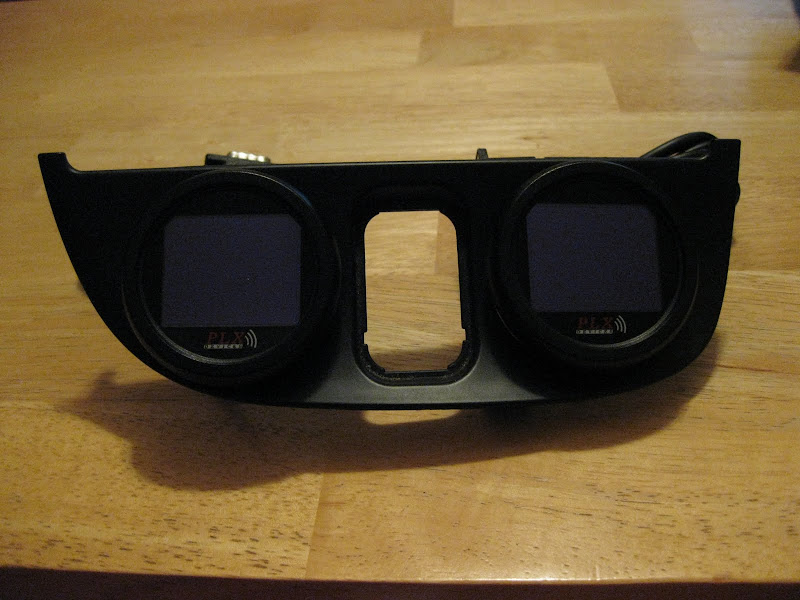
And finally, everything all fit up...
Here's what I did...
First, I measured the gauges. Here they are. They're PLX multi-gauges and are pretty bad-ass. They measured a little larger than 2 inches. (They're 2 1/16" gauges)
Once I got the measurement, I grabbed the next size larger hole saw that I had, which happened to be 2 1/8". I scribed some lines on the defroster switch panel based on some measurements I took, and made sure the centers of the gauges were equidistant from the defrost switch opening, and the same distance from the top. With such an odd shape, that's about the best I could do. I then drilled a small pilot hole where my scribe lines intersected, and used that to center my hole saw. It was pretty scary since it's so close to the edge, I thought for sure I was going to break it. Luckily, I didn't. Here's what how it turned out....
I had planned on using some aluminum bar stock to make trim rings to fill the openings, but ended up finding a perfect-sized piece of stainless steel pipe instead. The outside diameter was a little bit larger than my hole saw hole, and the inside diameter was a little smaller than my gauges. Perfect. I chucked a small length of it into the lathe and proceeded to turn down the O.D. and bore out the I.D. until it was just right IAW my measurements. I chamfered the edges real nice and parted them off. They fit perfect. Here's some pics of the rings...
Some pics of the rings installed in the defroster panel, I'll be gluing them to make sure they stay put...
And finally, everything all fit up...
")