
So on another thread I got into a conversation about my recent tractor project. I thought I would post up a few pics here. It isn't a Lincoln, but it has wheels and an engine!
This past spring I bought a house. Needless to say it has a very long driveway, about 1200' of pavement. I was able to pick up a Jacobsen Turfcat II that a local college had used for a while. It is a rear steering, hydrostatic drive and hydraulic PTO, 4 cylinder gas tractor. It had been sitting for a number of years, considering it's age it wasn't in bad shape, but it did need some attention. It came with a 6' cutting deck and a 52" snow blower.
This past summer I used it to cut the grass. It is a near zero turn mower, so it is surprising the tight spots I can get a 6' deck into. During the course of the summer I went through it mechanically to get it running well. I rebuilt the carb due to an accelerator pump leak. I completely took it apart, let it sit in chem dip, set it to factory setting and tuned it a little from there. I replaced all the fluids including the 5 gallons of hydraulic fluid. I also rebuilt the ignition, new rotor, cap, condenser, points, plugs, and wires. I also put a new battery in. It needed a lot of smaller things like a new fuel filter, new vac and fuel lines, new belts, etc. While all of these things sound simple, locating parts can be quite a challenge. The engine is a continental engine, but they actually bought it from Renault. I had to get most of the parts from the UK. Although I have been able to source quite a few NOS parts from ebay. Jacobsen parts are unbelievably expensive so finding other sources is pretty much a requirement if an individual owns a machine like this. Most of the time it is golf courses, businesses, and gov organizations that buy this sort of thing. You can easily spend over 50k on a new Jacobsen machine.
So on to the pictures. Go here for the full album, but most of the pics are in the thread
http://s192.beta.photobucket.com/user/rommayo/library/Jacobsen Turfcat II
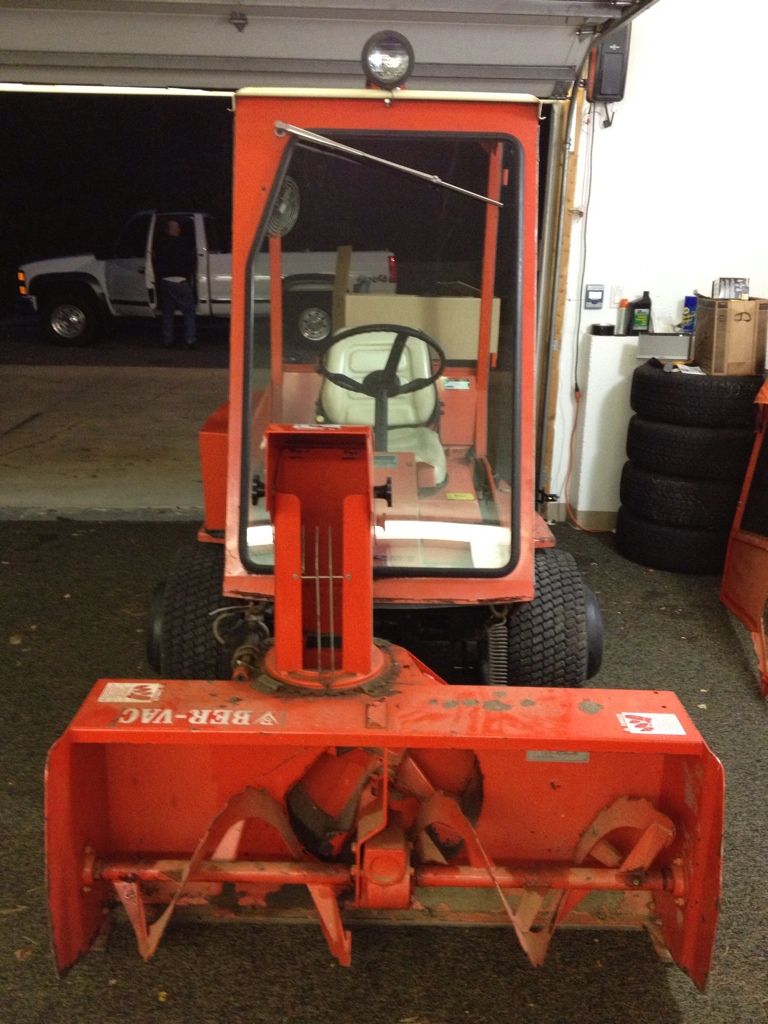
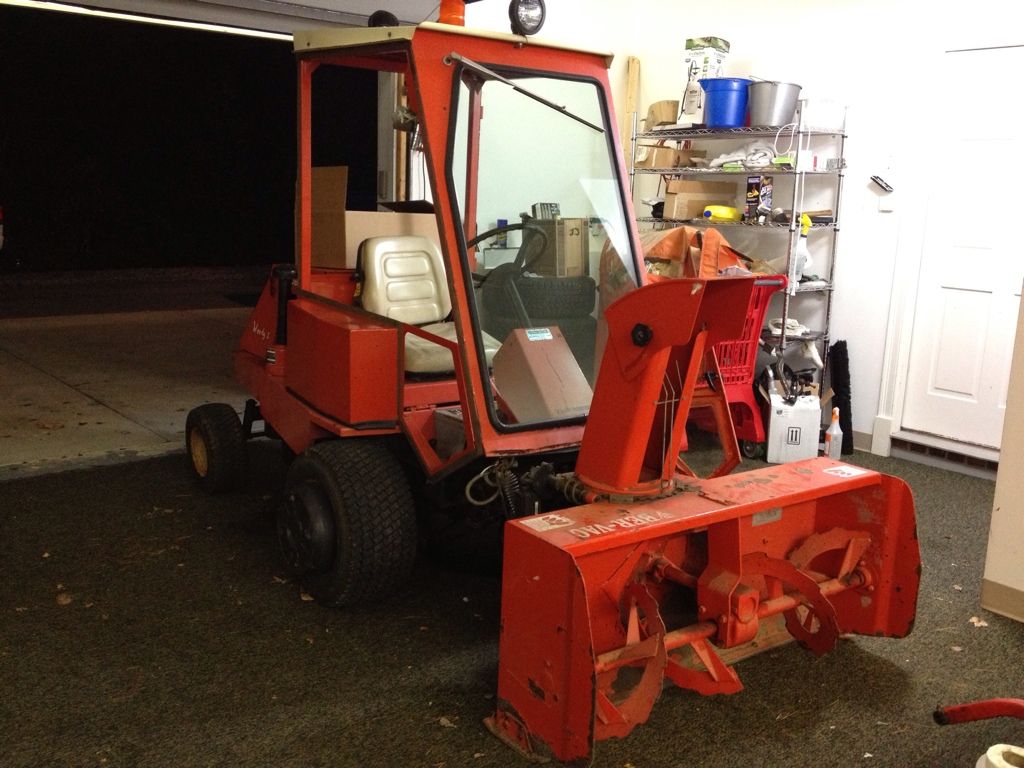
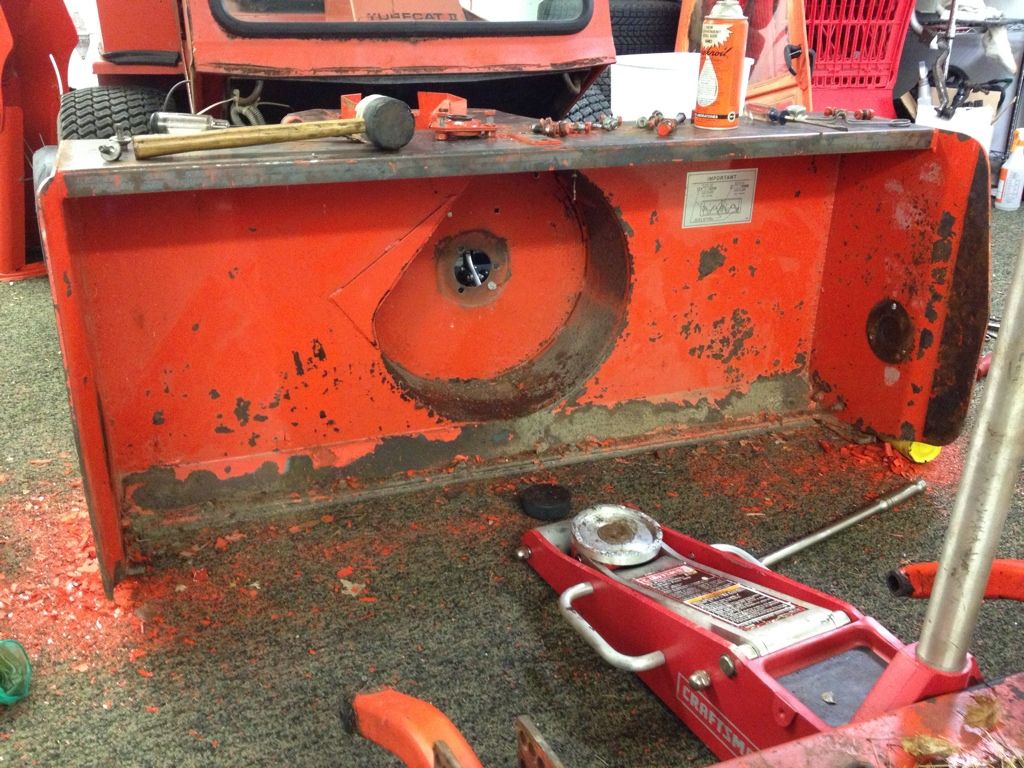
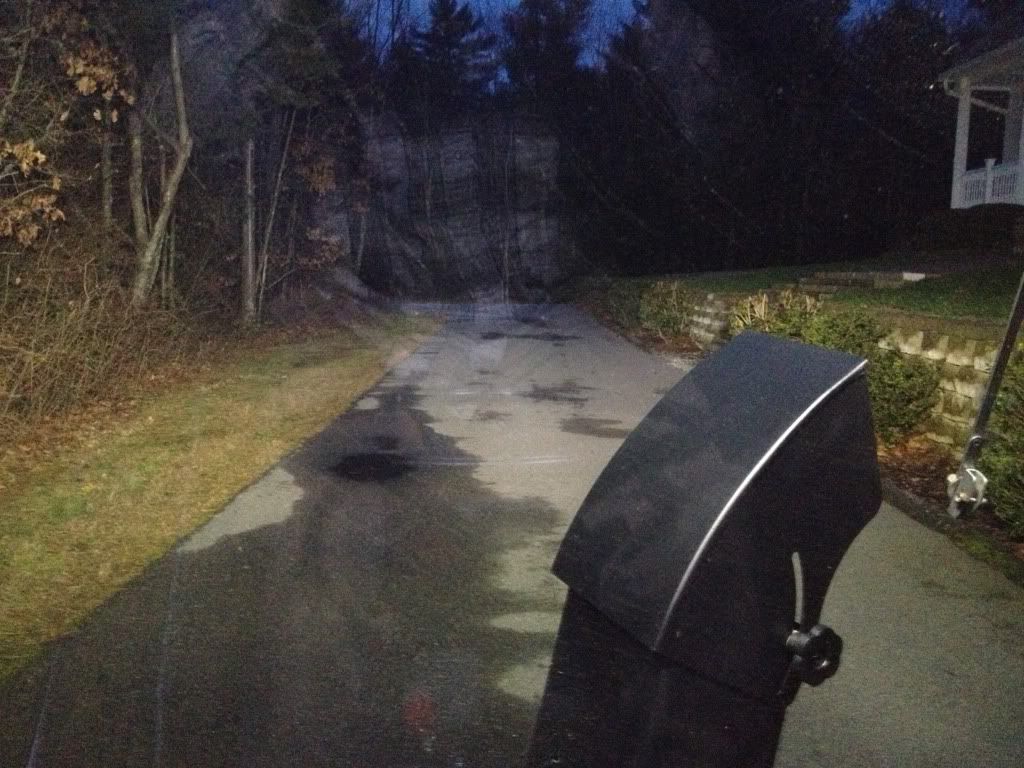
Here it is with the snow blower on it before I started painting it this fall.
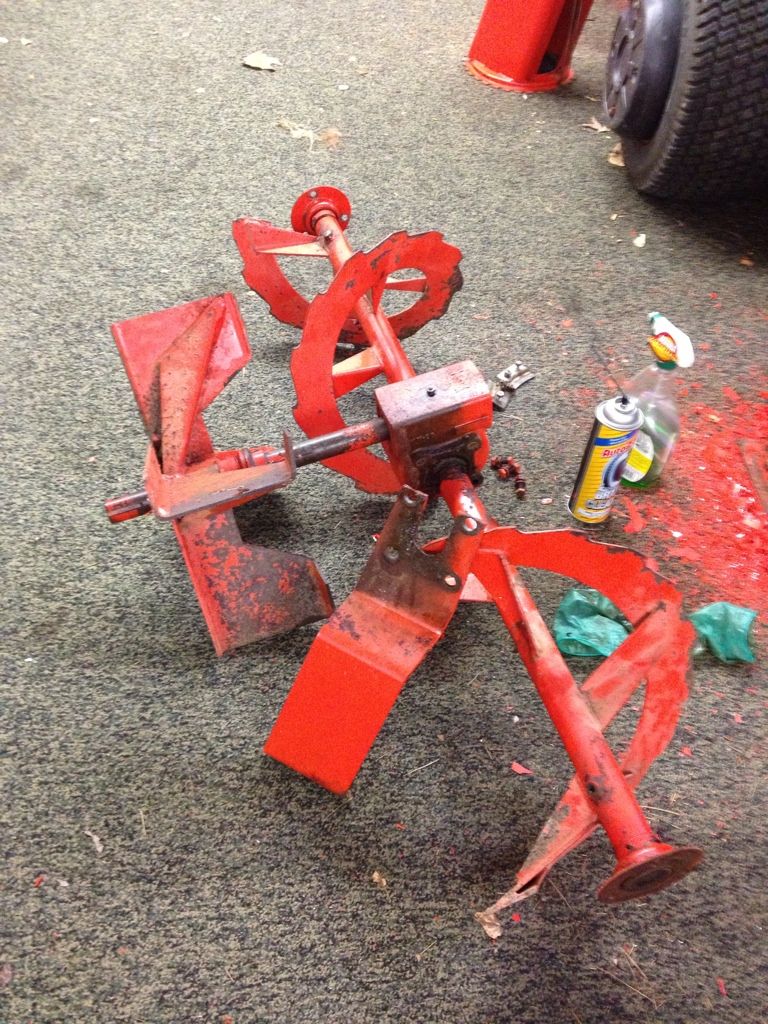
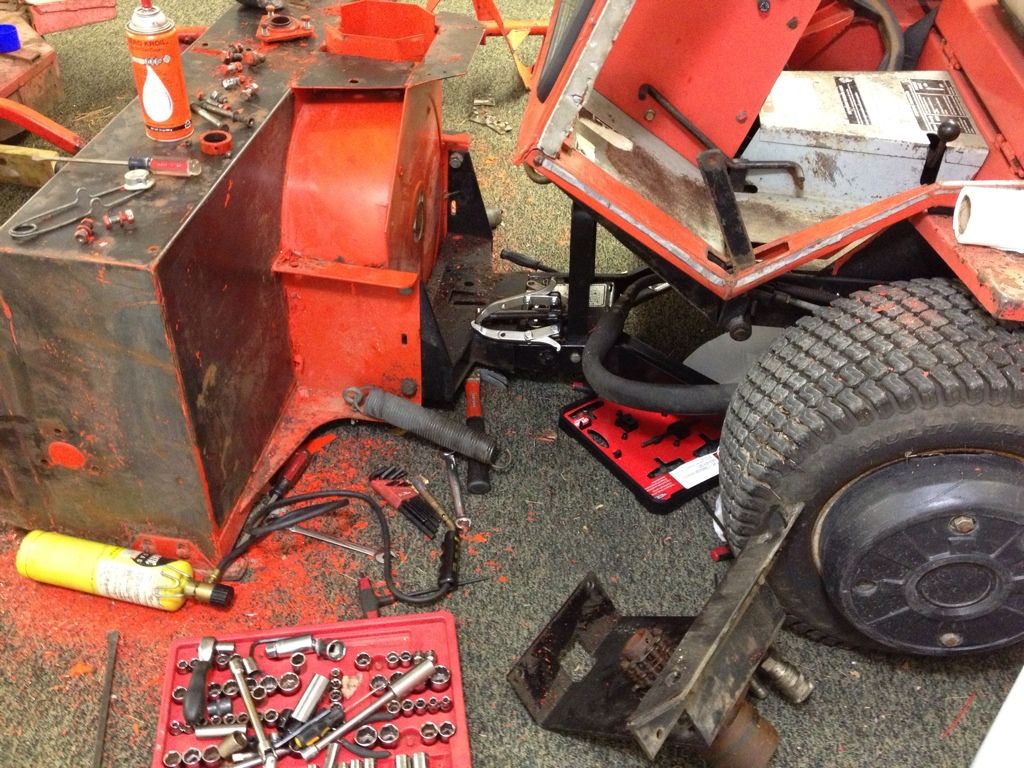
The snowblower was first.
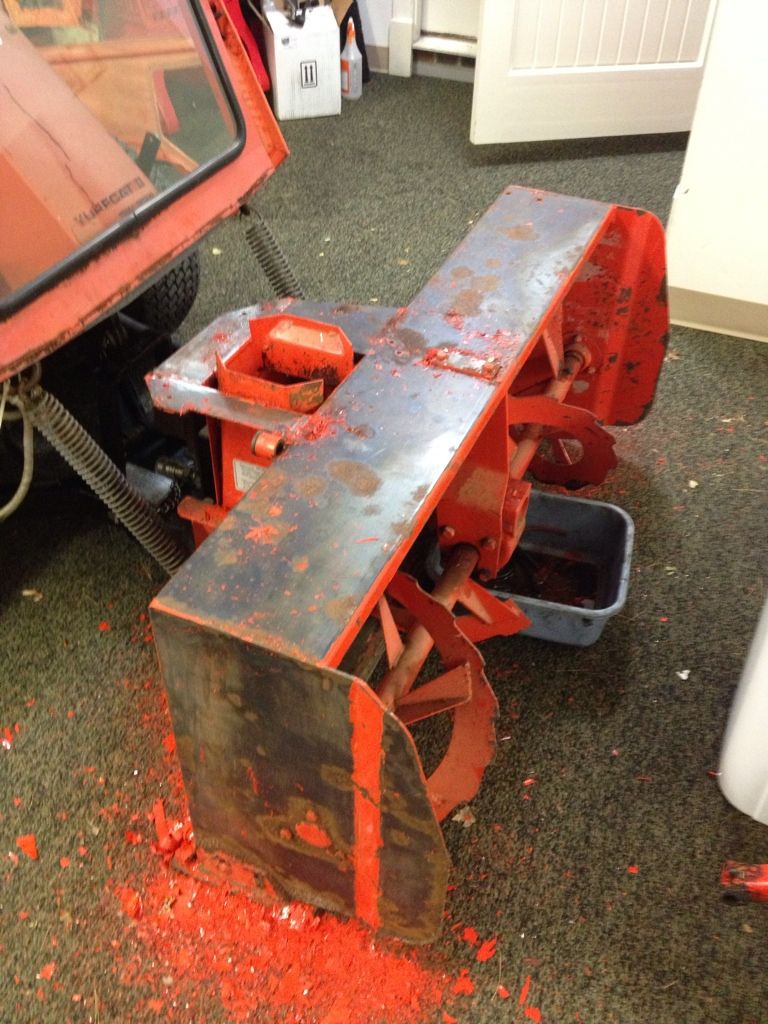
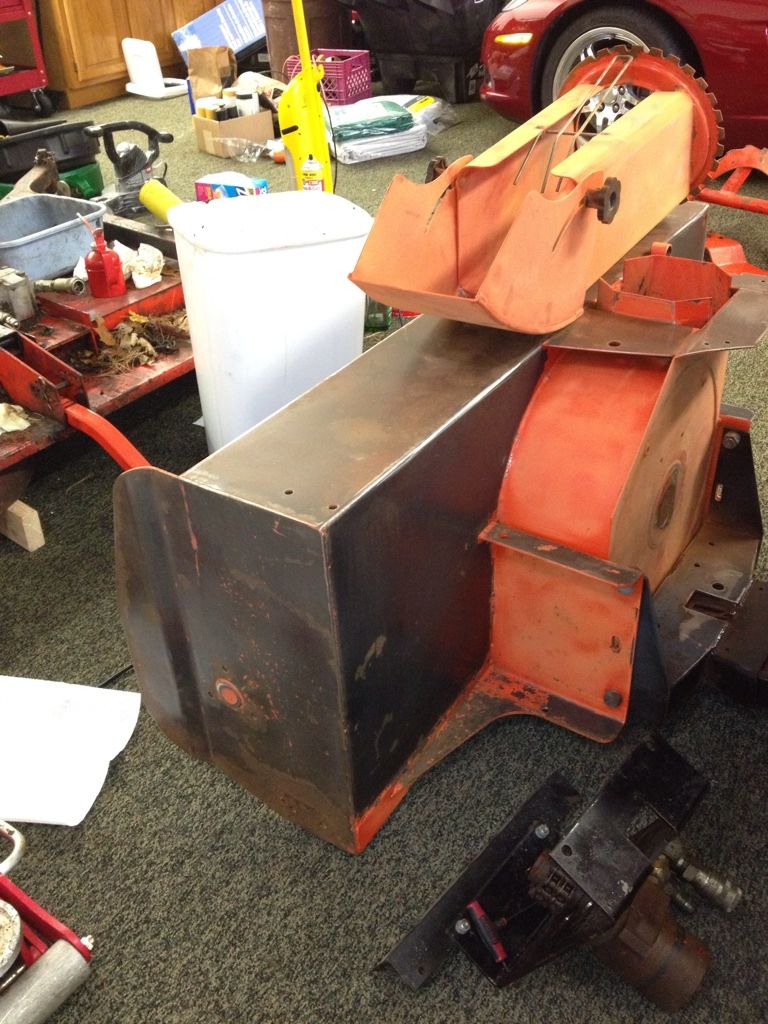
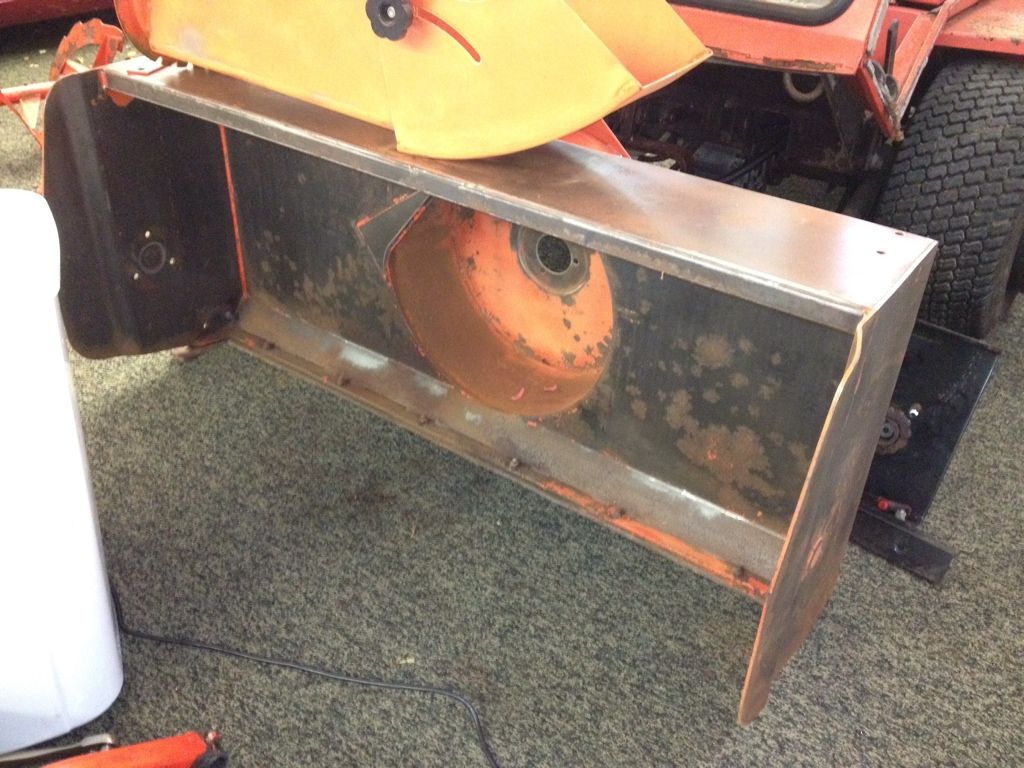
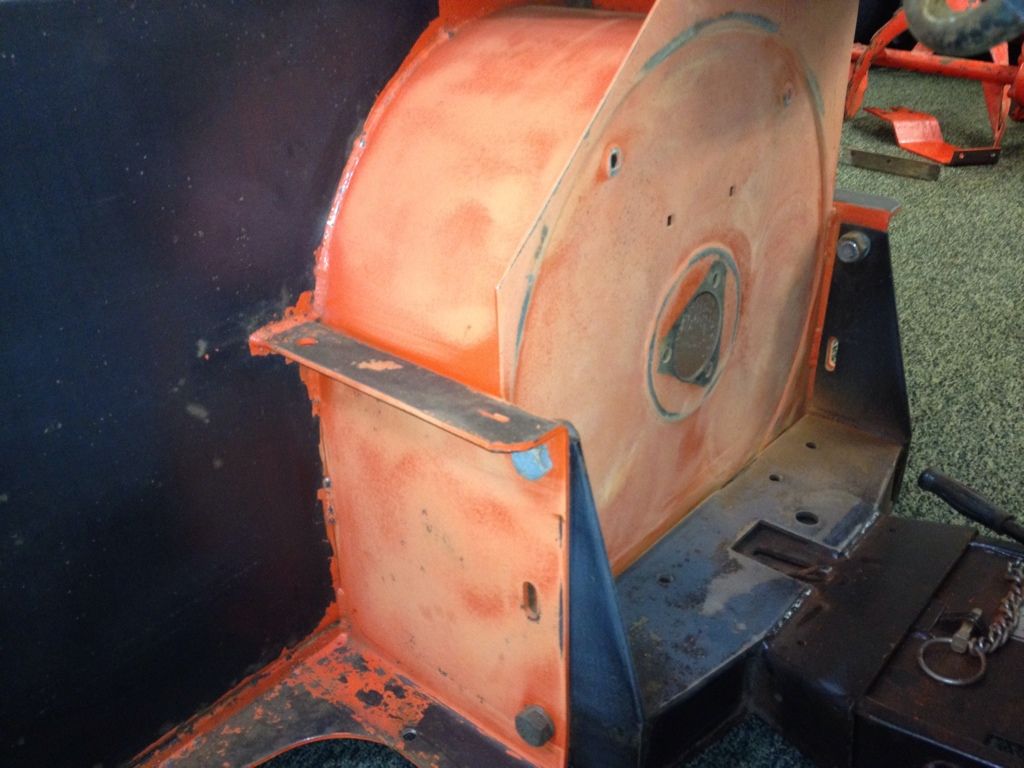
There was more prep work done, then it was wiped down with acetone and a tack cloth was used to get the rest of the dust. John Deere enemel primer was used.

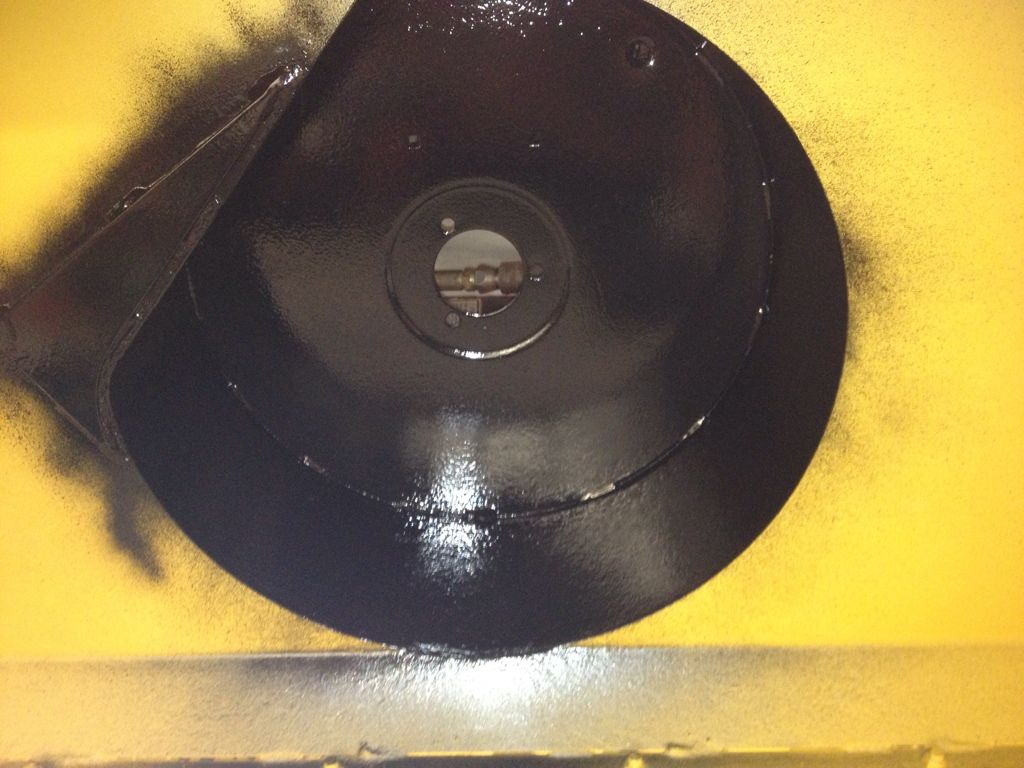
Gloss was sprayed in the second stage area as well as the chute. All spraying was done outside AWAY from the corvette!

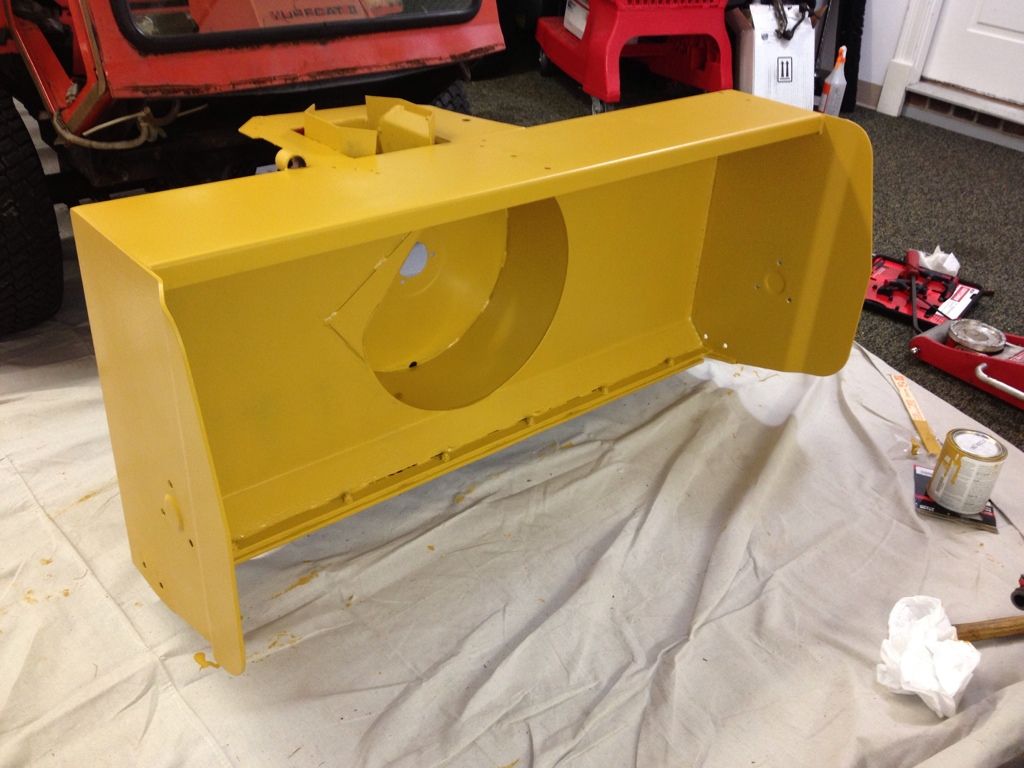
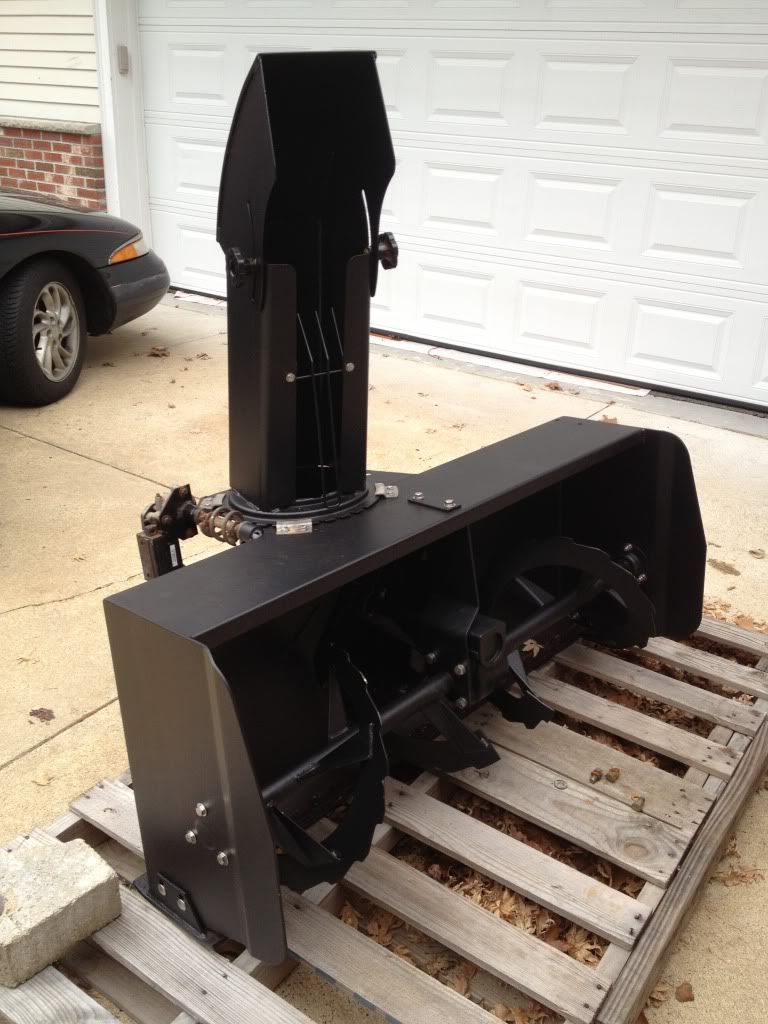
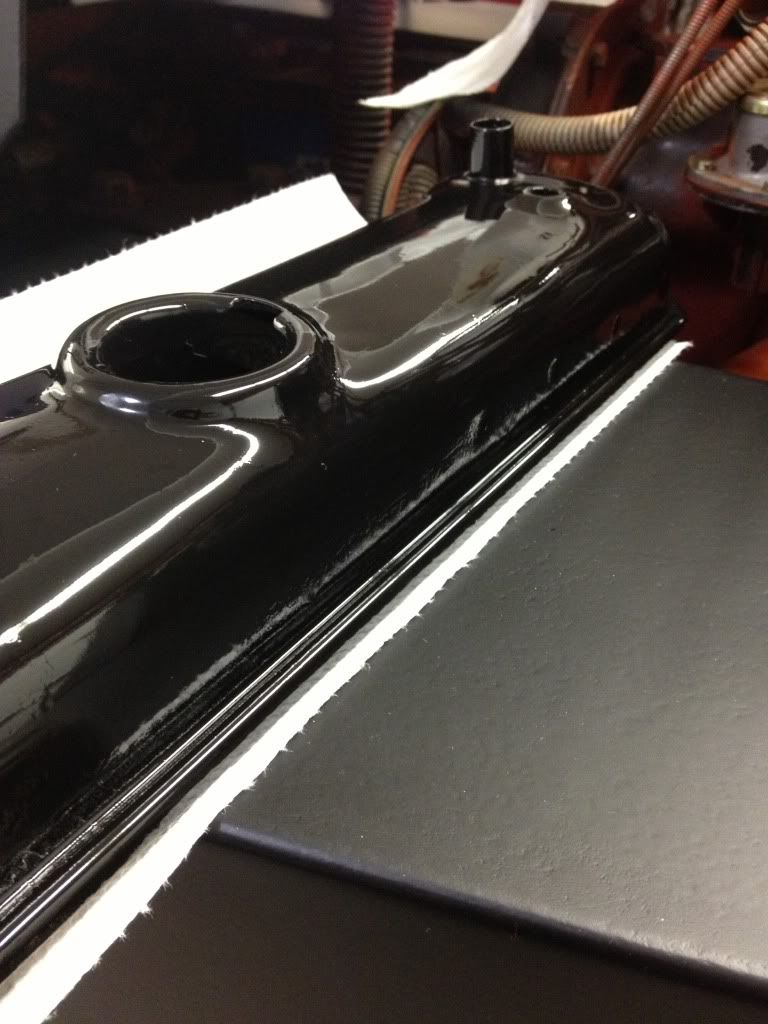
First coat of john deere blitz black flat black paint
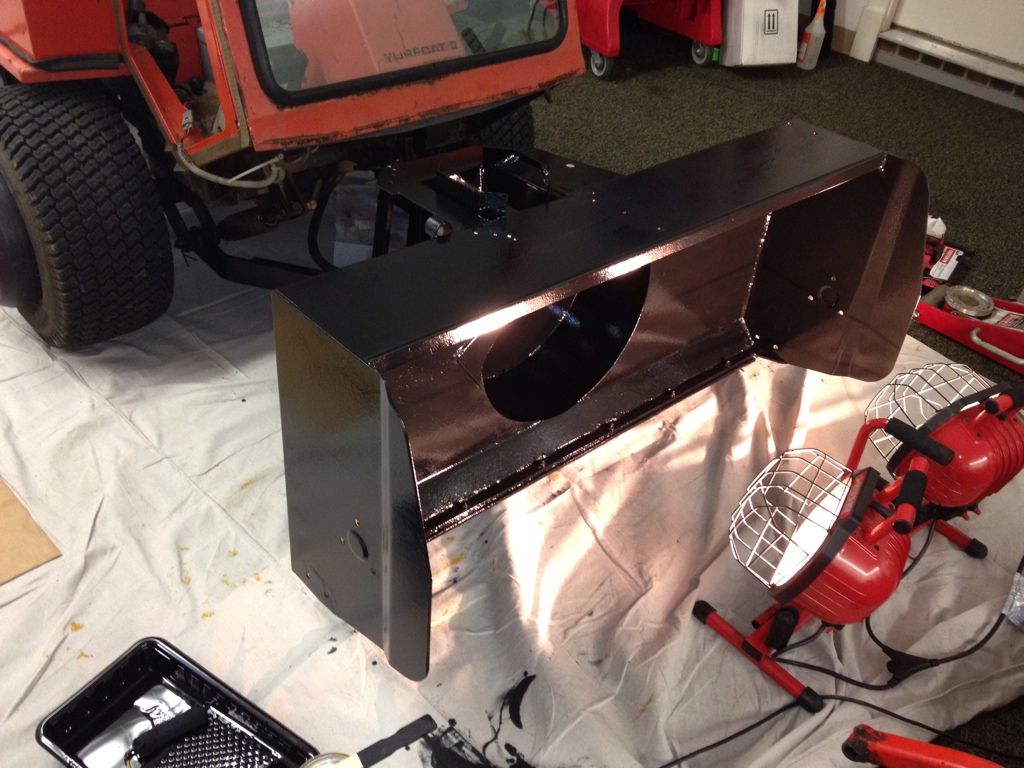
Here is it finished. I replaced all of the fasteners with stainless as well.

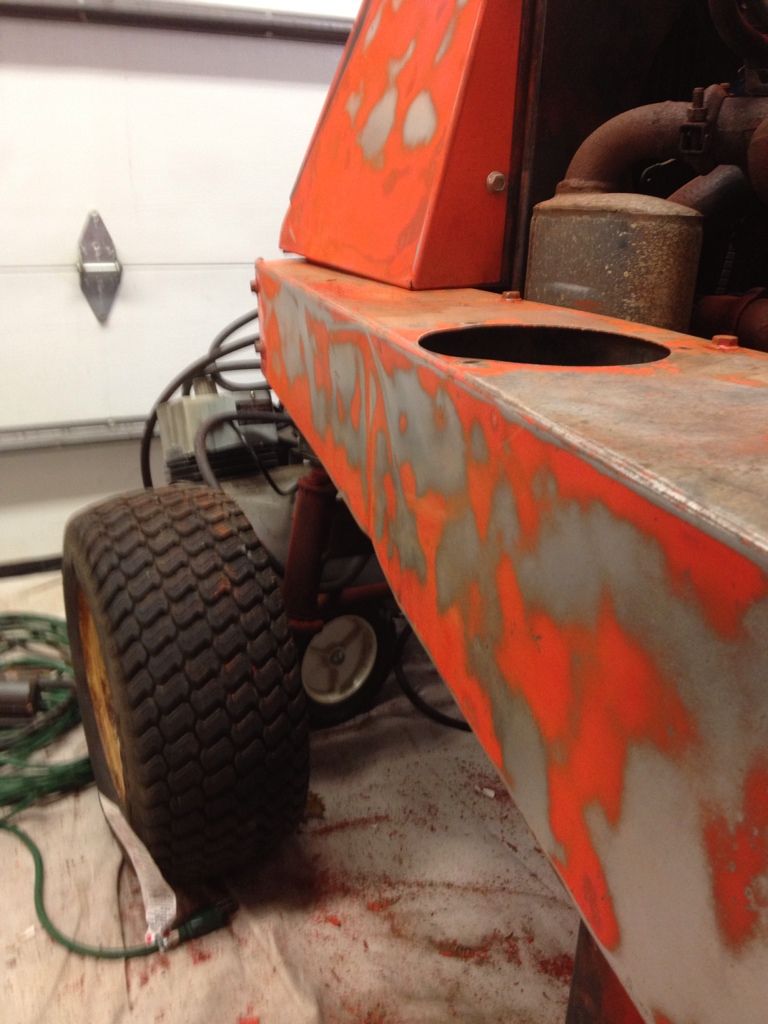
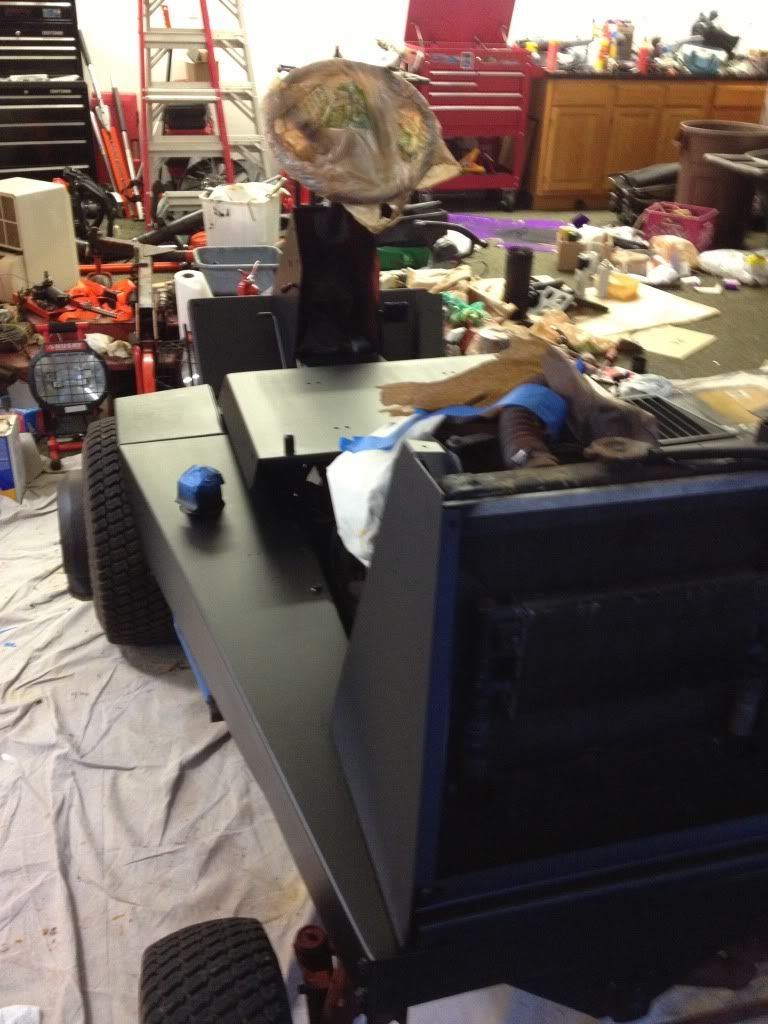
Next was disassembling and prepping the tractor.

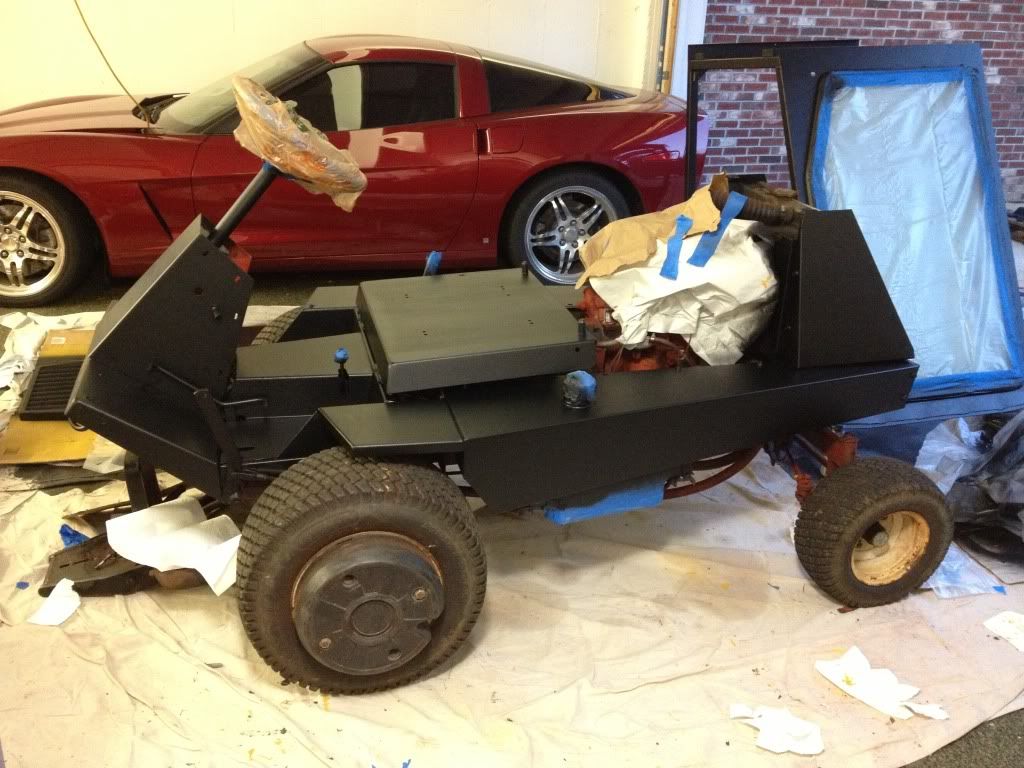
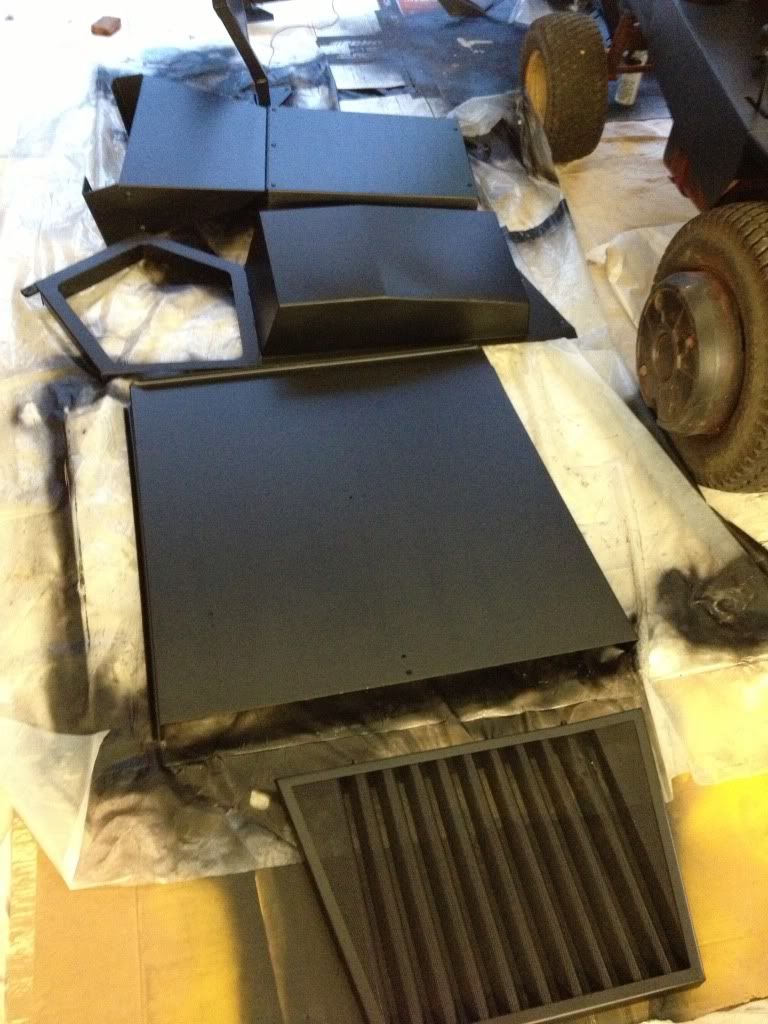
Some primer
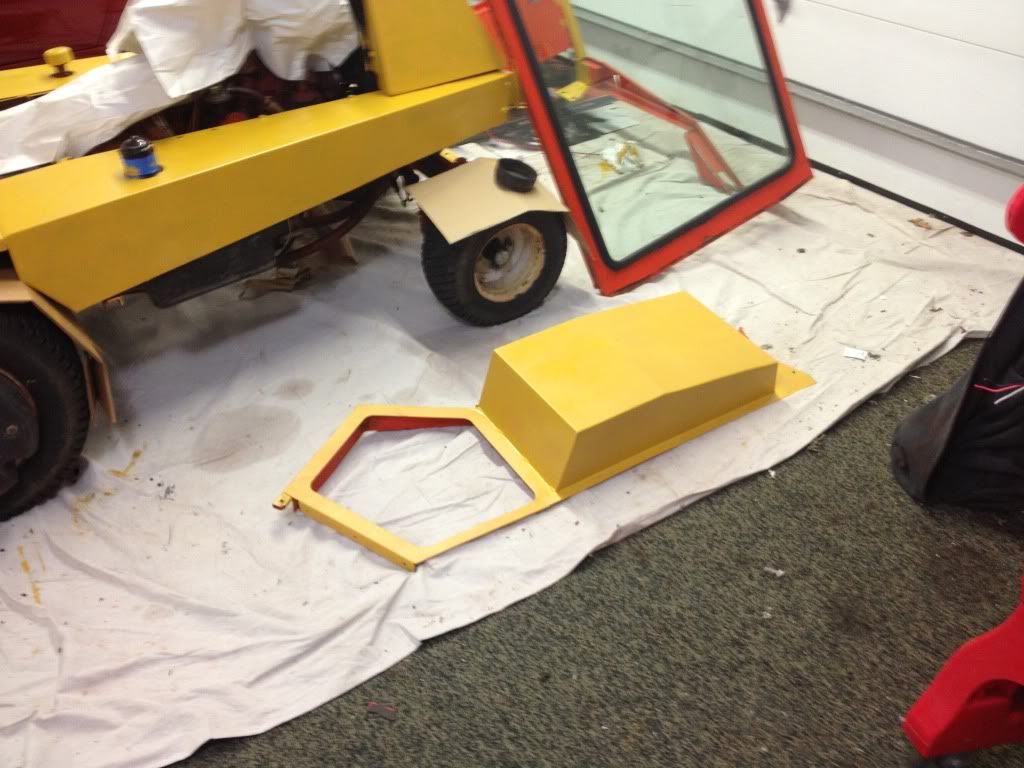

Some color
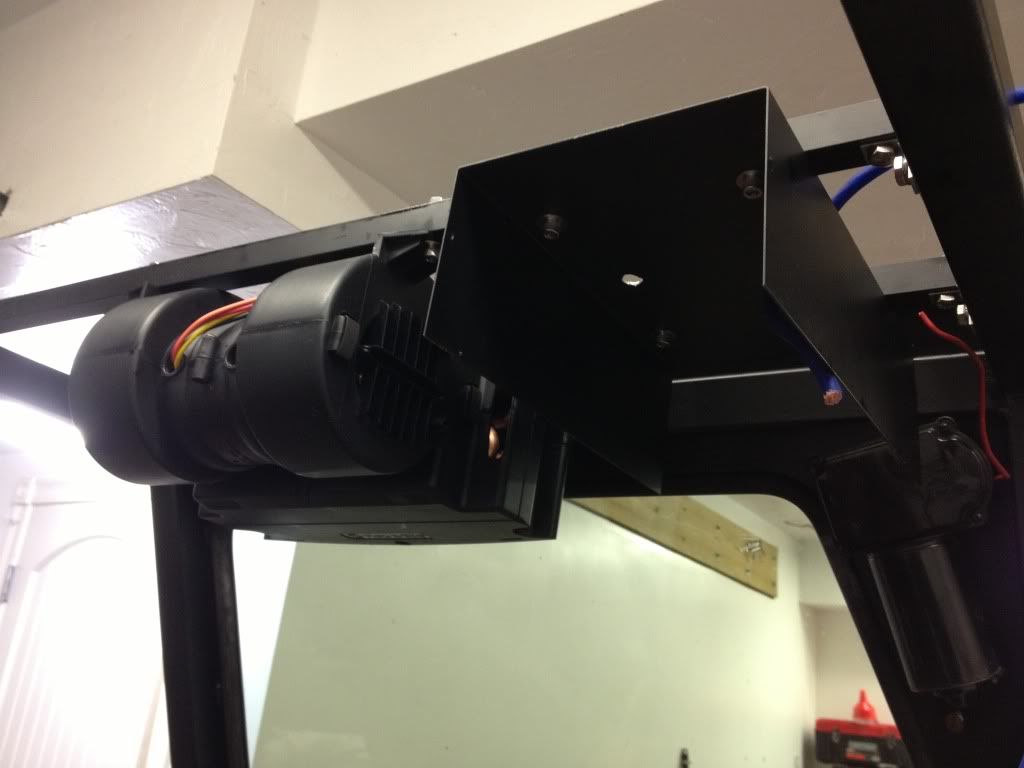
Adding mounts for a heat and electric switch panel
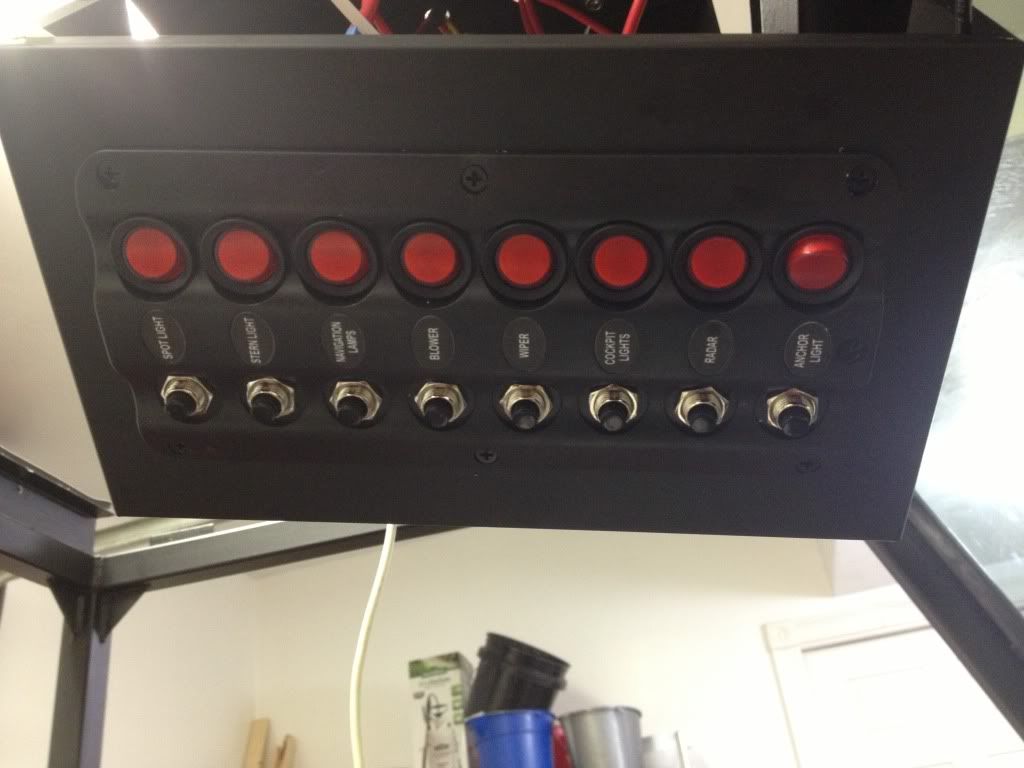
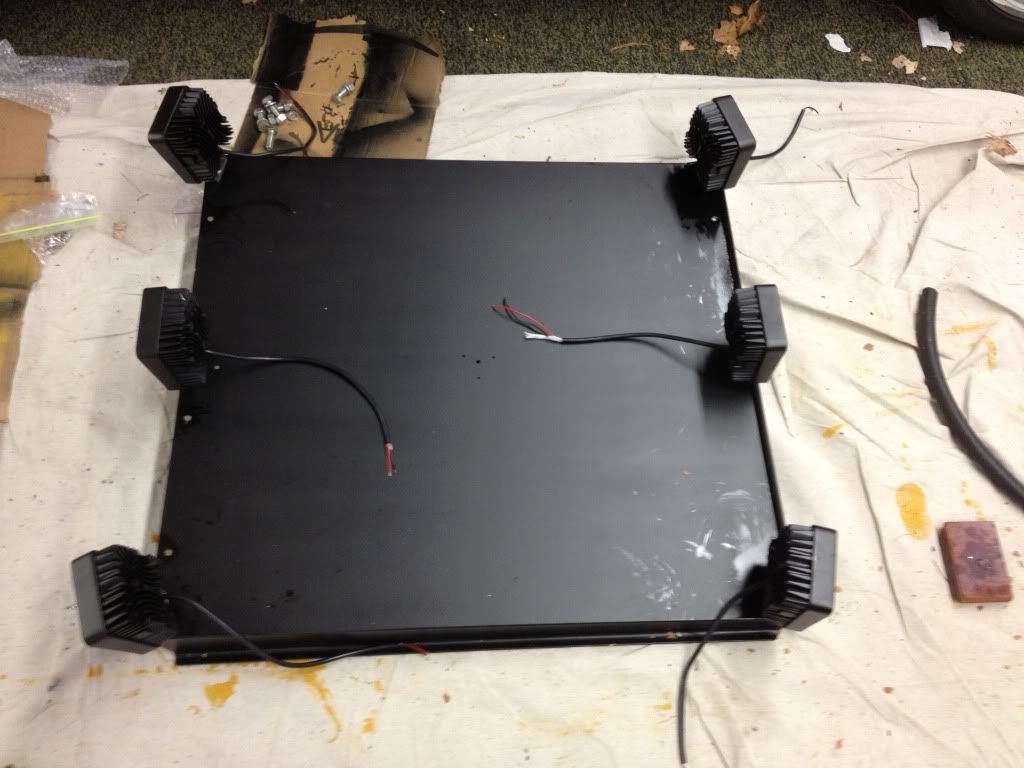
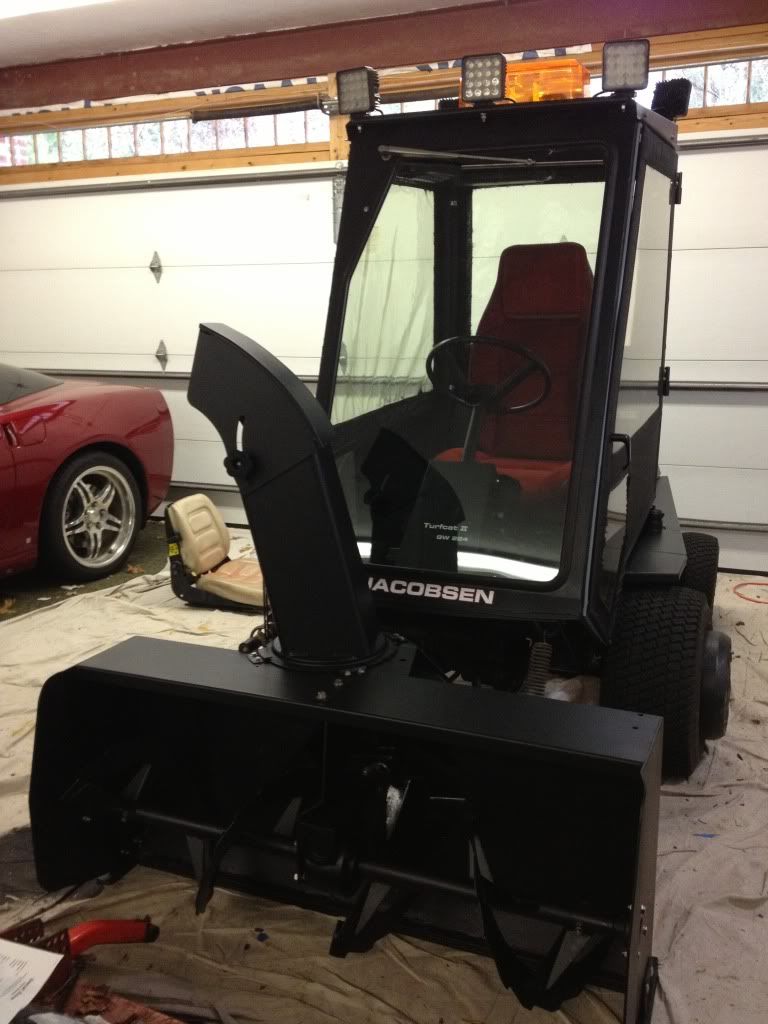
New lights, (6) 48 watt led flood lights, 2800+ lumens each

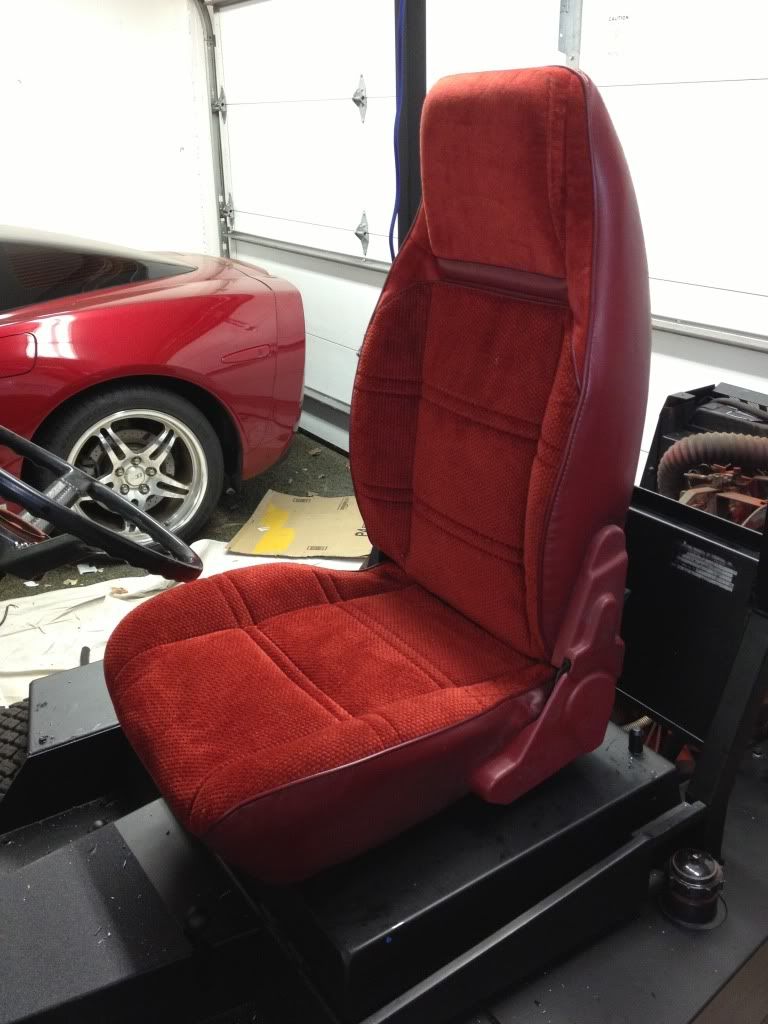
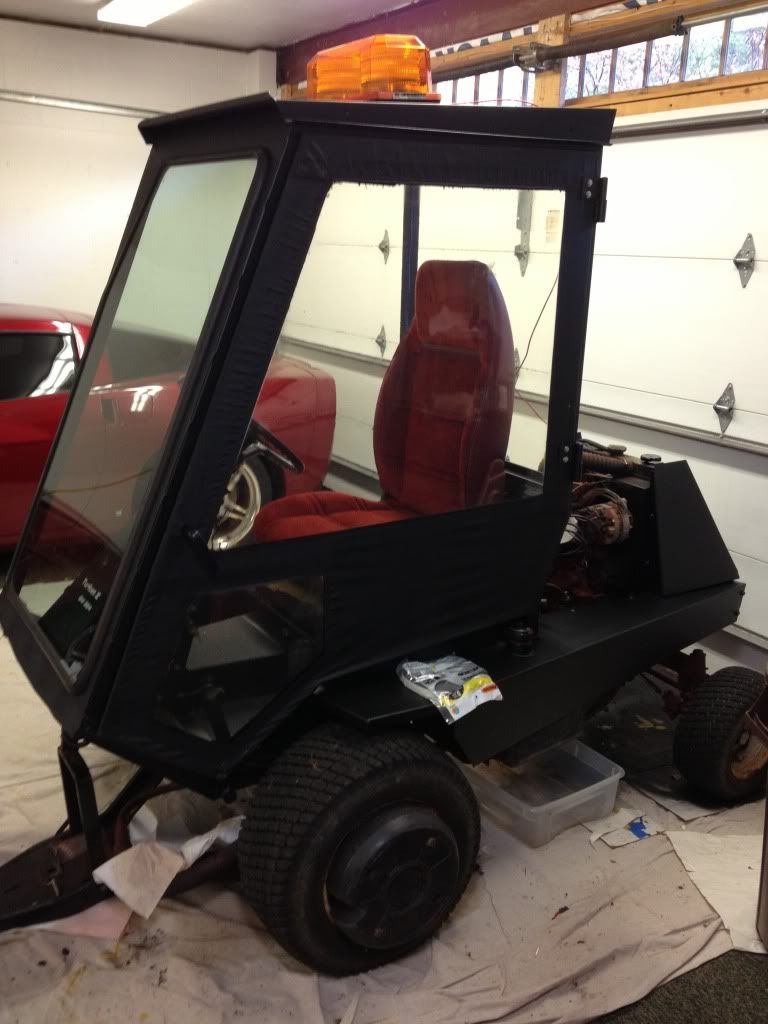
New seat
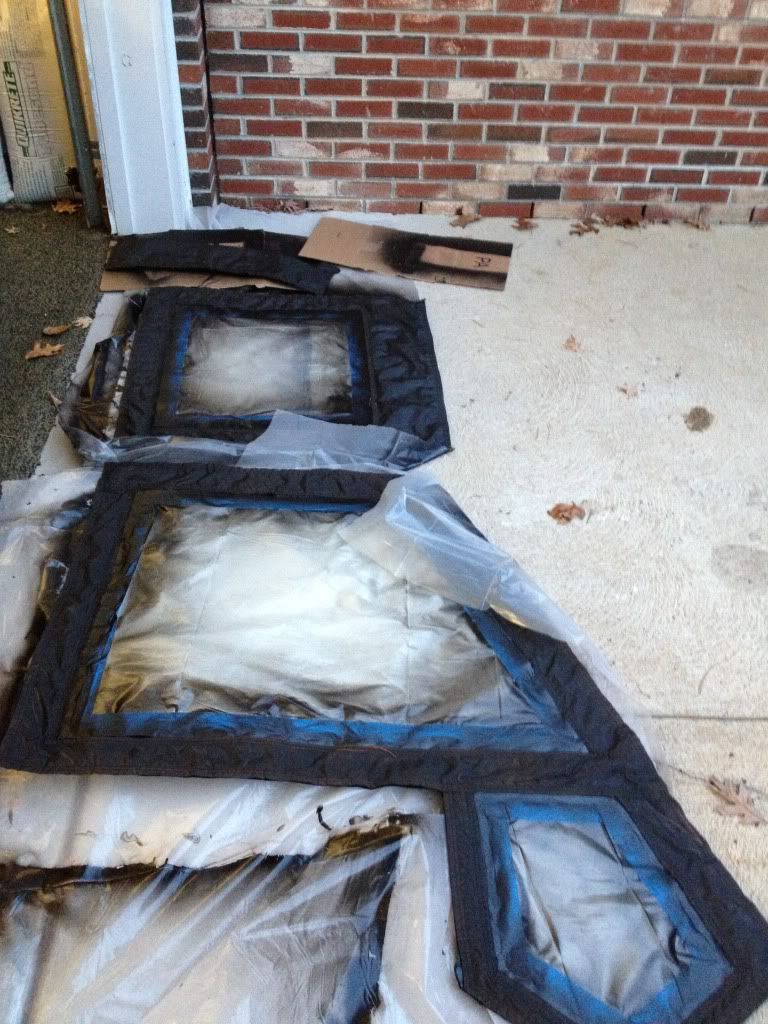
Canvas dyed
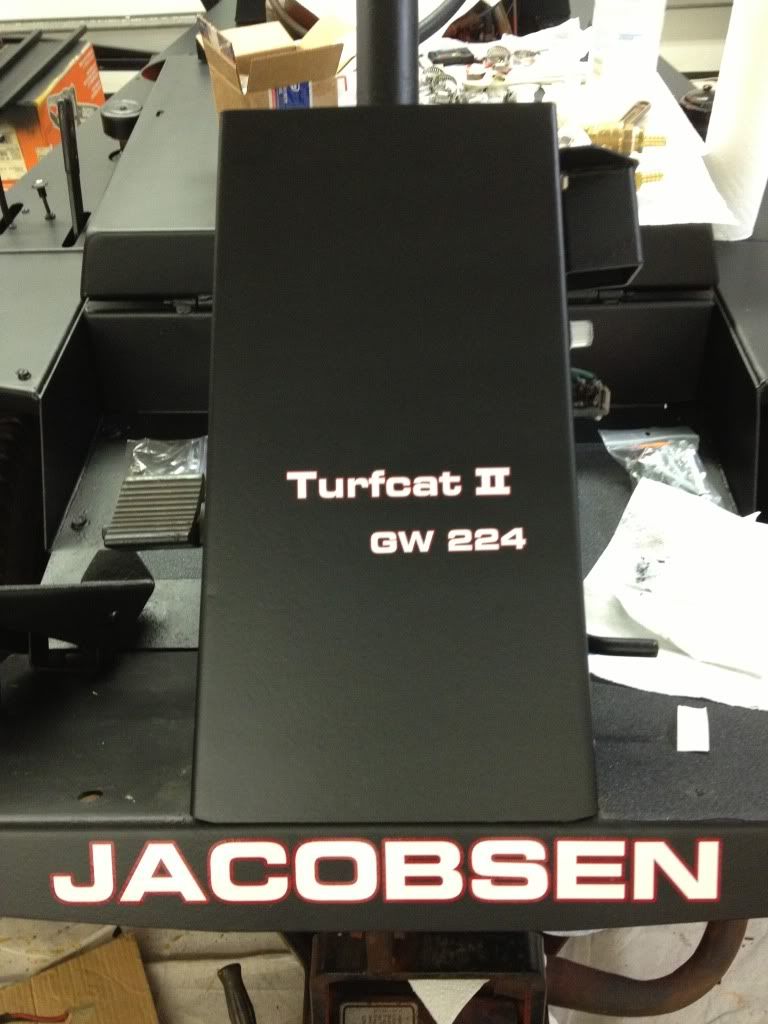
Lettering came in
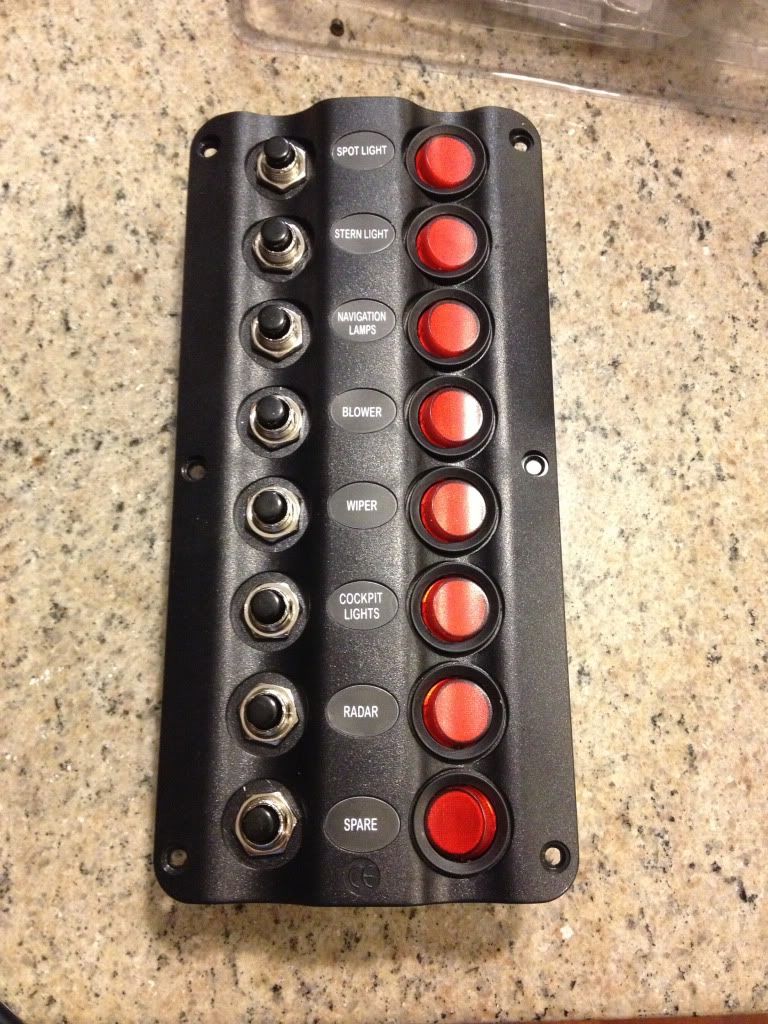
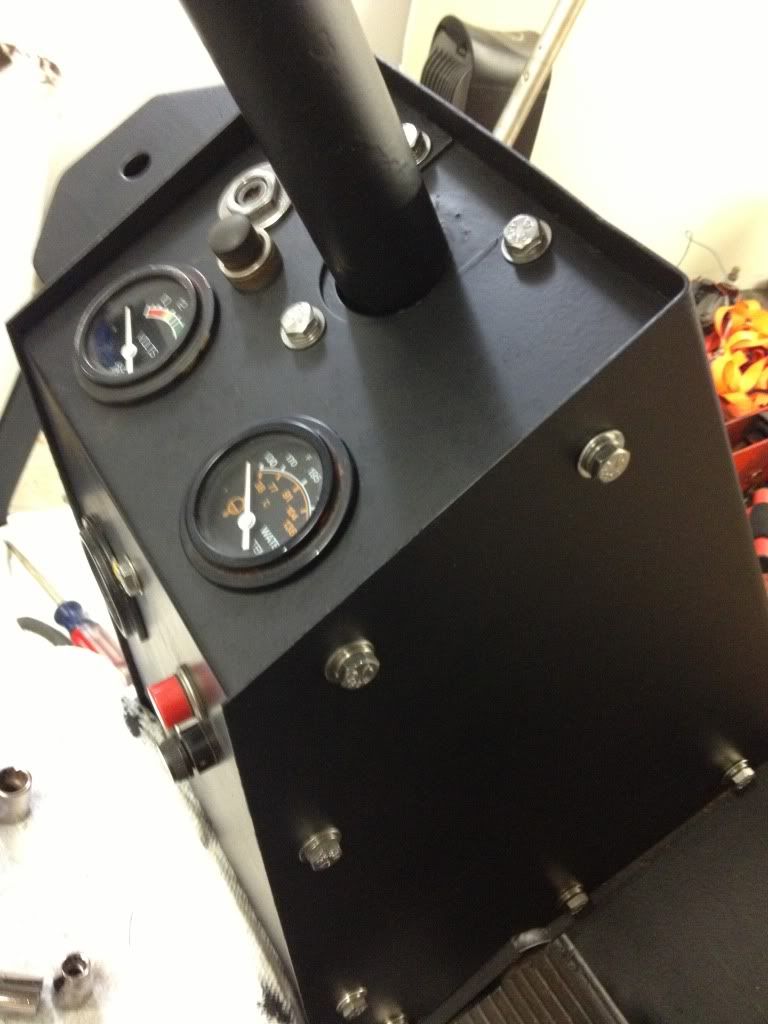
Panel back together, stainless used on all bolts that were replaced
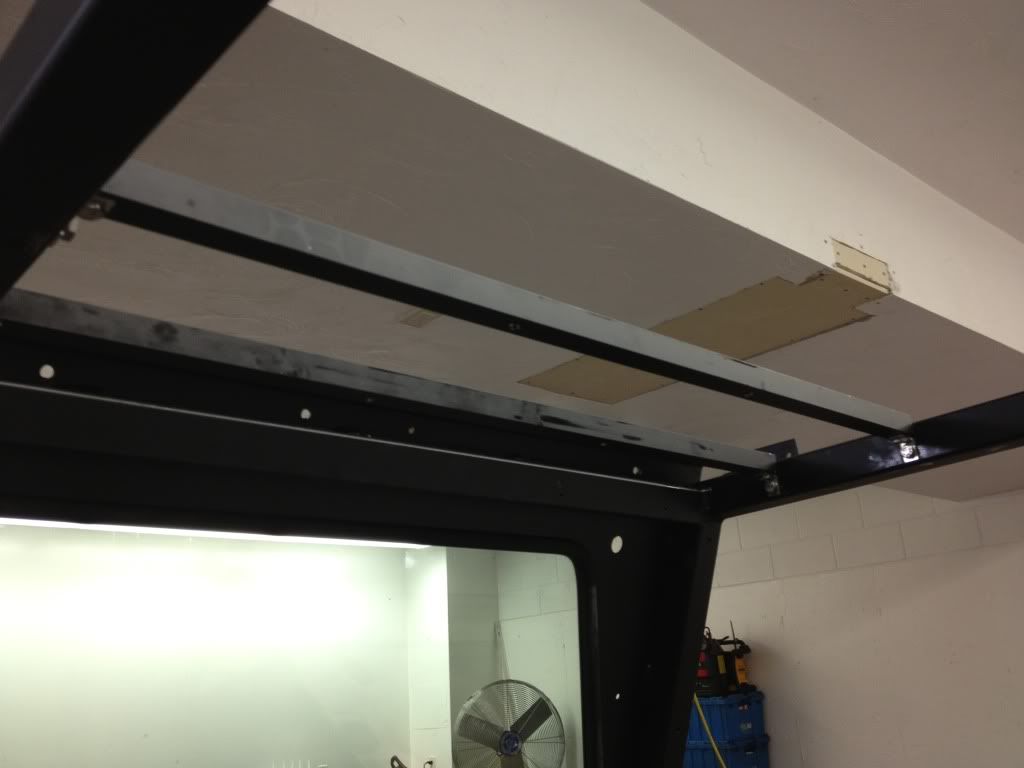
Roof and lights on
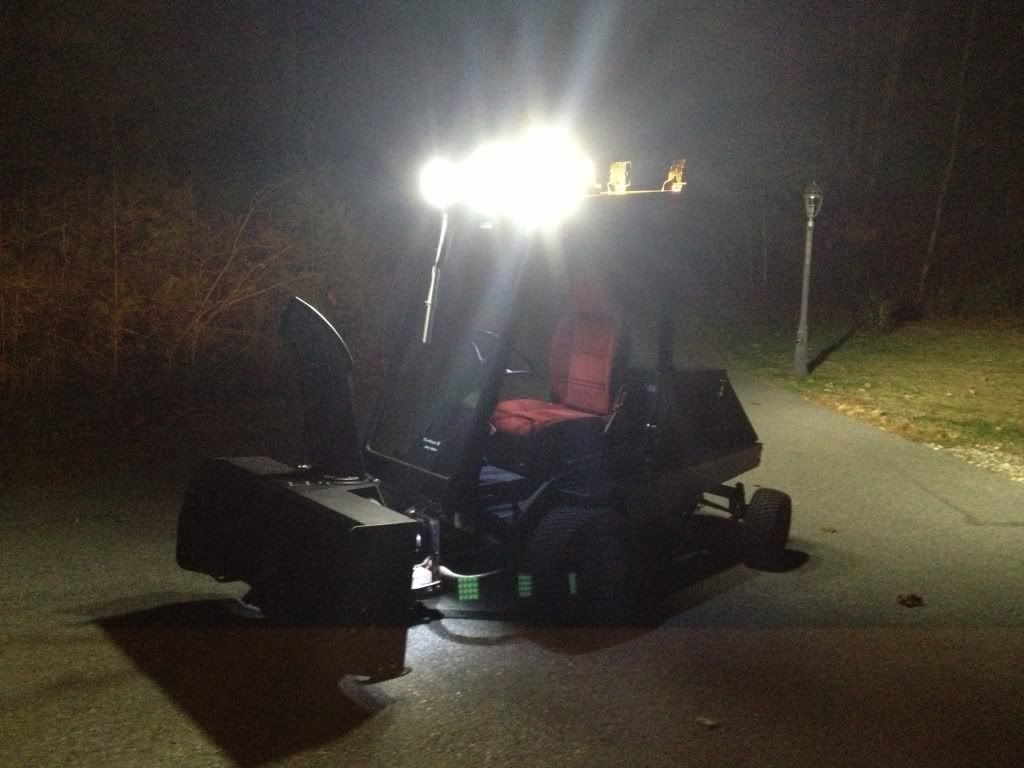
Let there be light!
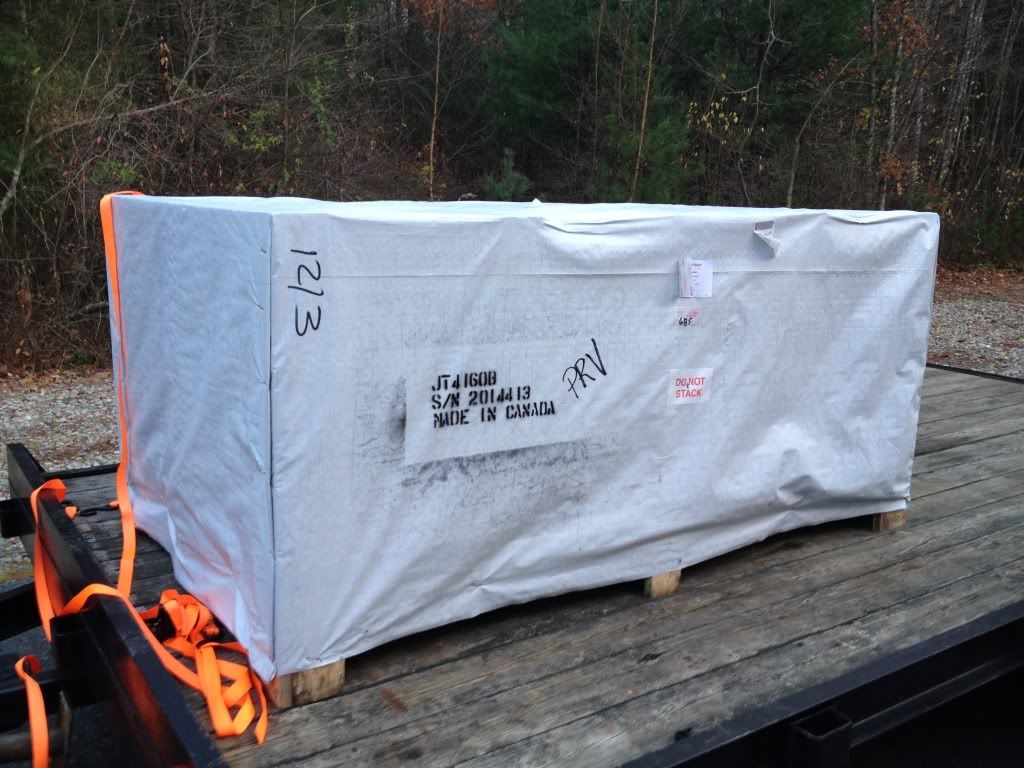
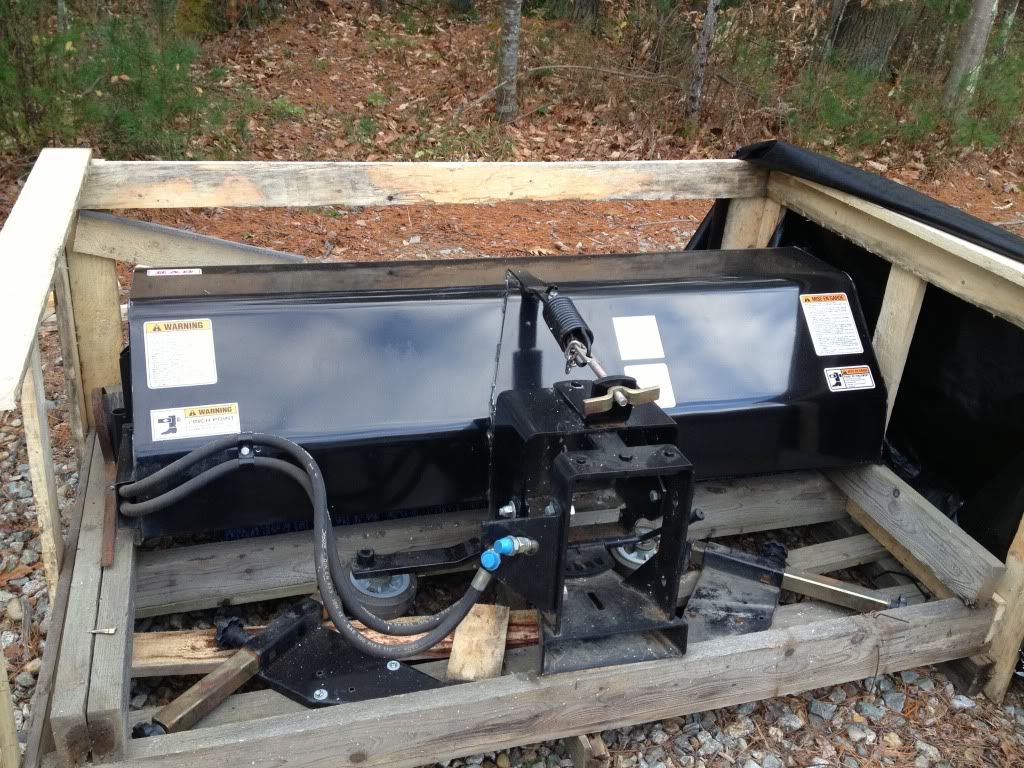
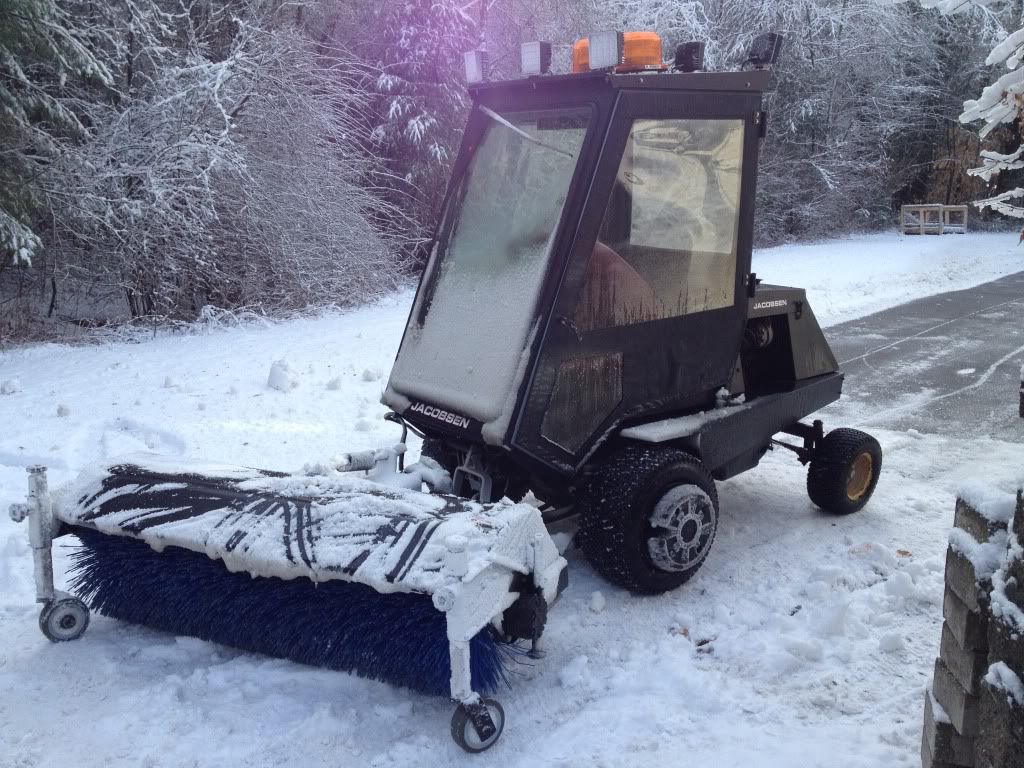
I got a great deal on a new power broom from the manufacturer of the snowblower
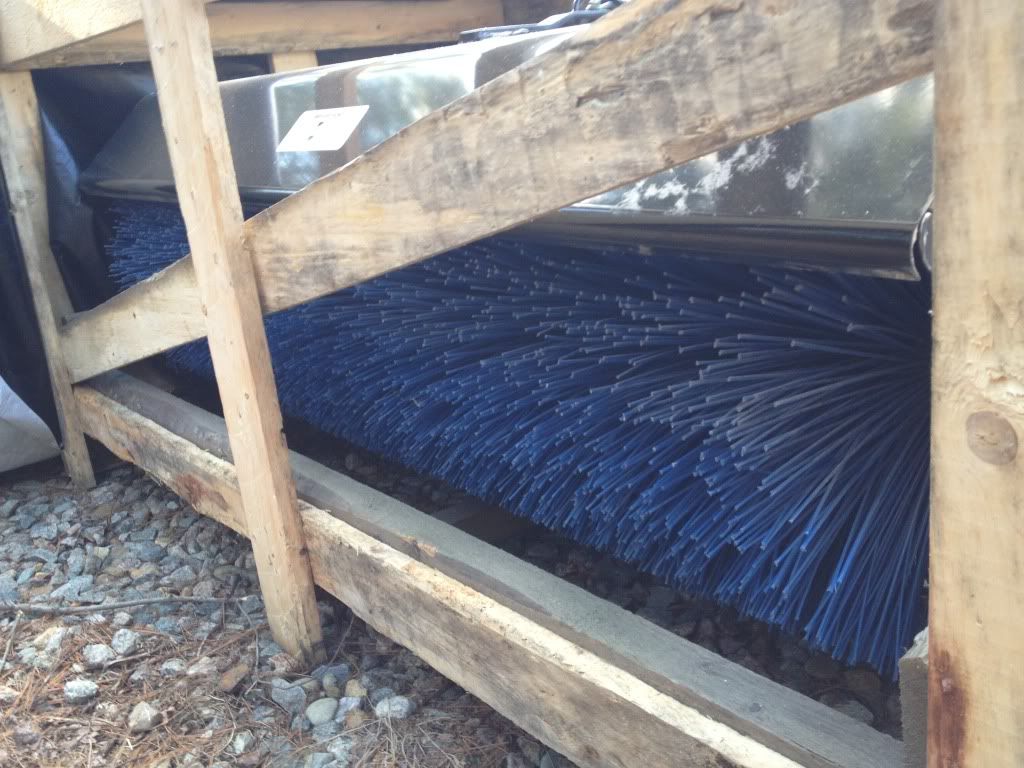
I finished just in time for the snow. I started with the blower but the snow was so wet and heavy it clogged the chute after it started to rain. I switched to the broom and it worked perfect!
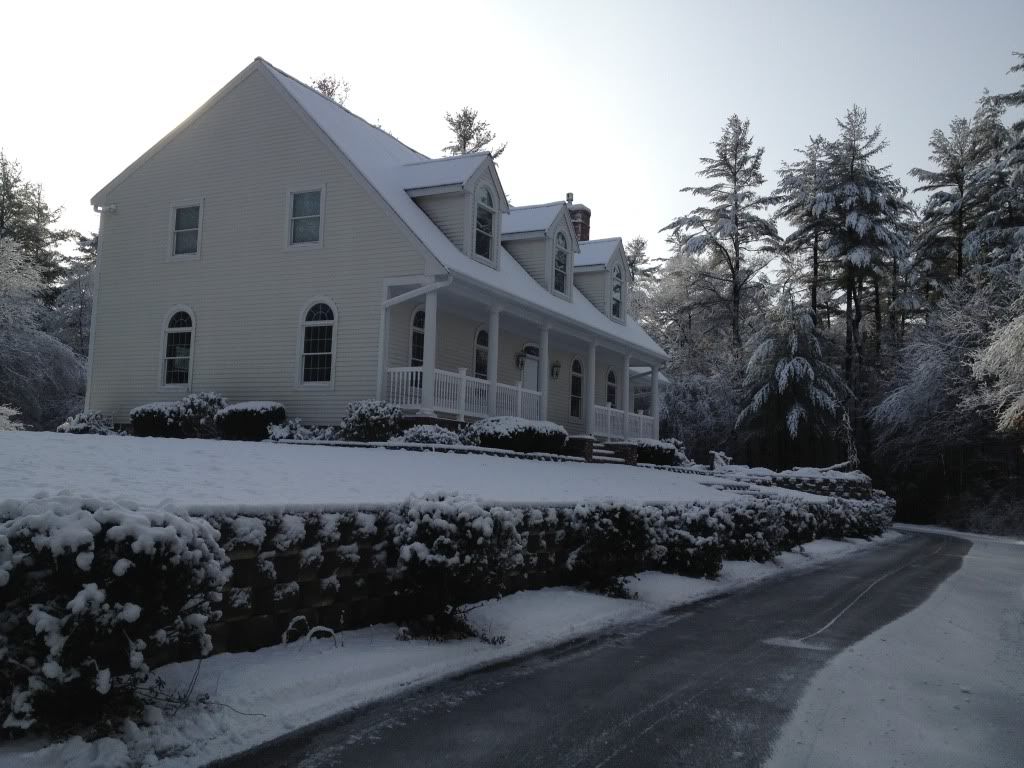

This past spring I bought a house. Needless to say it has a very long driveway, about 1200' of pavement. I was able to pick up a Jacobsen Turfcat II that a local college had used for a while. It is a rear steering, hydrostatic drive and hydraulic PTO, 4 cylinder gas tractor. It had been sitting for a number of years, considering it's age it wasn't in bad shape, but it did need some attention. It came with a 6' cutting deck and a 52" snow blower.
This past summer I used it to cut the grass. It is a near zero turn mower, so it is surprising the tight spots I can get a 6' deck into. During the course of the summer I went through it mechanically to get it running well. I rebuilt the carb due to an accelerator pump leak. I completely took it apart, let it sit in chem dip, set it to factory setting and tuned it a little from there. I replaced all the fluids including the 5 gallons of hydraulic fluid. I also rebuilt the ignition, new rotor, cap, condenser, points, plugs, and wires. I also put a new battery in. It needed a lot of smaller things like a new fuel filter, new vac and fuel lines, new belts, etc. While all of these things sound simple, locating parts can be quite a challenge. The engine is a continental engine, but they actually bought it from Renault. I had to get most of the parts from the UK. Although I have been able to source quite a few NOS parts from ebay. Jacobsen parts are unbelievably expensive so finding other sources is pretty much a requirement if an individual owns a machine like this. Most of the time it is golf courses, businesses, and gov organizations that buy this sort of thing. You can easily spend over 50k on a new Jacobsen machine.
So on to the pictures. Go here for the full album, but most of the pics are in the thread
http://s192.beta.photobucket.com/user/rommayo/library/Jacobsen Turfcat II
Here it is with the snow blower on it before I started painting it this fall.
The snowblower was first.
There was more prep work done, then it was wiped down with acetone and a tack cloth was used to get the rest of the dust. John Deere enemel primer was used.
Gloss was sprayed in the second stage area as well as the chute. All spraying was done outside AWAY from the corvette!
First coat of john deere blitz black flat black paint
Here is it finished. I replaced all of the fasteners with stainless as well.
Next was disassembling and prepping the tractor.
Some primer
Some color
Adding mounts for a heat and electric switch panel
New lights, (6) 48 watt led flood lights, 2800+ lumens each
New seat
Canvas dyed
Lettering came in
Panel back together, stainless used on all bolts that were replaced
Roof and lights on
Let there be light!
I got a great deal on a new power broom from the manufacturer of the snowblower
I finished just in time for the snow. I started with the blower but the snow was so wet and heavy it clogged the chute after it started to rain. I switched to the broom and it worked perfect!