
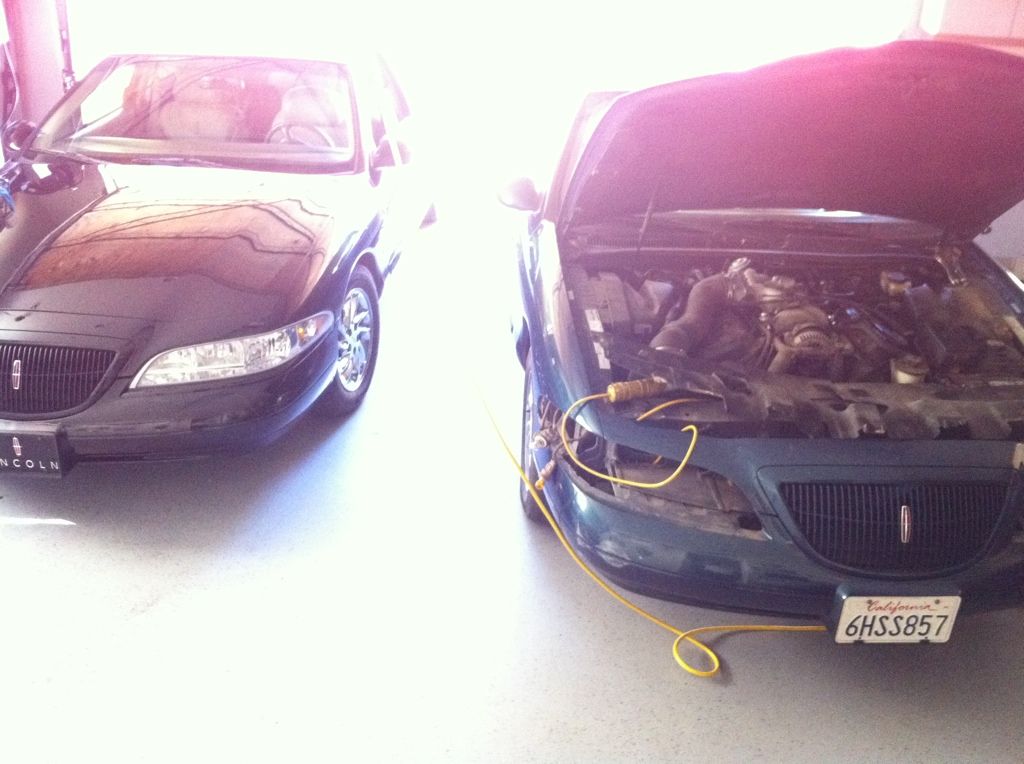
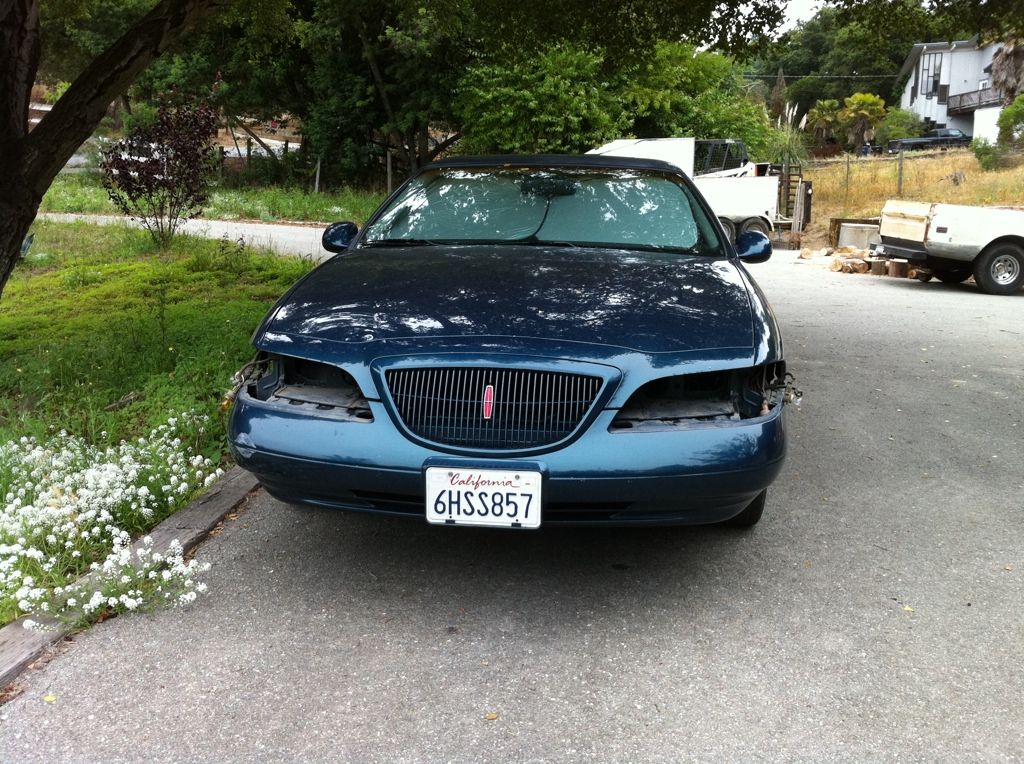
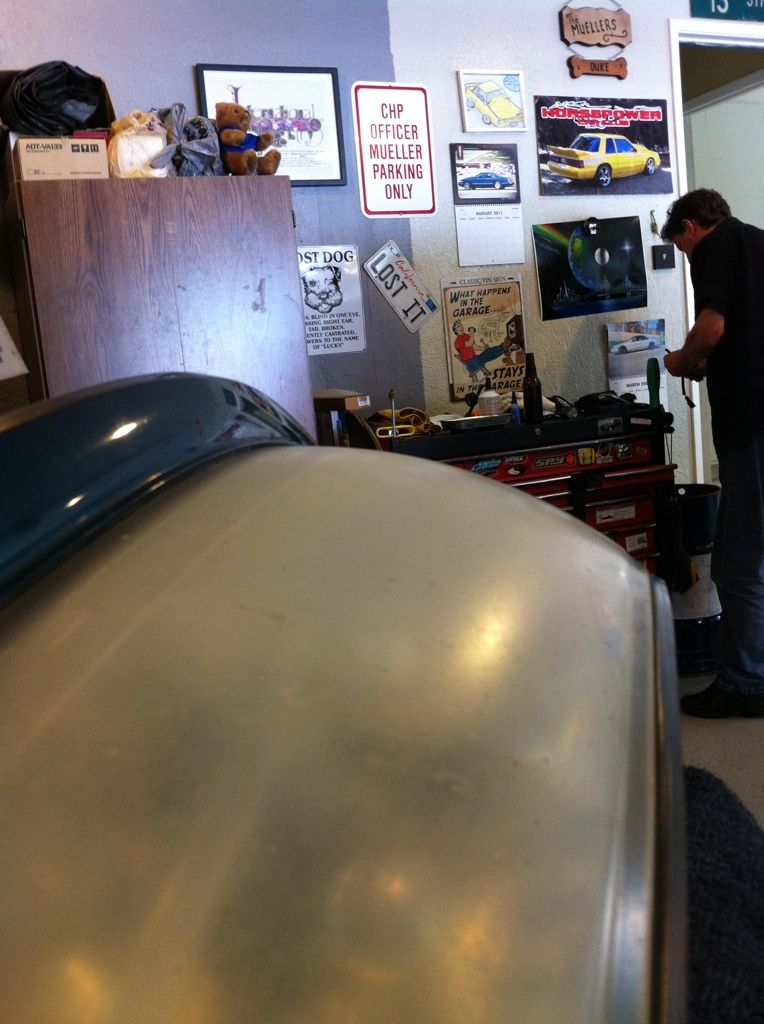
On Sunday, Barry came over and we had a "Car Day" at my place. He did an oil change and was going to polish his car up (which he didn't do, haha).
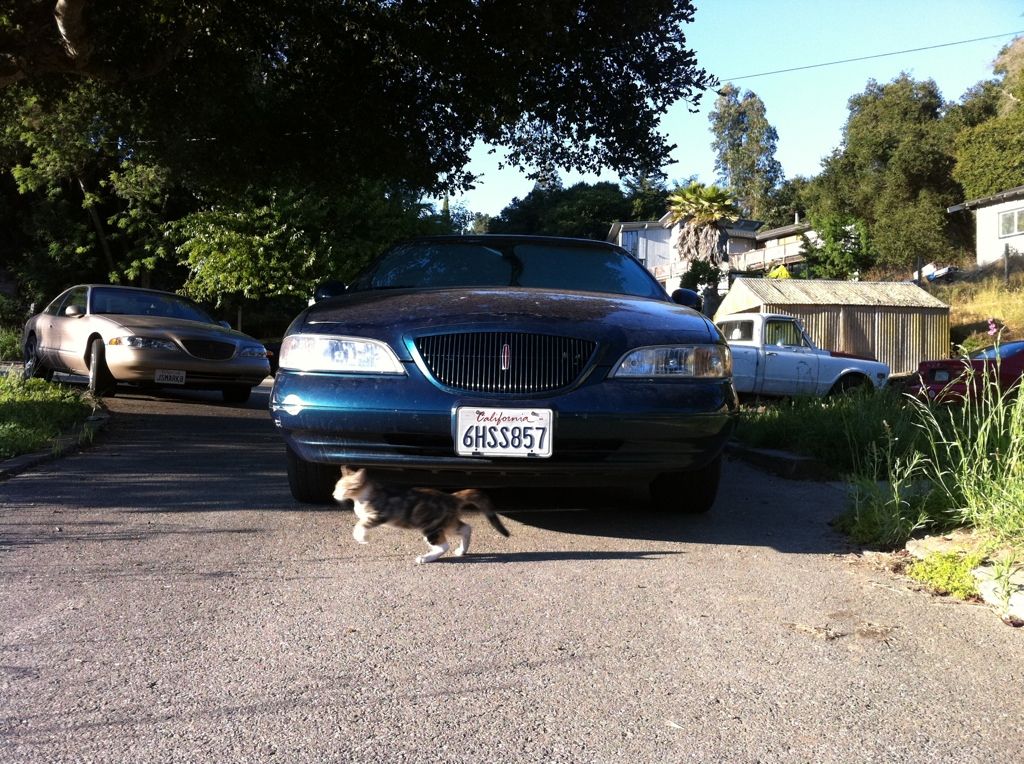
My list of things to do was: Converting to Aftermarket HID's (both low beams have been burnt out for over a year but the headlights were so bad that no one flashed me while I drove with high beams on). Polish Headlights. Change Oil and Rotors in Erin's car and also charge the A/C.
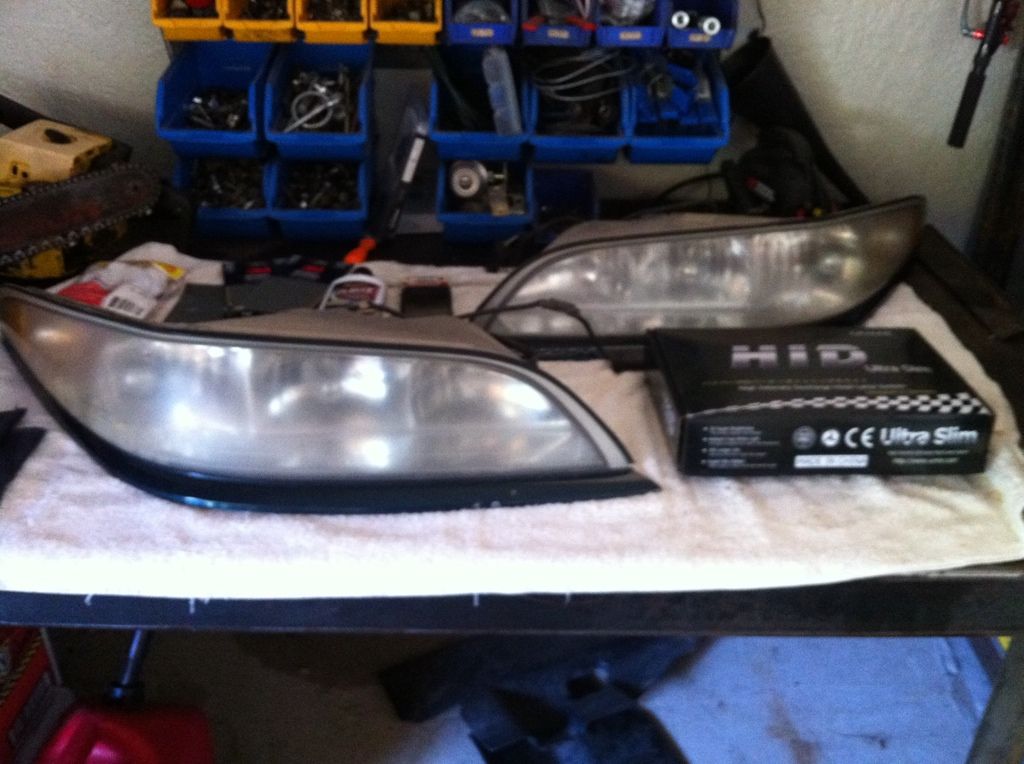
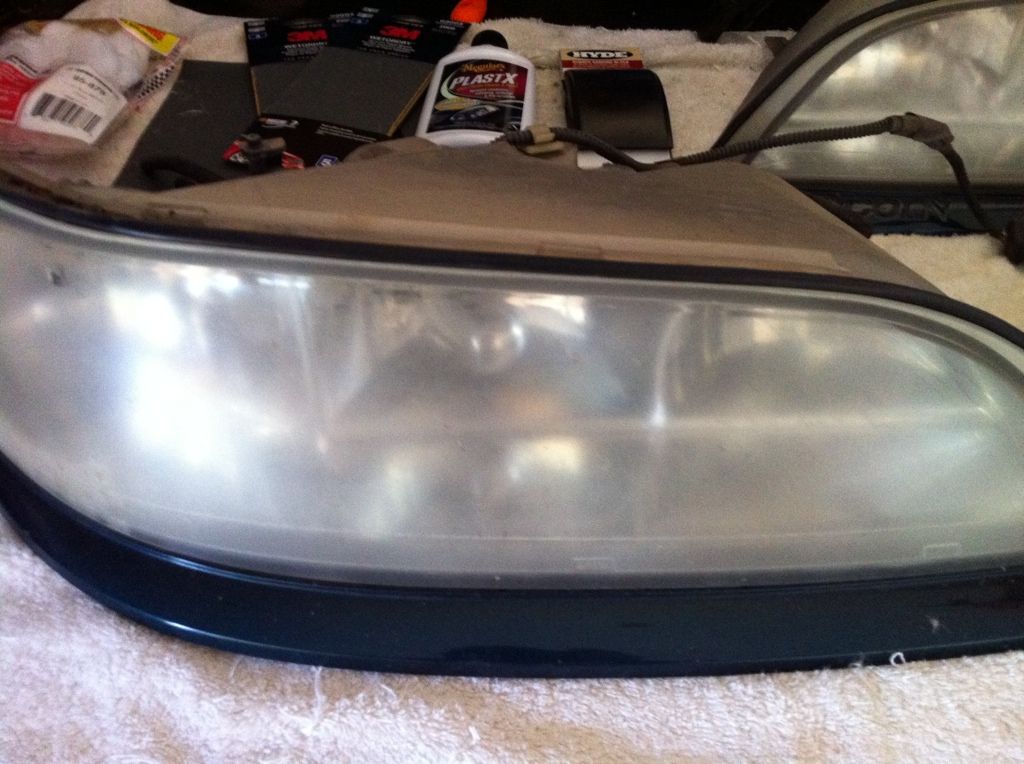
So....here we go.....get your supplies.
4300K HID "Ultra Slim" Kit from eBay.
2000 Grit WET Sand Paper
1500 Grit WET Sand Paper
Meguirs Headlight Polish
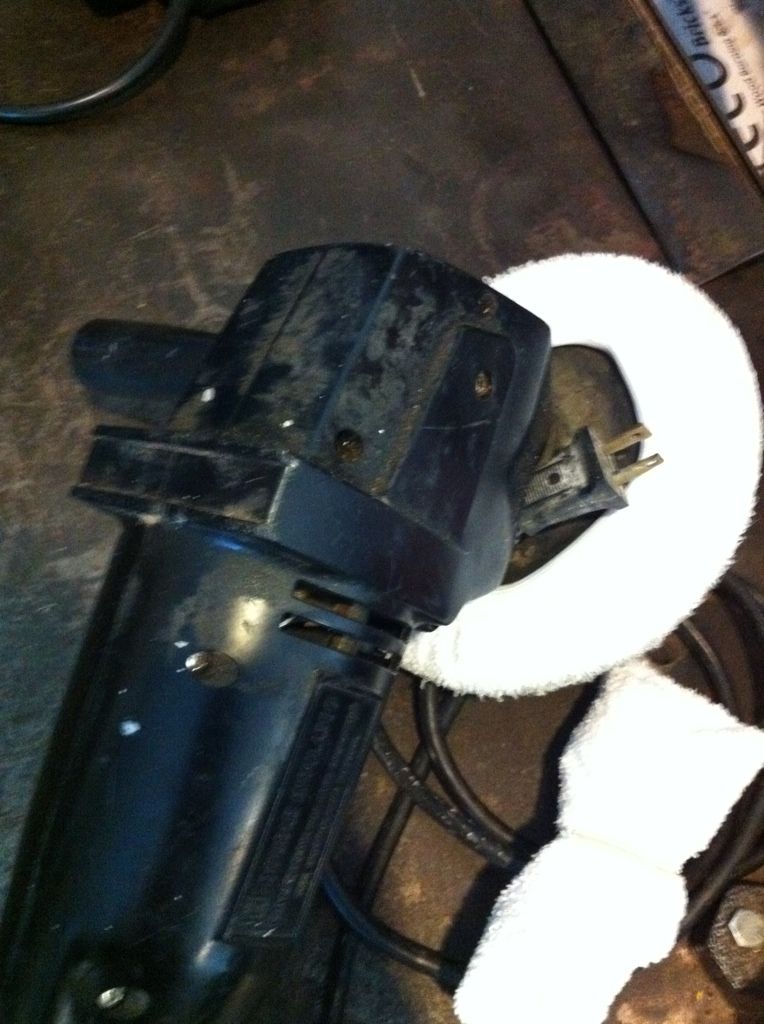
Electric Buffer
New Terry Cloth Pads
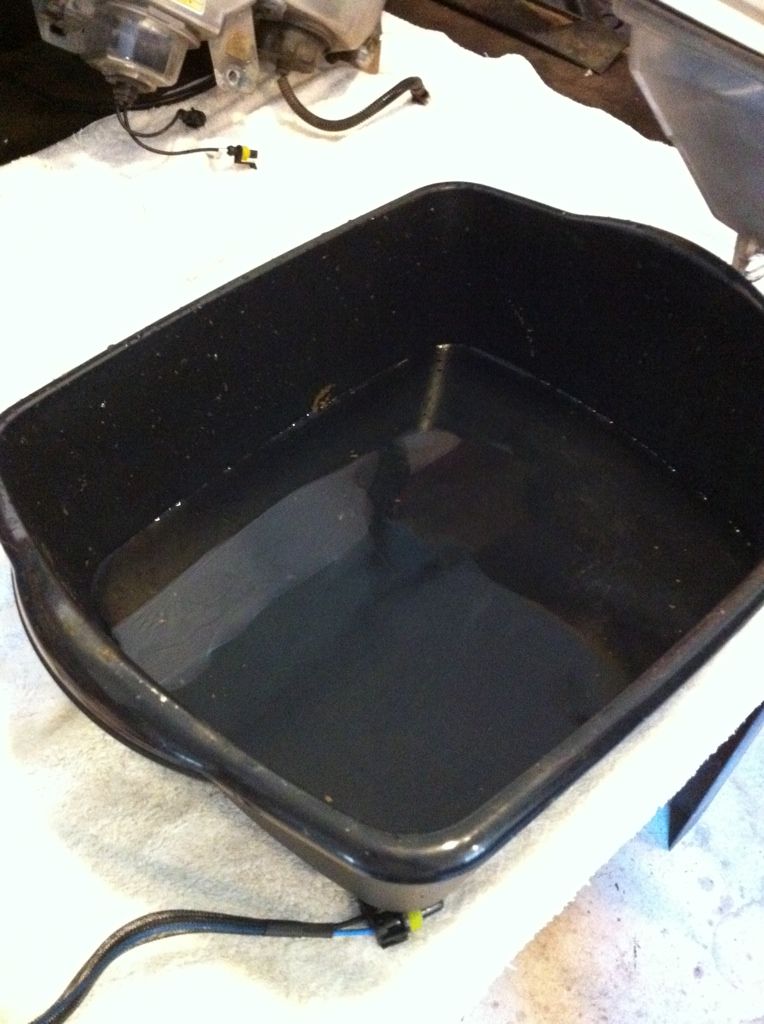
Bucket of water")

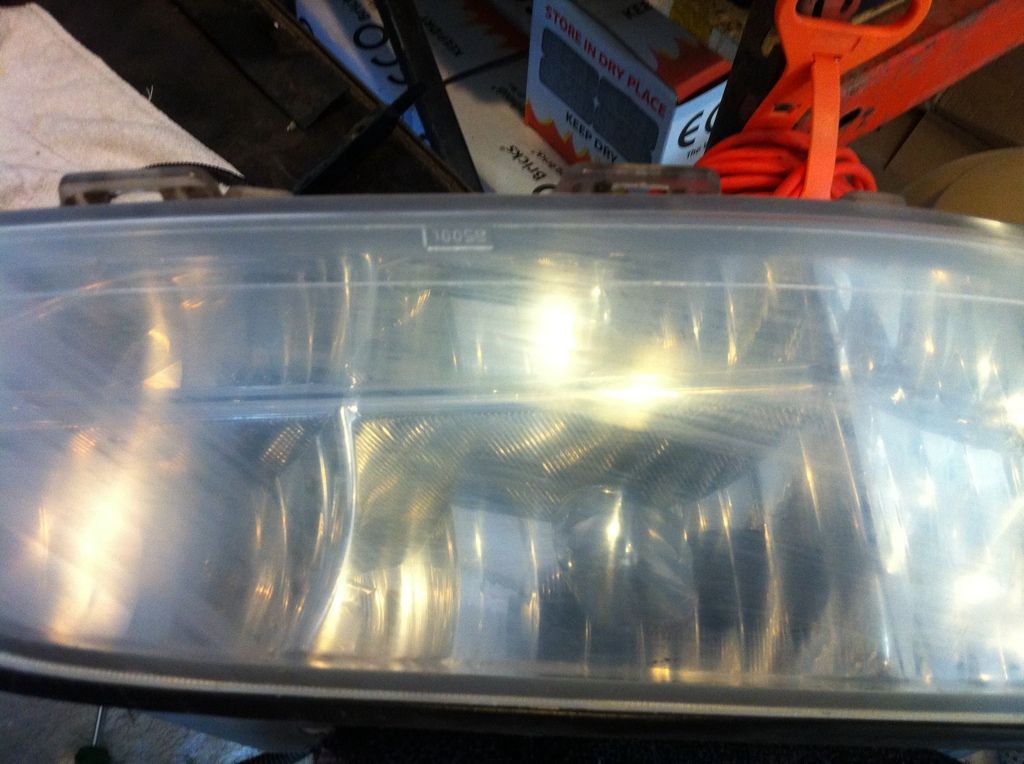
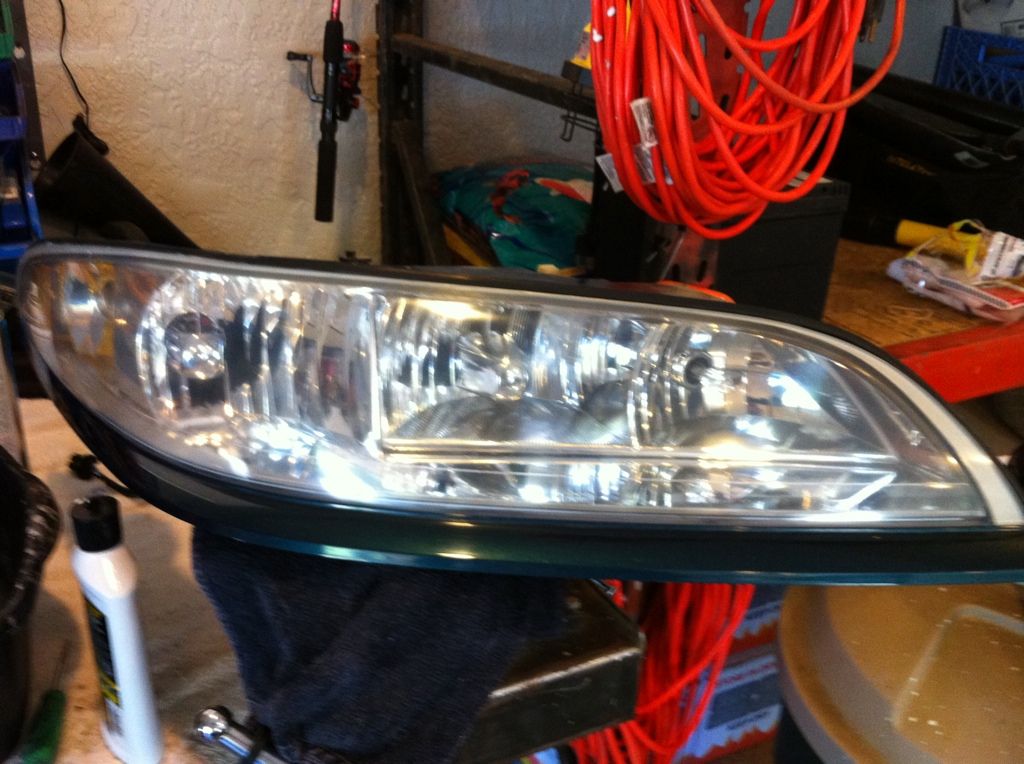
Step #1: Remove Headlights. Pull off the plastic Beauty Covers over the headlight/header panel. Using a 10MM socket and extension, remove the 3 bolts holding on each headlight. Next remove the phillips screw holding the headlight onto the fender. Then slide the headlights out and unplug the light bulbs. I found it easier to unscrew the parking light bulbs rather then unplugging them.
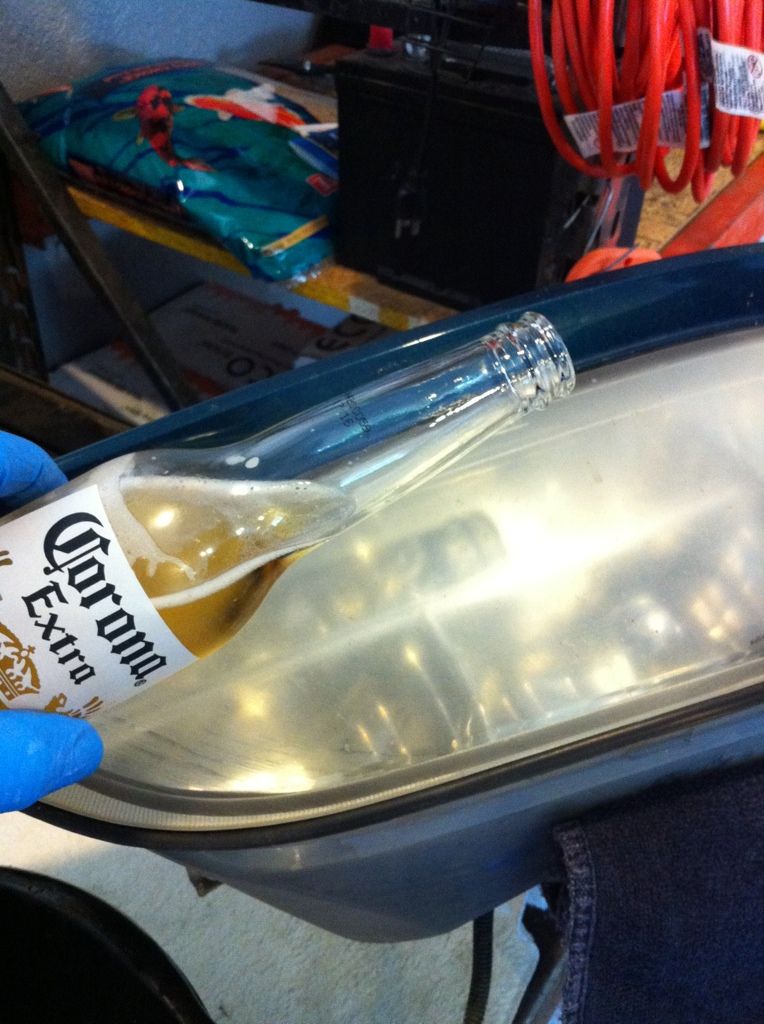
Step #2: Gently clamp one headlight into a Vise and wipe down with your favorite cleaning solution. I used Corona (and then water only).

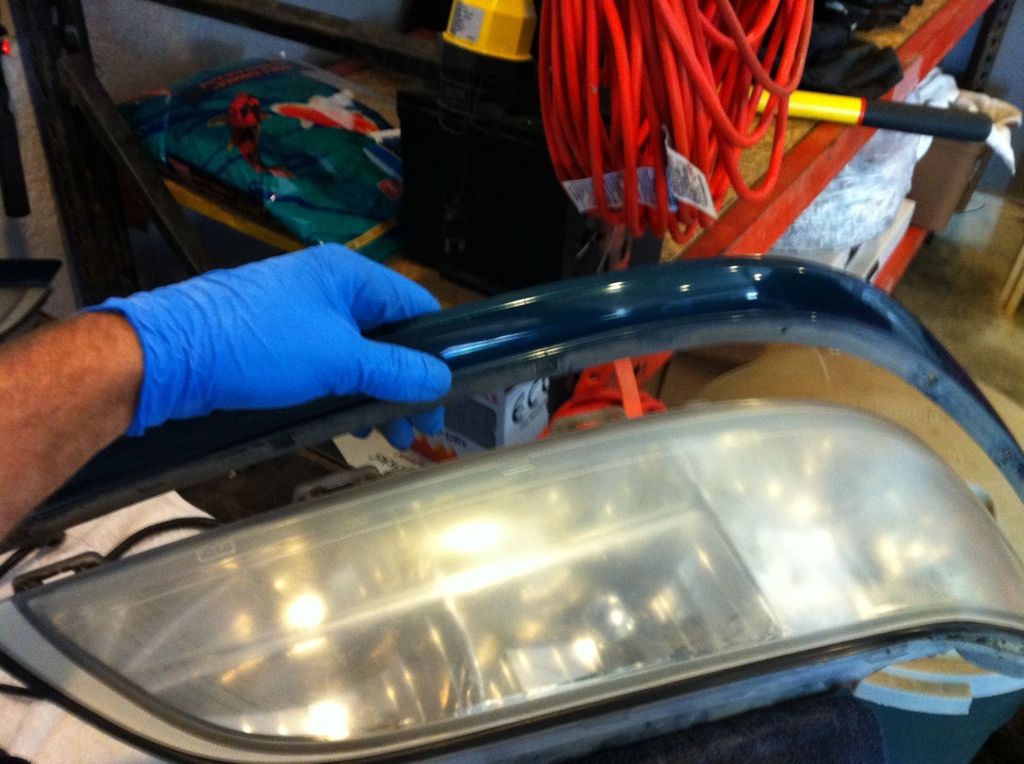
Step #2.5: (Optional) I chose to remove the plastic moulding under the headlights. They both came off with a large screw driver to pry the very old and hard clips up. The moulding slides out. Made for easier buffing.
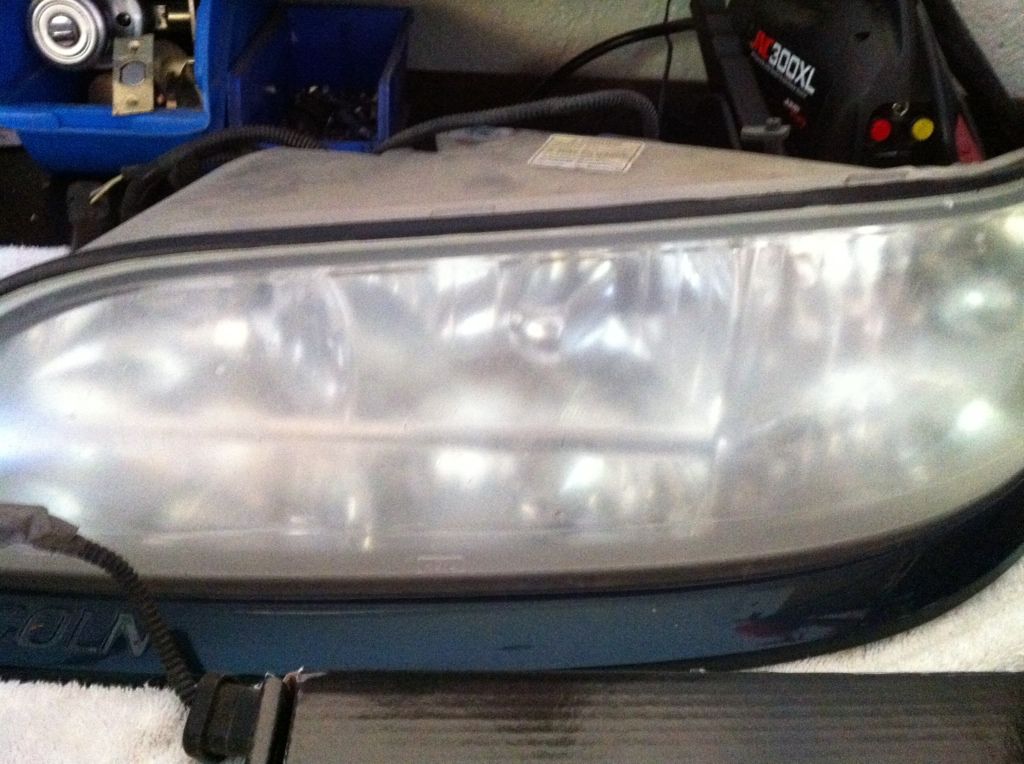
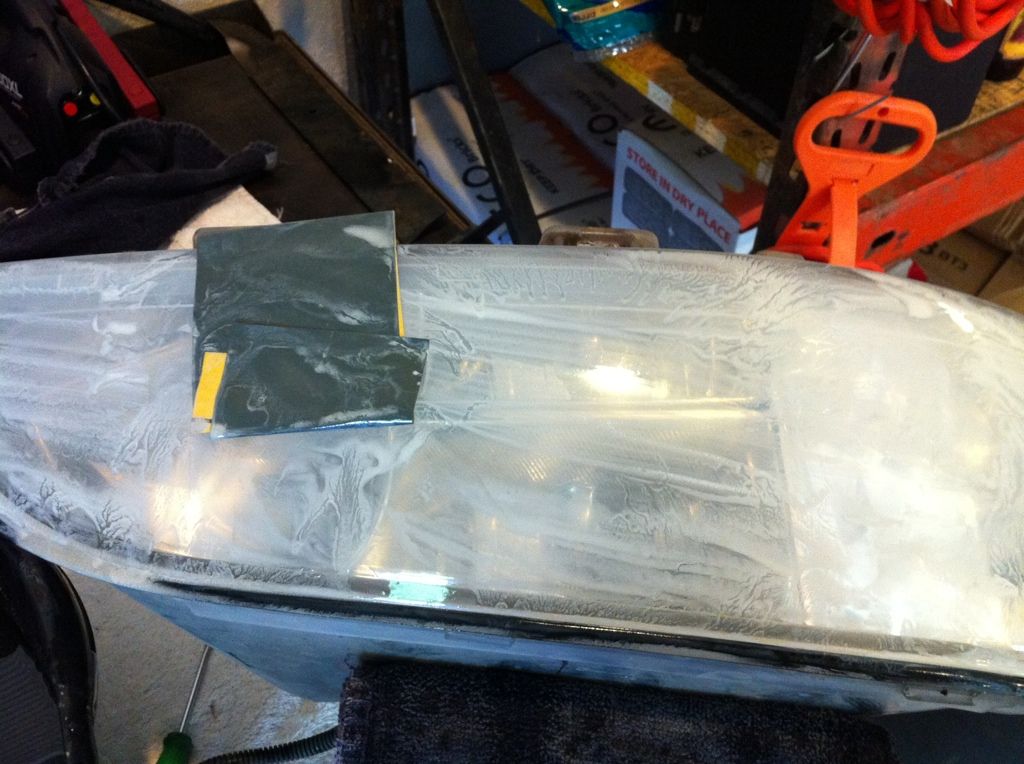
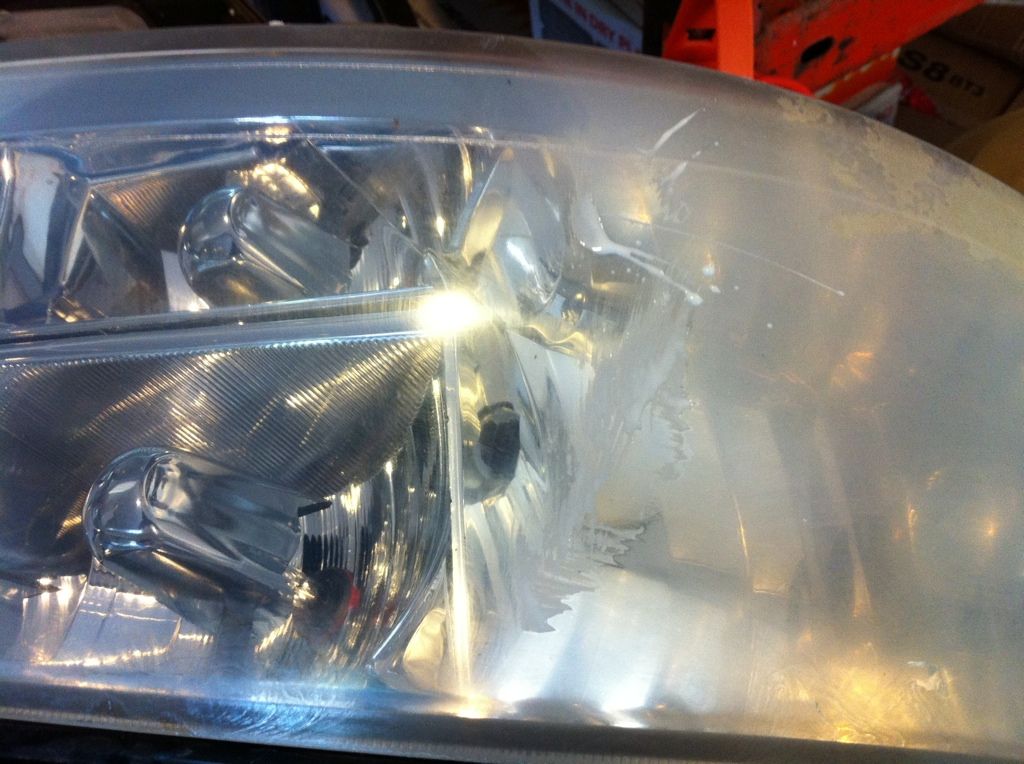
Step #3: Wet sand the headlight using the 1500 grit sand paper while continuously dipping the paper in water.
Step #4: Wipe the headlight clean with water and a rag. Using the electric buffer and Meguir's headlight polish, hit the headlight with a quick buff job.
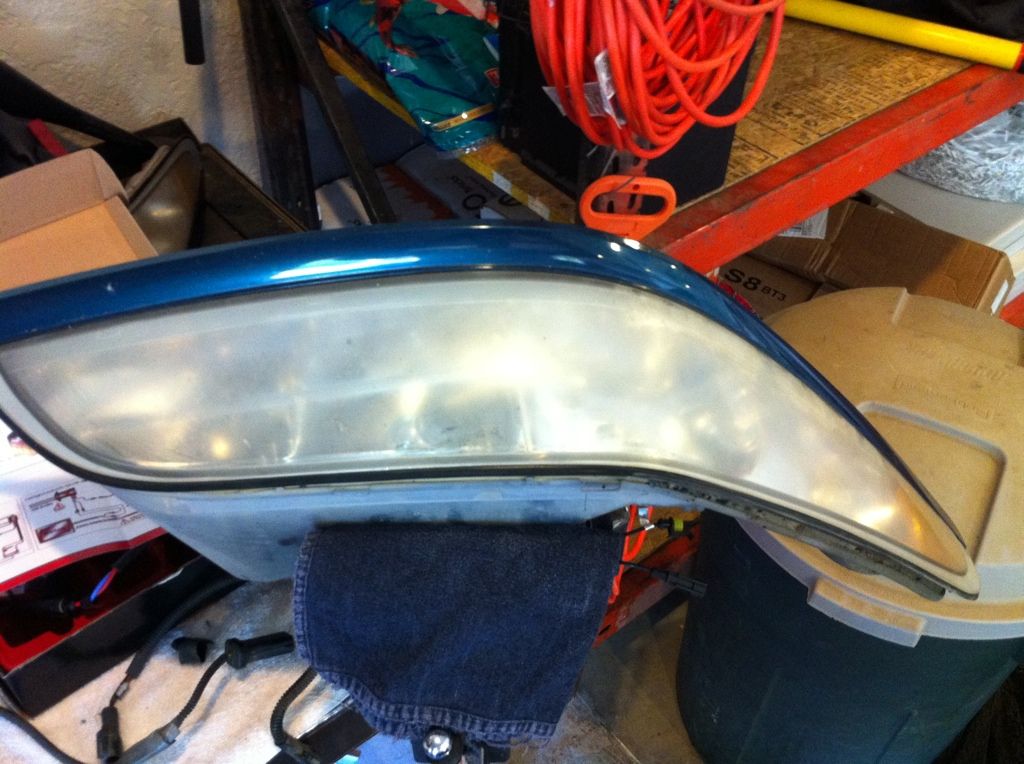
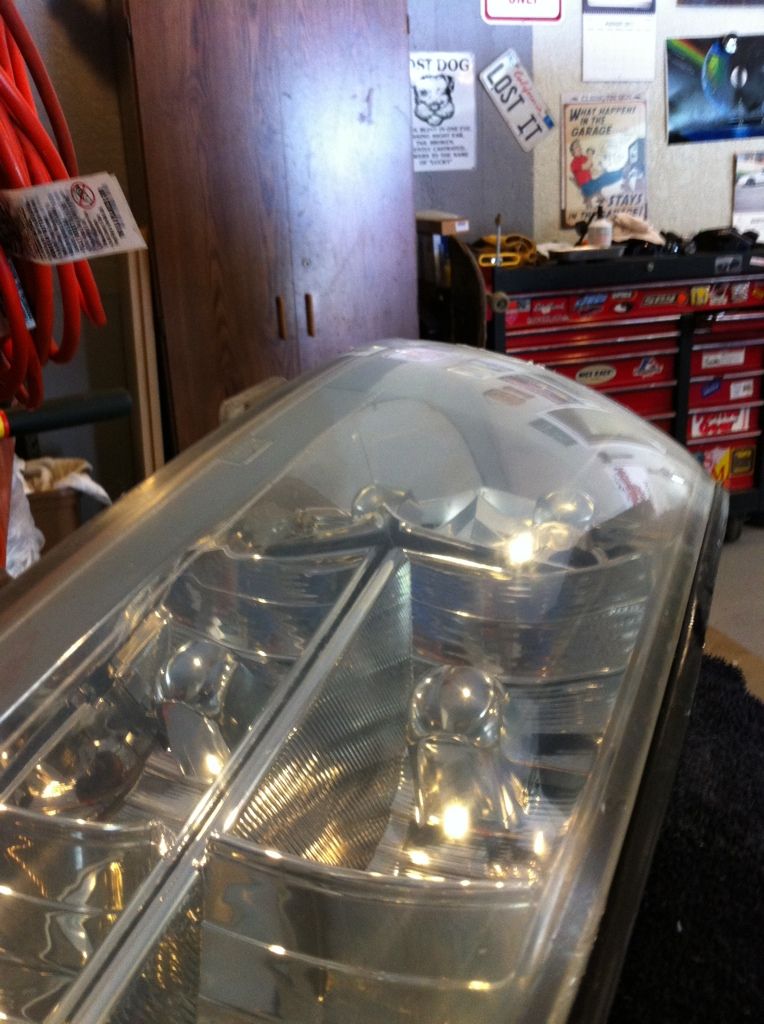
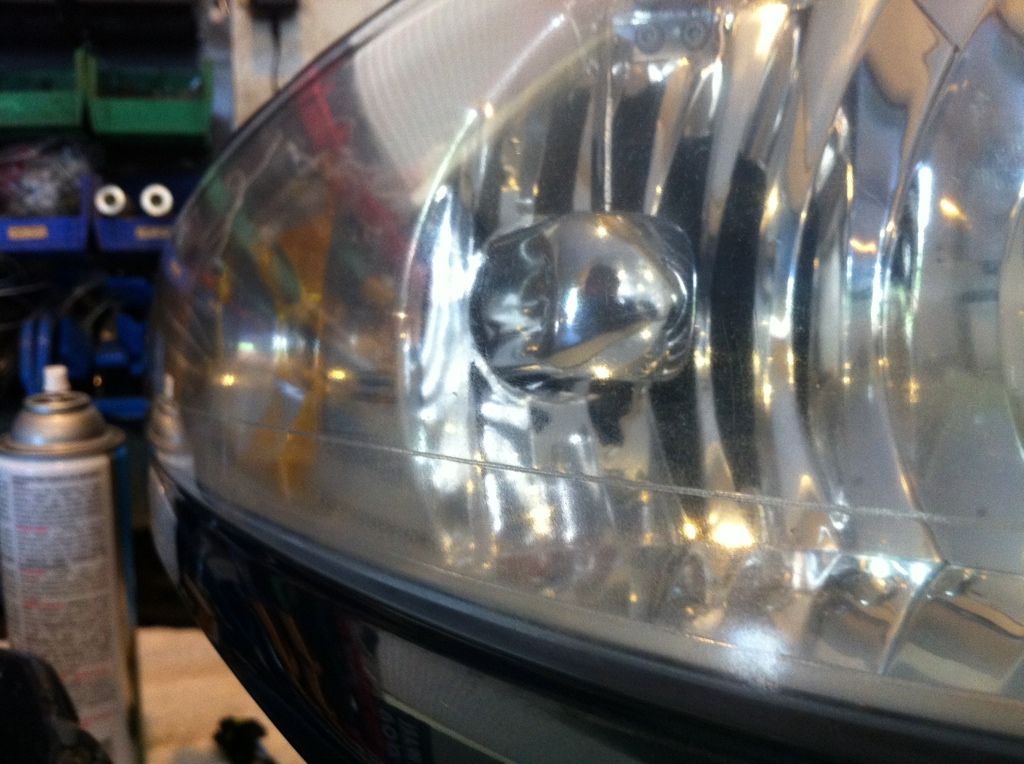
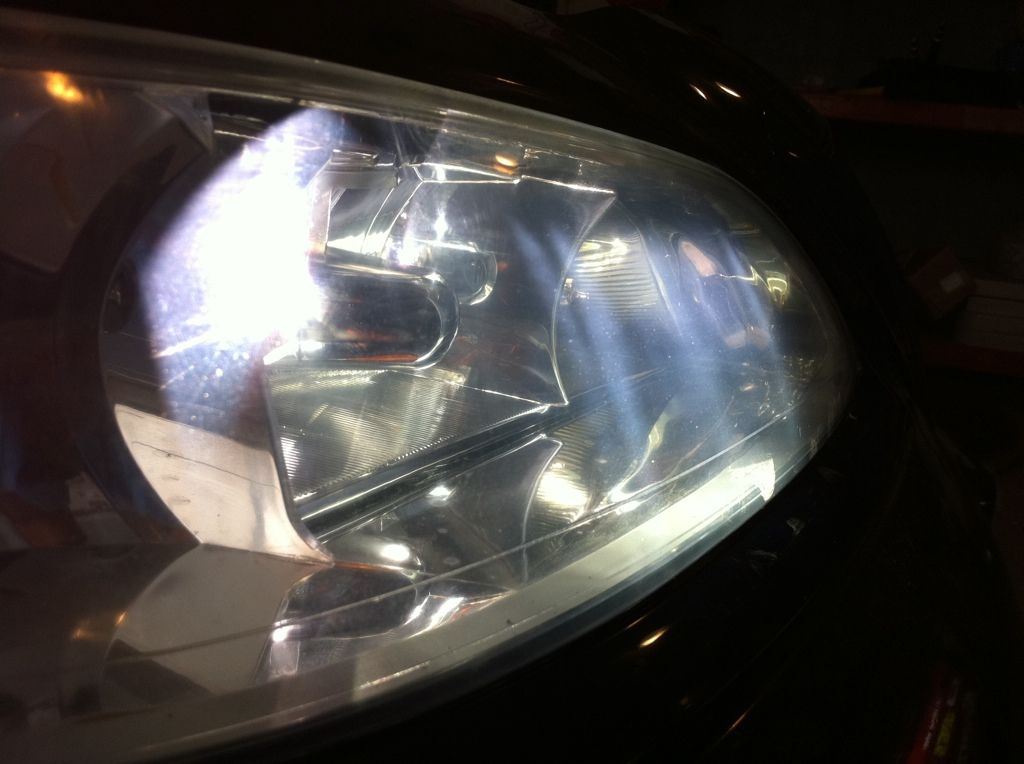
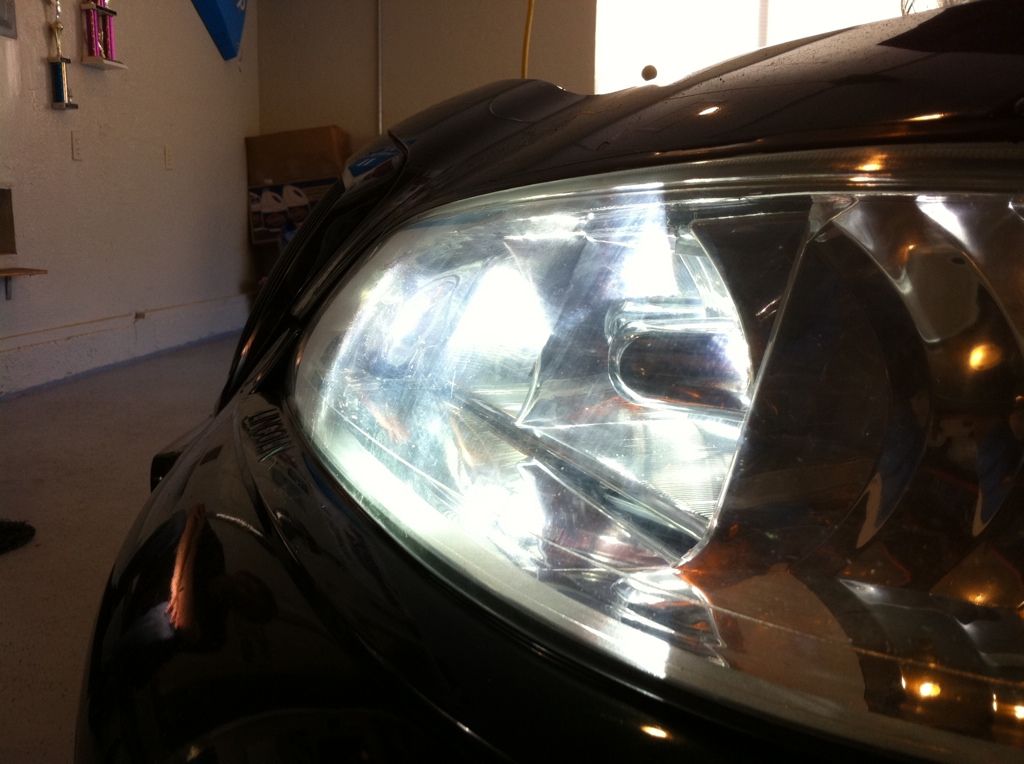
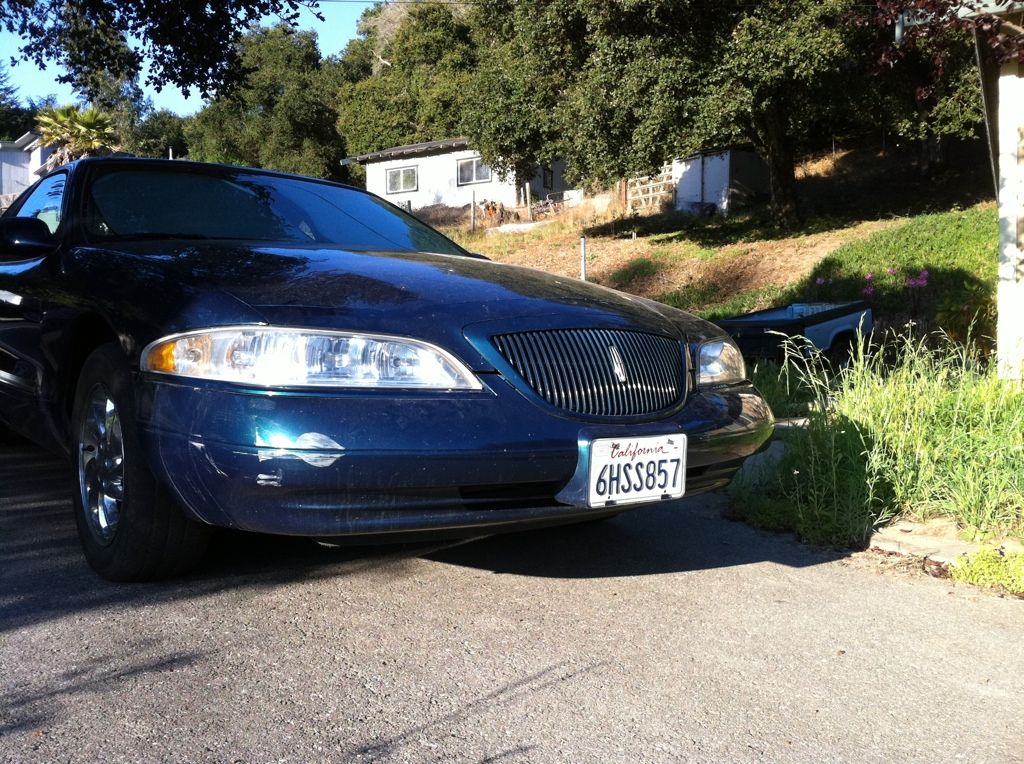
Step #5: Wet sand the headlight with the 2000 grit sand paper real good to smooth everything out. I had some serious yellowing so I did an extra batch of 1500 and then sanded with the 2000. Once you've sanded with the 2000 real good, then do a real good polish job on it. I didn't have any sealer, but some people choose to use a final sealer or even better, some 3M clear plastic covering (can purchase on eBay). My headlights could probably be sanded some more but it's my "beater" car.
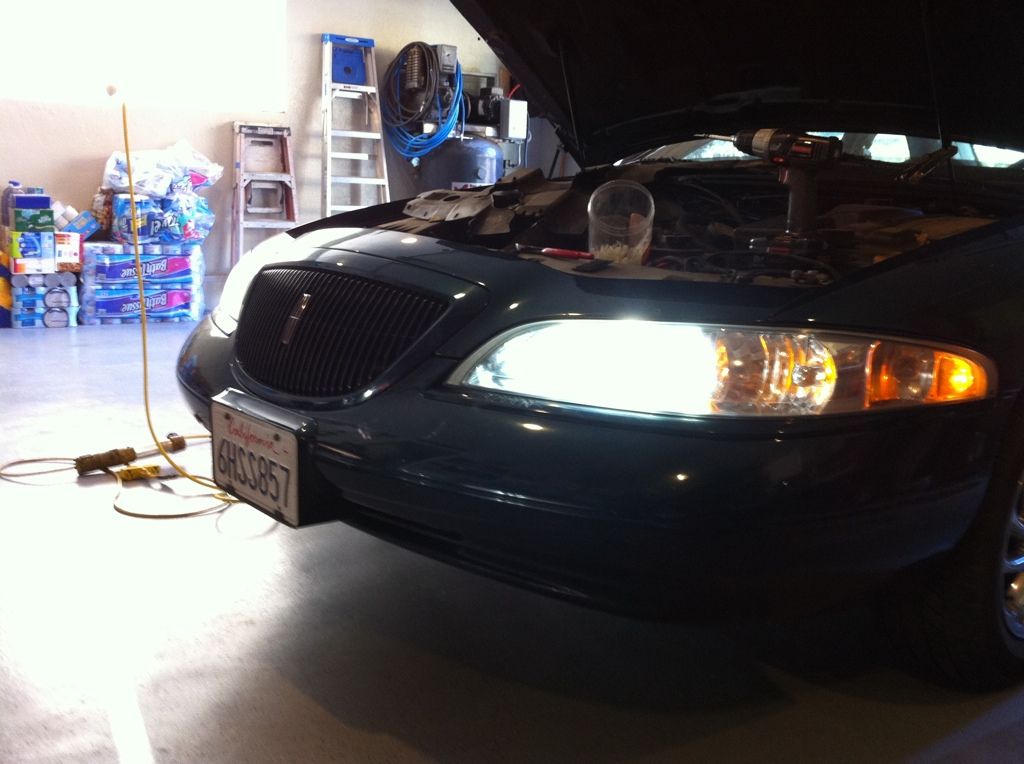
Step #6: Reinstall the headlights and adjust if necessary.
My list of things to do was: Converting to Aftermarket HID's (both low beams have been burnt out for over a year but the headlights were so bad that no one flashed me while I drove with high beams on). Polish Headlights. Change Oil and Rotors in Erin's car and also charge the A/C.
So....here we go.....get your supplies.
4300K HID "Ultra Slim" Kit from eBay.
2000 Grit WET Sand Paper
1500 Grit WET Sand Paper
Meguirs Headlight Polish
Electric Buffer
New Terry Cloth Pads
Bucket of water
Step #1: Remove Headlights. Pull off the plastic Beauty Covers over the headlight/header panel. Using a 10MM socket and extension, remove the 3 bolts holding on each headlight. Next remove the phillips screw holding the headlight onto the fender. Then slide the headlights out and unplug the light bulbs. I found it easier to unscrew the parking light bulbs rather then unplugging them.
Step #2: Gently clamp one headlight into a Vise and wipe down with your favorite cleaning solution. I used Corona (and then water only).
Step #2.5: (Optional) I chose to remove the plastic moulding under the headlights. They both came off with a large screw driver to pry the very old and hard clips up. The moulding slides out. Made for easier buffing.
Step #3: Wet sand the headlight using the 1500 grit sand paper while continuously dipping the paper in water.
Step #4: Wipe the headlight clean with water and a rag. Using the electric buffer and Meguir's headlight polish, hit the headlight with a quick buff job.
Step #5: Wet sand the headlight with the 2000 grit sand paper real good to smooth everything out. I had some serious yellowing so I did an extra batch of 1500 and then sanded with the 2000. Once you've sanded with the 2000 real good, then do a real good polish job on it. I didn't have any sealer, but some people choose to use a final sealer or even better, some 3M clear plastic covering (can purchase on eBay). My headlights could probably be sanded some more but it's my "beater" car.
Step #6: Reinstall the headlights and adjust if necessary.