My Jacobsen Turfcat Project

95blklsc

New member
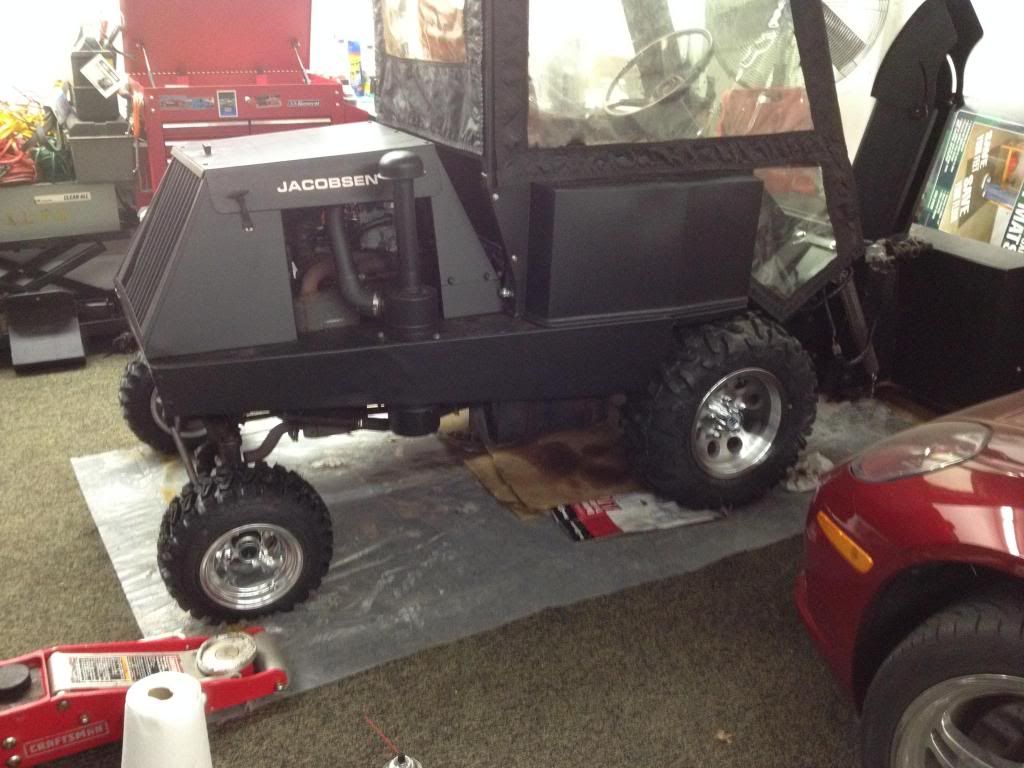
Since I haven't been doing much to the Lincoln besides keeping it running I thought I would post this up. I finally got around to getting a set of tires better suited for winter work. The turf tires worked, but not well at all. I can't really use chains without modifying the fenders as well as spacing the wheels out further well beyond the factory location which would make the wheel track wider than the blower.

The first thing I did last year was add some weight to the rear of the tractor in the form of 125lbs of lead bars hidden in the radiator area. This made it so I could actually steer the tractor. I still couldn't steer it well, but I could point it in the right direction and the rear didn't lift up when I would lift the blower when it is loaded with snow.


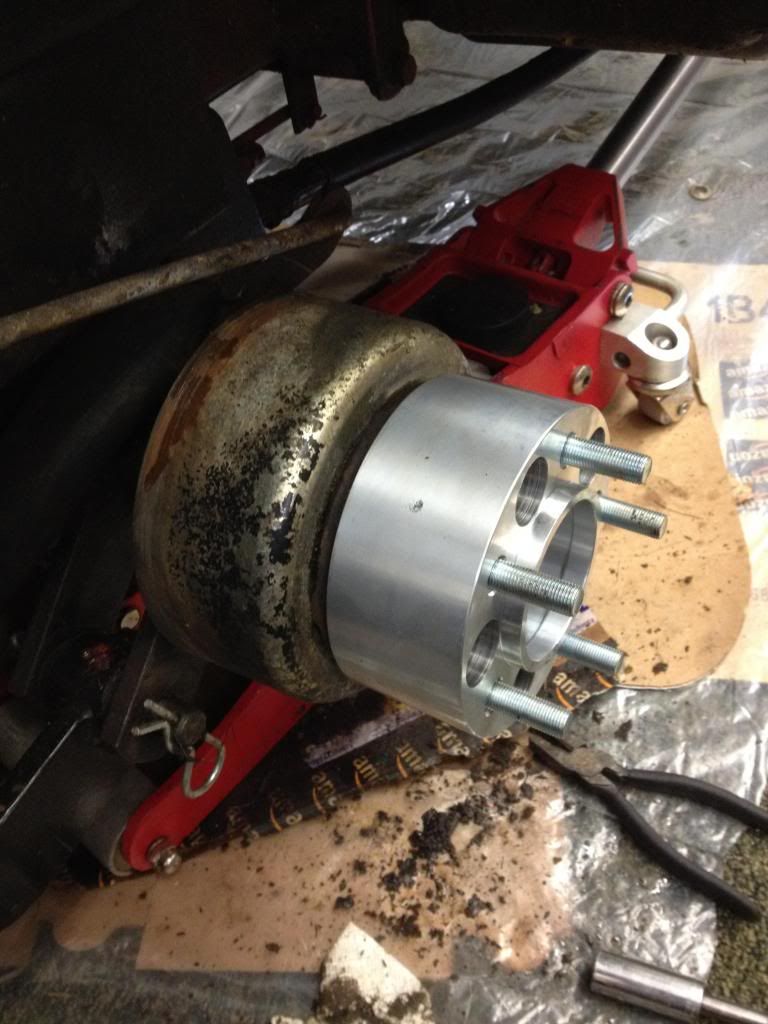
The next thing is I wanted to put some better looking wheels on it along with some tires for winter work. The turf tires and rusted wheels just weren't cutting it. The factory wheels on this tractor have a pretty serious offset to set the wheels out a bit. There were plenty of options that were the correct bolt pattern but nothing with the proper offset. I decided to go with some wheels made for a UTV on the drive axle and have some custom spacers made to my design. The spacers are 2.5 inches thick and they also adapt to the unmatched hub and wheel more diameter. They are a perfect fit. For the steering wheels I decided to go with some wheels for a golf cart.

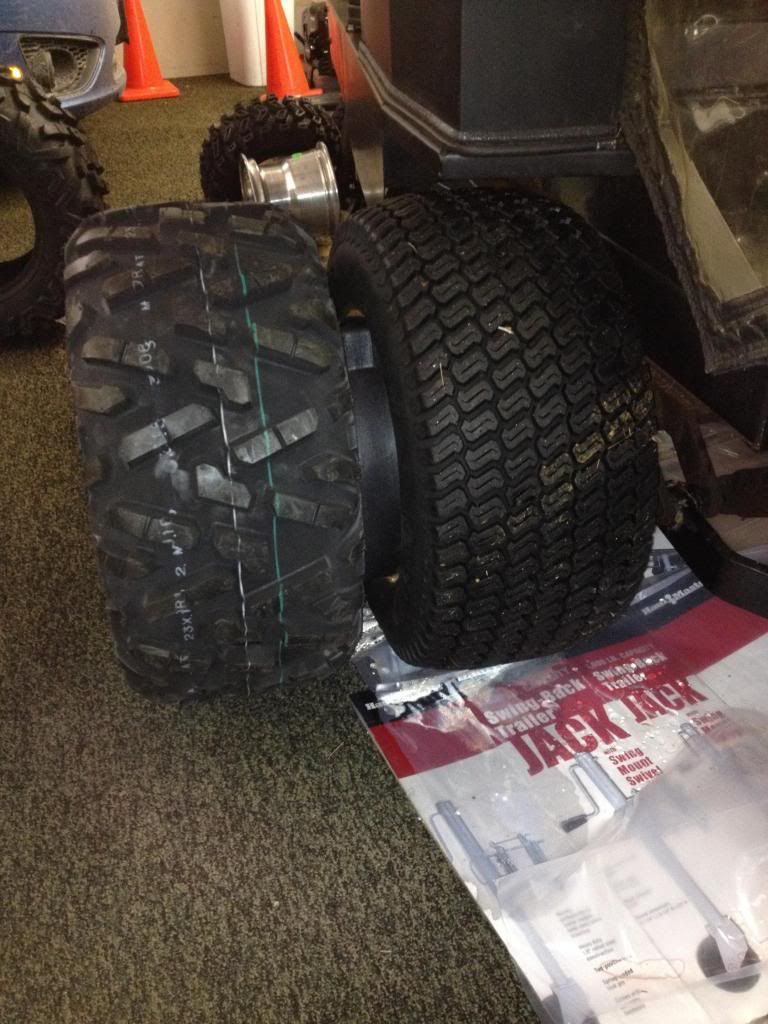
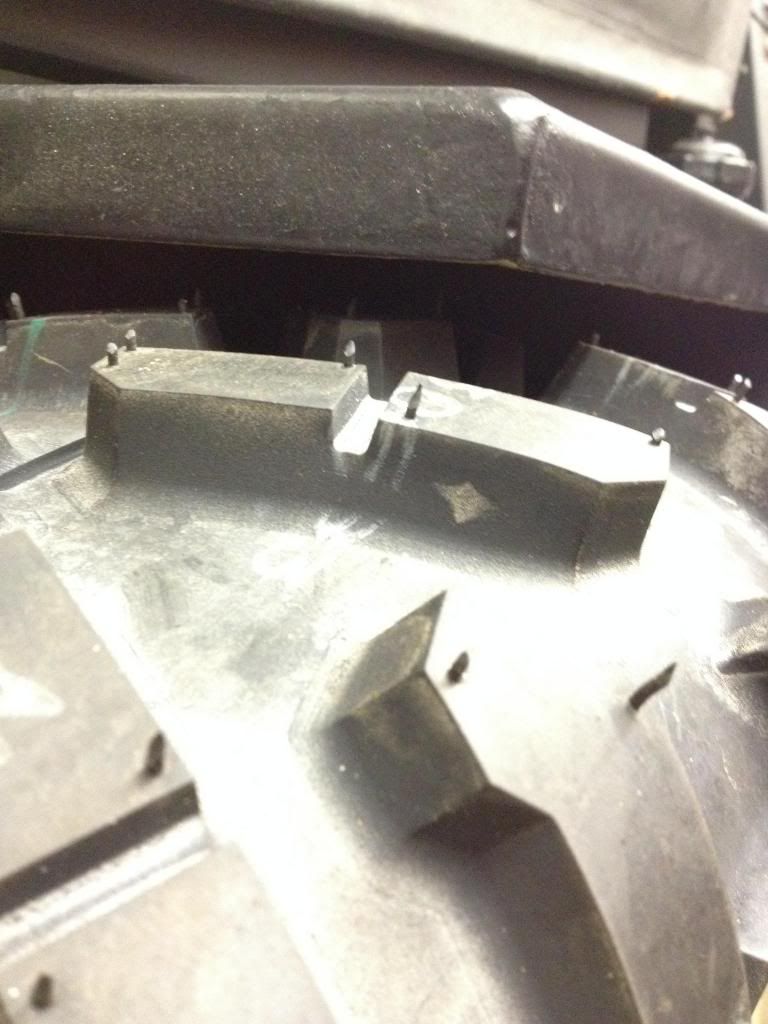
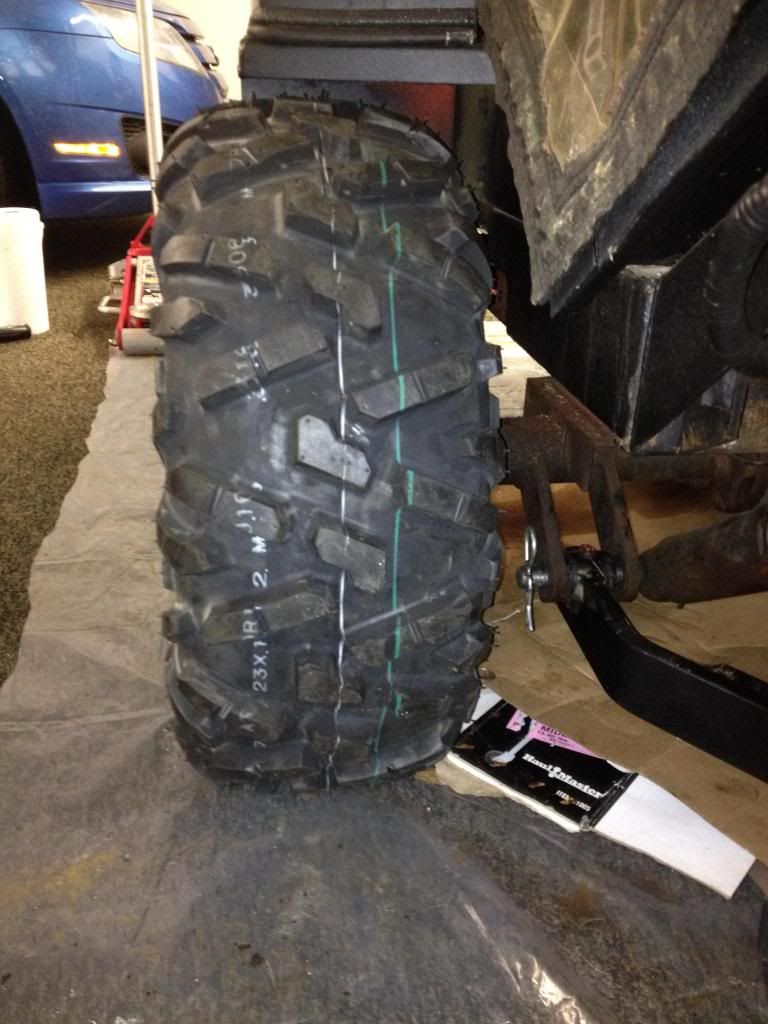
For tires I went with the stock size, but not a tractor tire. For the drive wheels I bought an ATV tire that was very highly rated in the snow. It was the Maxxis Bighorn 2.0 in the 23x10x12 size.


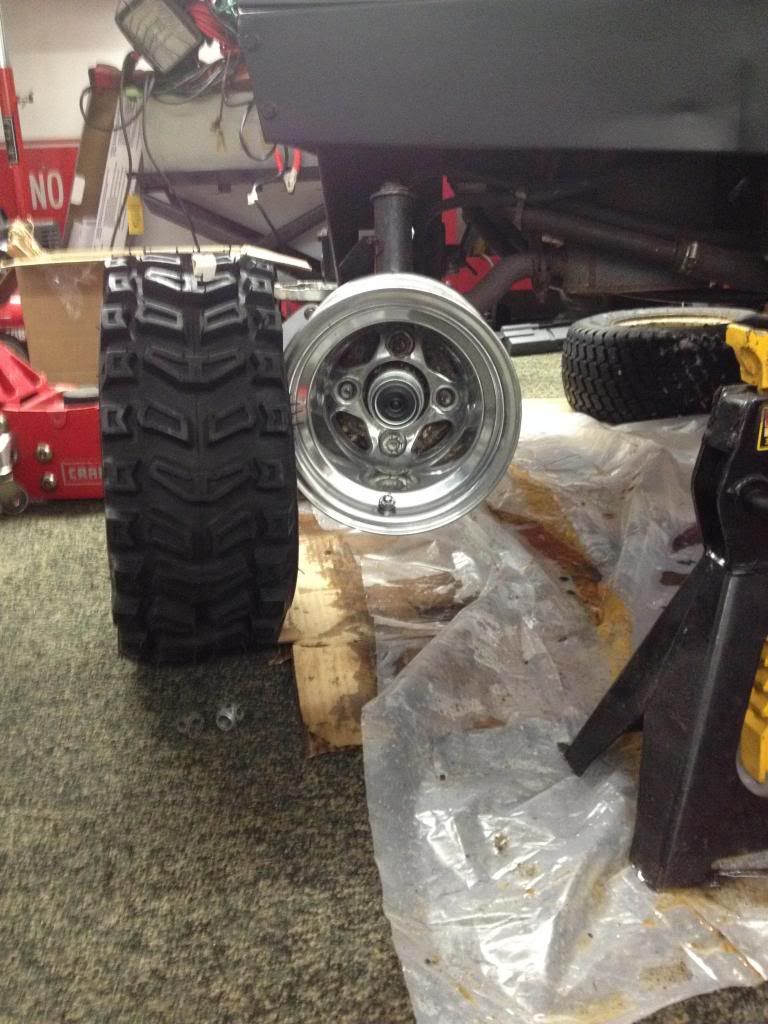
For the rear tires (steering) I went with a snow blower tire, the Carlisle Xtrac in nearly the identical stock size, just 1 inch narrower.

All tires were filled with RV antifreeze for weight. I got just under 2 gallons in each steering wheel and about 7 in each of the drive wheels.

Rear steering wheels: 8x7 aluminum wheels, they are a little wide for the tires but they work just fine.


The custom spacers compensate for the incorrect offset of the wheels. The tires are in the exact factory location in reference to the frame and brake components.


The result...looking great and excellent snow traction. I might add some studs to the tire lugs but I'll have to see how it does in the next storm or two. I had a chance to use it with the steering tires mounted in the last storm and the difference was amazing. The spacers weren't in yet so I was still using turfs on the drive wheels.


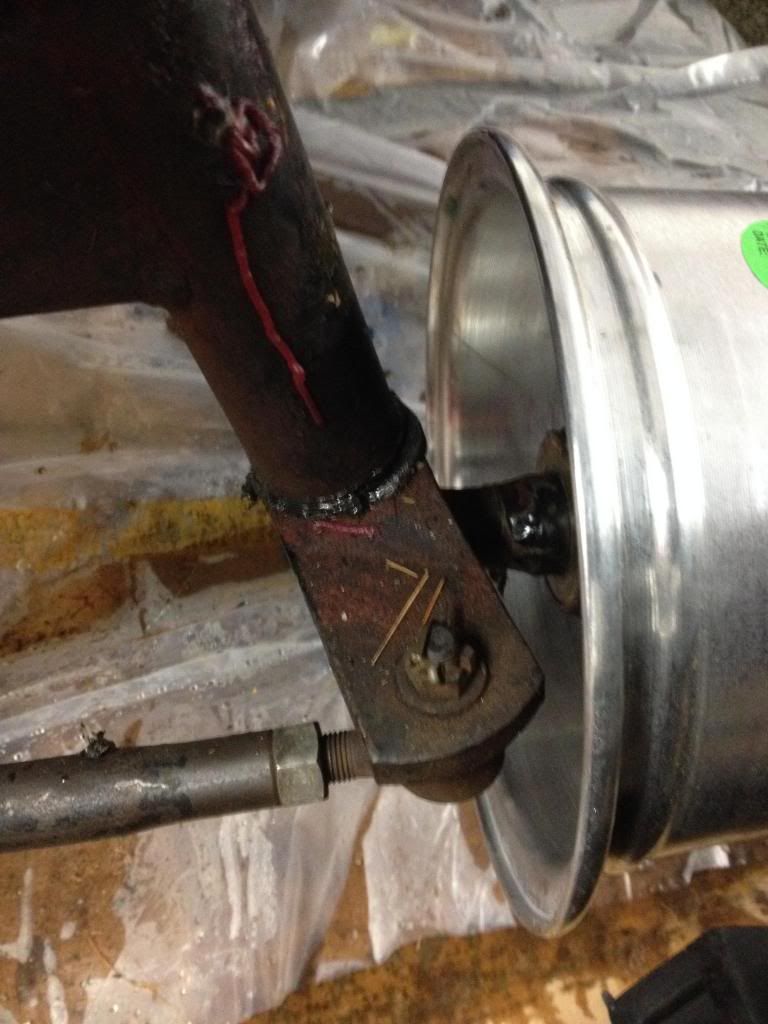
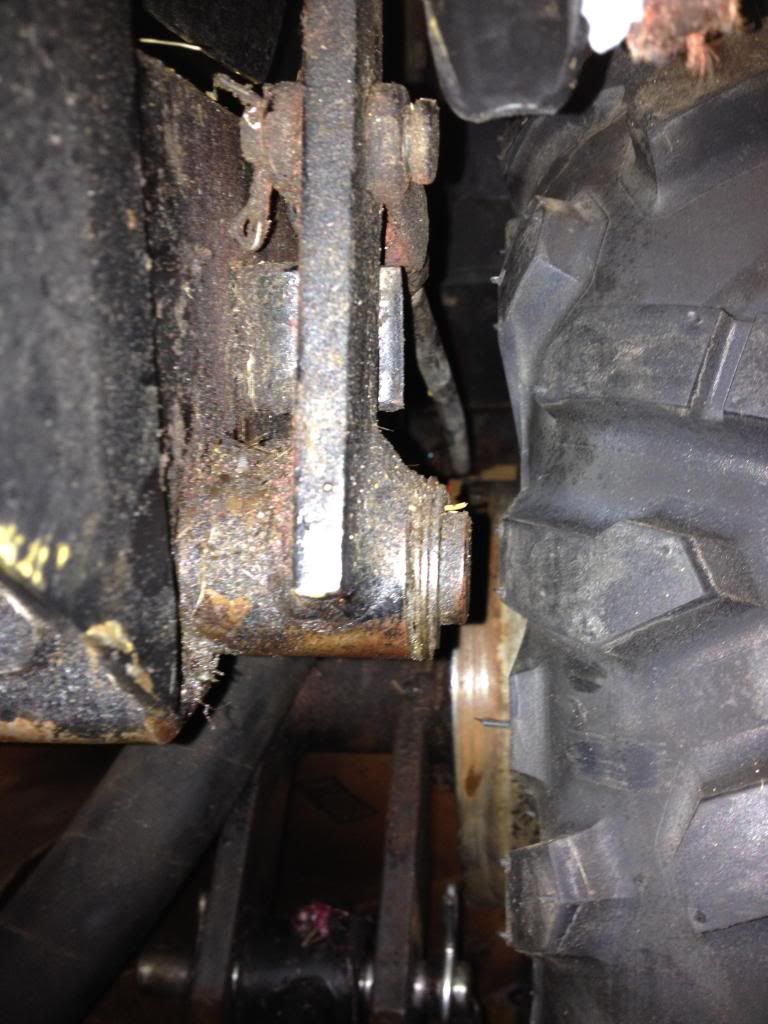
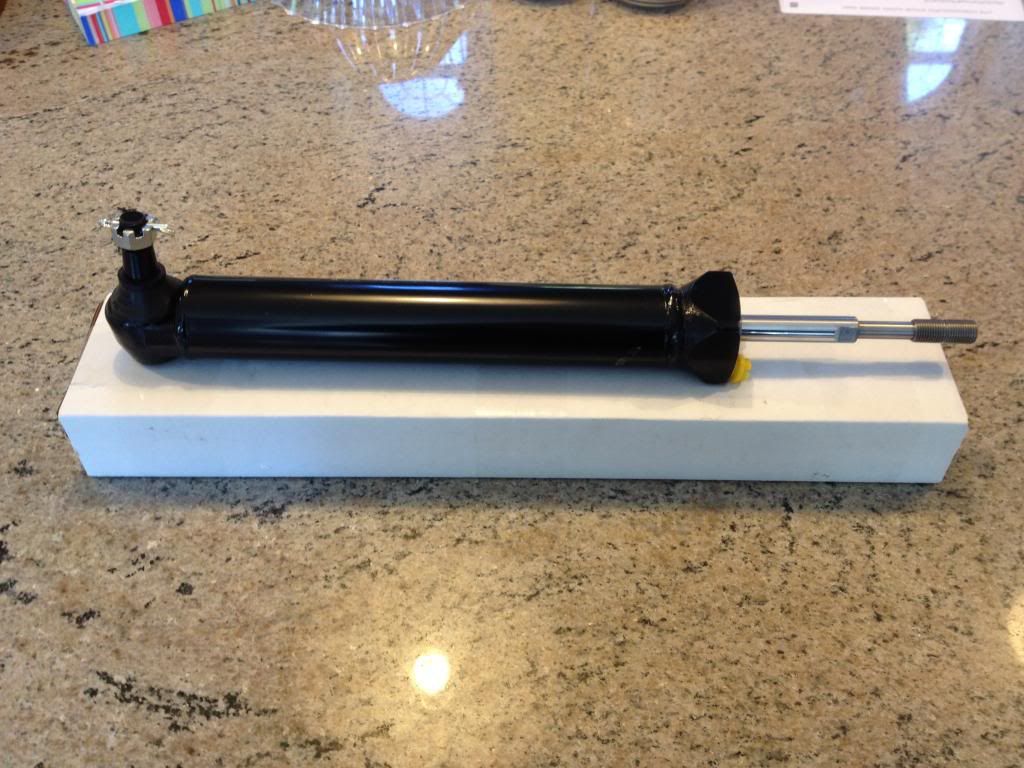
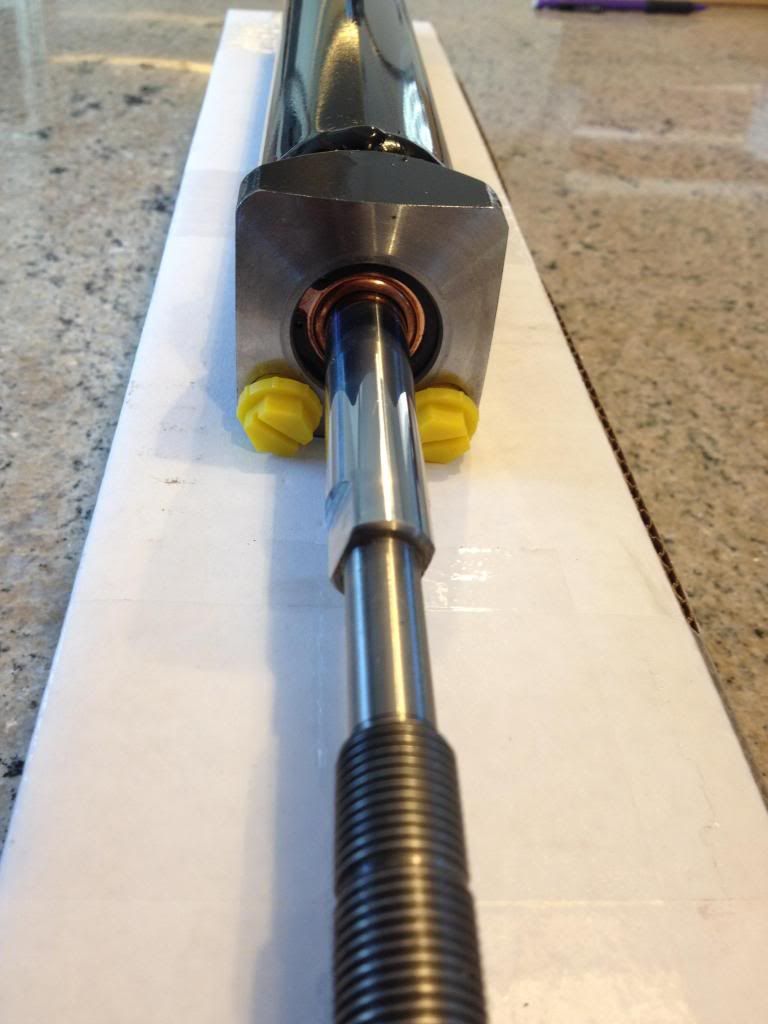
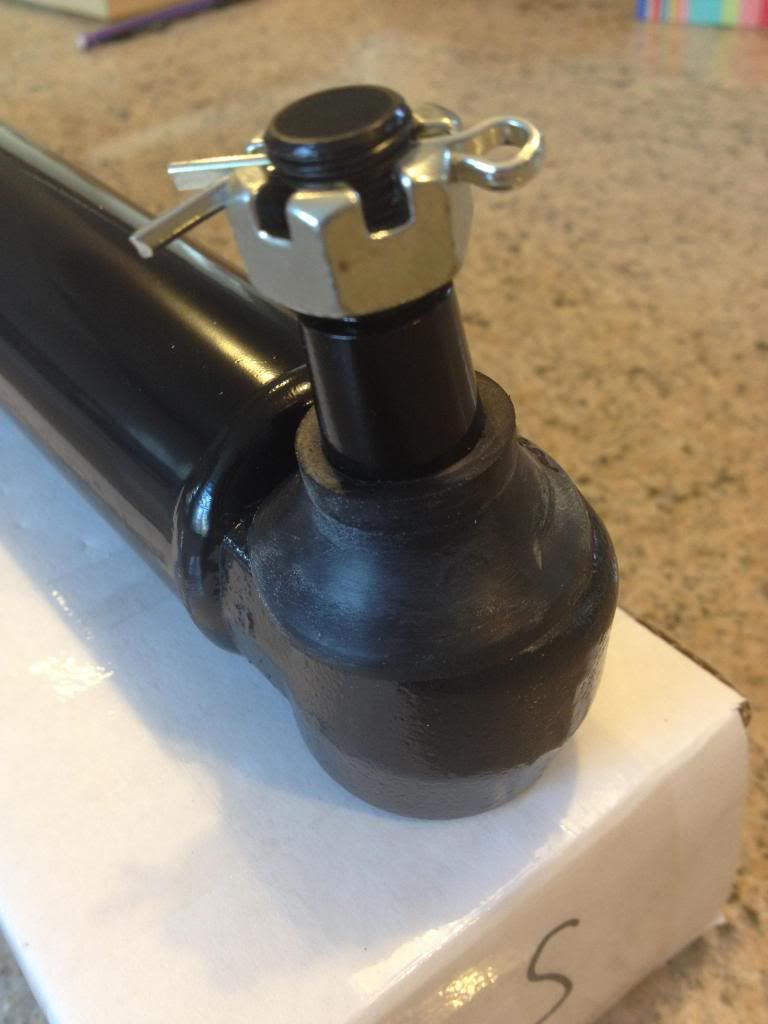
Another side project for this tractor was fixing the power steering cylinder that blew a seal earlier in the year. The cylinder was so worn it couldn't be rebuilt. Jacobsen no longer supplies these cylinders and I'm sure the price would have been some amazingly high cost. I couldn't find a bolt on solution that didn't require modifying the tractor or the hydraulic lines. I found a cylinder that was in fact the identical one used from the factory. I had the ports put in the proper orientation and a ball joint mounted. Perfect factory fit!


tixer

Lincoln Evangelist
Thanks. I love seeing the updates on this project. It looks like you've picked up a snowblower for it as well?
 

95blklsc

New member
It's a fun little side project that is pretty necessary for me to be able to leave my house in the winter. It can be challenging because getting parts from Jacobsen is insanely expensive and typically unavailable for an old machine like this. Lots of measuring and searching.

It came with a blower, you can see it in the early pics in the thread. I just stripped it, painted, flushed the gear oil, put in a few new bearings, new SS bolts, new shear pins, and put some new seals on the hydro quick connects. The thing throws some serious snow. Light snow I would estimate gets thrown 75-100' in distance, heavy wet stuff maybe 25-35'. With the chute waxed up I haven't had any clogging issues this year. The clearances from the impeller to the wall are pretty tight so it will pump slush and water pretty good.
 
Last edited:

tixer

Lincoln Evangelist
Very nice. I only wish the blower on my old Deere worked that well. It gets the job done, but little more. On the bright side, the parts for mine have always been pretty easy to locate. I just replaced the skids and scraper bar on mine. they weren't cheap, but they're heavy parts, and fit perfectly..
 

95blklsc

New member
Very nice. I only wish the blower on my old Deere worked that well. It gets the job done, but little more. On the bright side, the parts for mine have always been pretty easy to locate. I just replaced the skids and scraper bar on mine. they weren't cheap, but they're heavy parts, and fit perfectly..
The blower and broom are easy to get parts for. They are made by Rad Tech in Canada. It's just the actual tractor that can be difficult. You always have to figure out what else used the part or who originally made it. Jacobsen is useless to buy parts from.

I've seen where people have put some stiff rubber, sold as baler belt at tractor supply on the end of the paddles of the second stage of a snow blower. It really can increase the efficiency by reducing the blow by (can't think of a better term for it).

Something like this: https://www.youtube.com/watch?v=IMbjut8c4MU
 

tixer

Lincoln Evangelist
I've seen where people have put some stiff rubber, sold as baler belt at tractor supply on the end of the paddles of the second stage of a snow blower. It really can increase the efficiency by reducing the blow by (can't think of a better term for it).
That's assuming you have a second stage to work with.. :D Mine's an old single-stage, 42" blower from the early-mid 70's. I can't even find a photo of one like mine. And the auger is worn enough that the clearances aren't great anyway. This one is likely beyond a point at which it can be restored, but there seem to be plenty of them out there. when the time comes, I'll start scouring CL for a replacement.. maybe find a more modern, two-stage version.
 

redn8

LOD Officer
Wow! This is so cool. I wouldn't know where to begin on something like this. You are a very talented individual, I'm seriously impressed. I've never seen anything like it but we don't get snow where I live. Excellent job.
 

95blklsc

New member
Wow! This is so cool. I wouldn't know where to begin on something like this. You are a very talented individual, I'm seriously impressed. I've never seen anything like it but we don't get snow where I live. Excellent job.
Thanks! I do use it to cut grass too. I have a 72" front mount cutting deck for it. I need to pull that apart and refurb it this spring as well.
 

Slowmkviii

i want summer
Love the rebuild
I need something like this
My driveway is a bit shorter at about 950 ft or so
Last year I did mine with a 42" plow that sucked. This year I picked up a 15 year old 33" craftsman 2 stage walk behind its better but still takes 2 hours to clear.
 

Mad1stGen

Booster
Eric, you're nuts. This is too cool. How loud is the tractor ? Ever thought of adding some super quiet muffler ?

V... I just replaced the skids and scraper bar on mine. ...
Must be the season for it. I just replaced those on my small 2-stage. I think the previous owner didn't know they're a wear item LOL.

IMG_00001527.jpg
 

95blklsc

New member
Eric, you're nuts. This is too cool. How loud is the tractor ? Ever thought of adding some super quiet muffler ?


Must be the season for it. I just replaced those on my small 2-stage. I think the previous owner didn't know they're a wear item LOL.

View attachment 9240

I know I'm nuts! It gets pretty loud at WOT with the blower spinning fast. In the cab it is kind of like being in a small aircraft. I actually use a pair of Bose noise cancelling aviation headsets....a project of mine at work.
http://www.bose.com/controller?url=/shop_online/headphones/aviation_headsets/a20/index.jsp

The muffler is kind of crammed in there, so I hadn't really considered replacing it unless it rusted out.


IMG_3044.jpg
 

Lvnmarks

quandoomniflunkusmoritati
With the chute waxed up I haven't had any clogging issues this year.

Now you got me wanting to wax my snow shovel. :)

Love the rebuild, weather a car or a tractor I love seeing anything being restored. Buying something new just isn't as gratifying!
 

95blklsc

New member
The wax really works in the wet snow. I tried silicone, silicone with PTFE, pam cooking spray, wd-40, they were all crap. There is already glossy paint on the inside of the chute, but the wax just did the trick.

For me, I certainly like customizing things, but it was really cost motivated. Buying a new or near new machine that compares to this is crazy expensive, like new car expensive. I'm probably $5000-6000 into this machine which includes the purchase, refurbish costs, a ton up upgrades, many new parts, many spare parts from ebay to sit on my shelf, a new rotary broom, new wheels, spacers, tires, etc. I do have a reasonable amount of time into it, but even if you figured in a dollar amount for that it is still way less then a new commercial grade machine like this. So for that cost to have this thing with a blower, rotary broom, and a 72" cutting deck it's well worth it. Even if the engine blows (which I'm pretty certain it was rebuilt at one point) I'll replace it with a kubota diesel or something similar. I wouldn't mind getting away from the gas engine, I want more torque!!
 

95blklsc

New member
I figured I would post a little update since I did a few things this week. I had been wanting to get the ignition working properly for a while now but I just didn't have a chance up until now. The tractor worked, but it always seemed a bit down on power considering it's a 34 hp engine in there. When I got it I replaced the points, rotor, cap, and condenser. It ran but it never seemed to quite lived up to the full power I would expect from it. The first issue was the throttle was adjusted wrong so it would even reach the rated 3600 rpm, that was an easy fix I took care of last year. I didn't like that the timing had a ton of jitter at low and high rpm. I'm talking at least an inch of jitter on the flywheel with the timing light. Also, it didn't appear to have any mechanical advance when you brought up the RPM's. I wasn't sure if the advance was just getting masked by a huge amount of jitter or something. It was time to fix it and upgrade!

Well upon taking it apart the mechanical advance I found that it was totally frozen up with dried up grease. The mechanical advance was difficult to move even with a wrench. I finally got it all apart, cleaned out, and lubed up. I think the springs are a bit weak as well but I just adjusted the mounting arm to add a little tension to prevent it from advancing the timing at idle. It's now rotating freely and operating as it should. The bushings in the distributor shaft housing are nice and tight too, no side to side slop. I still want to put this on a distributor machine sometime to dial in the advance curve to the factory specs, but for now it should be decent.

So in addition to fixing the advance I decided it was time for a new coil as well as upgrading to get rid of the points. I bought a crane XR3000 controller and optical sensor and a high output PS91 e-core coil. Although the optical sensor and shutter wheel was a tight fit in that small 4 cylinder distributer it is all together and working. There is literally zero jitter now, it's very stable! I just need to spend some time dialing in the phasing of the rotor with an old cap so I can cut some windows in it and see where it is in relation to the electrode under full advance and no advance. I may need to fine tune the optical sensor position a bit and then retime it. I'll try to get a few pics up once it is finished. I'm looking forward to the next big snowfall so I can see how much of a difference this made, you can't tell just driving it around.
 

tixer

Lincoln Evangelist
Uh-oh. I didn't realize that "points to electronic" kits for small engines were a thing... I think I found today's project. :D I also need to see if my old Deere has a mechanical advance. if it does, it's got the same problem yours has.
 

95blklsc

New member
Uh-oh. I didn't realize that "points to electronic" kits for small engines were a thing... I think I found today's project. :D I also need to see if my old Deere has a mechanical advance. if it does, it's got the same problem yours has.
There are a few different kits although I don't think they are normally targeted at the tractor market. Since the engine in mine is actually a Renault 4 cylinder used in their older compact cars mine is tryingly an automotive ignition system, although on the older side. It wasn't completely plug and play, I had to modify a few things on the point plate and really spend some time adjusting the trigger mount. I think it will be worth it though. There is a simpler one to install made by pertronix that is a hall effect set up and it doesn't use an external box. I have read about a number of people having issues with those. I think an optical trigger that my set up has just makes a lot of sense as well. You will have to look and see what kind of ignition system you have currently and how much space you have to work with in the distributor. I went with the XR3000 vs the XR750 so I could run a high output coil. In all it wasn't much more money so I figured why not. I found that street side auto had the best prices on the parts too.

I'm wondering how it does after I adjust the phasing of the trigger module vs the rotor position. I initially adjusted it so it was just starting to overlap the electrode as the sensor triggered. I realized after that when you do it this way, when it is in full advance there won't be any electrode and rotor overlap causing the need for it to jump a large gap. I need to adjust it so there is reasonable overlap at zero advance as well as full advance. This is my first time really digging into a distributor ignition. I've replaced points, cap, and rotors before as well as set the initial timing but I'm in new territory now. I know what my project is tonight.

Here are some pics from the web of the upgrade parts

XR3000


PS91 Coil
 
Last edited:
Top