The 14 Model T Re-Furbish

Lvnmarks

quandoomniflunkusmoritati
November came around and we started on the tare down of the engine.


This is how we started taking to motor apart, starting with the "Hogs Head" (Transmission Cover) and removing the Head.
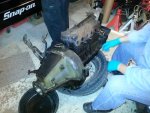
20131122_171616.jpg


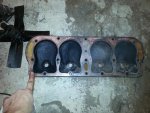
Here you can see each cylinder, #1 was running real rich and burning lots of oil vs. #3 was running hot and lean (one of many reasons to rebuild this motor)
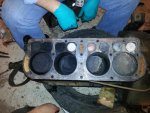
20131122_173944.jpg

20131122_174009.jpg


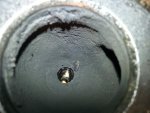
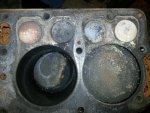
Her you can see the Cylinder walls, they look OK but a measurement latter on reviled the cylinders are tapered The pistons will be replaced with all new aluminum pistons.
20131122_174037.jpg
 

Lvnmarks

quandoomniflunkusmoritati
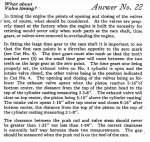
Here is how the "Flat Head" valve system works if your unfamiliar.

Valve Operation.JPG


Valve Operation picture.jpg

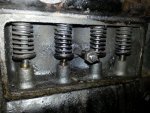
There is a valve cover plate on the side of the block to adjust/service the valve springs.

20131122_174653.jpg


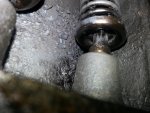
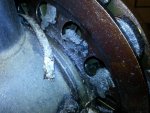
There is a dowel pin under the valve spring seat the releases the spring allowing it to be removed. You can also see in this picture how hot the motor got at one point. Baking the oil on to the block.

20131122_180019.jpg


The carbon build up under the valve (intake side)

20131122_180131.jpg
 

Lvnmarks

quandoomniflunkusmoritati
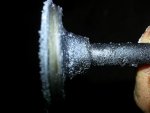
The valves we removed were so worn that they had a sharp con caved edge on them from over use. It was hard to tell because the motor was running poorly but having thin valve edges caused them to have hot spots along the rim causing detonation.

20131122_180631.jpg

These will not be re-used. replacement ones will be installed with hardened valve seats in the block.
 

Lvnmarks

quandoomniflunkusmoritati
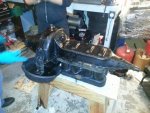
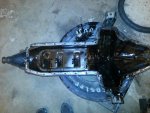
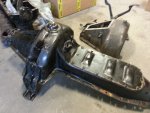
We flipped the motor up side down onto a saw horse to remove the oil pan and access the crank and transmission.

20131122_184753.jpg


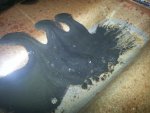
After we got the oil pan off we could see all the cotton debris from the transmission bands and the metal/oil sludge

20131122_183025.jpg


20131122_190259.jpg


The oil pan is the main support for the whole engine/trans they also share the same oil system.
20131122_190245.jpg
 

Lvnmarks

quandoomniflunkusmoritati
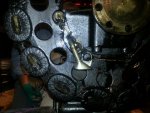
Here is the oiling system, basically the magneto slings oil in to a tube to the front of the engine where it splashes back to the transmission, Along the way there are small scoops on the bottom of the connecting rods "scooping" oil in to the babet.

Oil tube picture.jpg

20131122_193818.jpg

20131122_193846.jpg


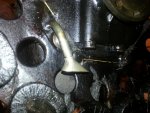
This is the scoop which funnels oil into a small hole drilled into the connecting rod cap.

20131122_190339.jpg
 

Lvnmarks

quandoomniflunkusmoritati
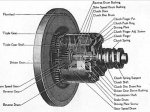
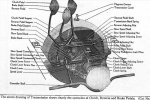
Next we tackled the transmission removal. Fairly easy, just involved remove the 6 bolts from the crank shaft. Here the basics of transmission operation.

Transsmission operation.jpg

Transsmission operation picture.jpg


Moving each foot lever squeezes each individual band causing that drum to stop moving and engaging a different gear/direction.

Transsmission operation picture #2.jpg

20131122_183145.jpg


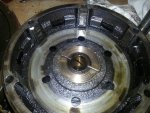
Here you can see the bands with cotton linings wrapped around each of the drums. With the planetary gears behind them

20131122_190438.jpg
 

Lvnmarks

quandoomniflunkusmoritati
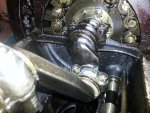
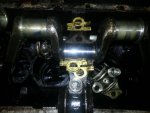
After the trans assembly was removed we were able to remove the main caps and take out the crank.

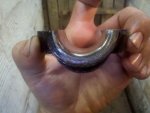
In the picture you can see the babbet that is in the jurnels. To adust for tolerances "shims" are added or subtracted to make up the difference in clearance.

20131122_200757.jpg


Side view of Babbet in the rod cap.

IMG_20110702_191912.jpg


What is Babbet, follow the rabbit.
 

Lvnmarks

quandoomniflunkusmoritati
After the crank was out the lifters and cam keepers were removed and we slid the cam out. After the parts came out and we saw that the cam was flat and the lifters were con caved (which was causing the valve to not open enough)

Valve Operation picture.jpg
 

Lvnmarks

quandoomniflunkusmoritati
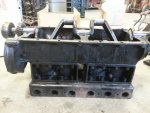
Just before Thanksgiving I was able to drop the block, crank, rods and pan off at the machine shop to be cleaned, bored, decked and balanced. Here is how it look when I dropped them off.

20131127_145721.jpg

20131127_150115.jpg


The transmission was dropped off at another member house where it will undergo a rebuild. latter on.
 

Lvnmarks

quandoomniflunkusmoritati
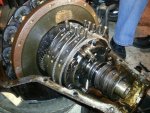
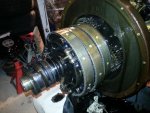
In late December we were able to disassemble the trans and start to build a parts list and start cleaning the parts.

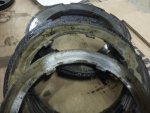
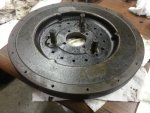
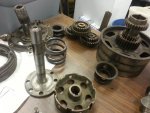
Here is the drum that houses the clutches, deep grooves are cut into the edges causing the steel on steel clutches to slip and stutter into gear. All 3 drums will be replaced.

20131127_165422.jpg

20131127_165554.jpg
 

Lvnmarks

quandoomniflunkusmoritati
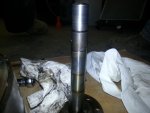
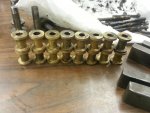
All the brass bushings will be replaced because every thing is loose and worn. even some of the shaft will have to be replaced.

20131127_165540.jpg


We took apart the magneto and cleaned all the parts that we will be reusing and building back up.

20131228_144801.jpg

20131228_144821.jpg

20131228_152648.jpg


These are the actual magnets that sweep past the 16 coils as the engine is running, inducing a current in the coil wires and sending the low voltage current to the coils to be boosted in voltage and sent out the each cylinder via the "timer"

20131228_152652.jpg
 

Lvnmarks

quandoomniflunkusmoritati
After a few years (100 to be exact) the magnets get weak and have to be recharged. Here we used a device hooked up to a 12v battery sending current through a long coil of wire around an iron core turning it into a giant electron-magnet (just like the starter solenoid on a modern car).

By placing the magnet over the gap the pole are able to realign make the magnet strong again.

20131228_154818.jpg

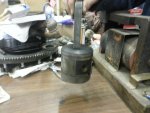
Since a Gauss meeter was not available, the back yard mechanic method to test the strength of the magnet was to see if it could pick up a Model T piston. :)

20131228_154828.jpg

Non of these part will be painted/powder coated because I don't want anything flaking off in the engine. That's as far as we got, now I need to drop a grand or two on some trans parts. :(
 

Lvnmarks

quandoomniflunkusmoritati
Here is a nice exploded view of the transmission parts.

Exploded View of the transmission.jpg


Here is a much better explanation of the trans operation with a nice animation.
 

Lvnmarks

quandoomniflunkusmoritati
Thanks guys, I'm excited to get this done but still want to take the time to do it right. I think my block is next in line at the machine shop. Hopefully its done by March.
 
Top